Chery Tiggo 5 (T21). Manual - part 182
 

  Index      Chery     Chery Tiggo 5 (T21) - service repair manual 2014 year


Search            


Content   ..  180  181  182  183   ..


Chery Tiggo 5 (T21). Manual - part 182


15–

63

15

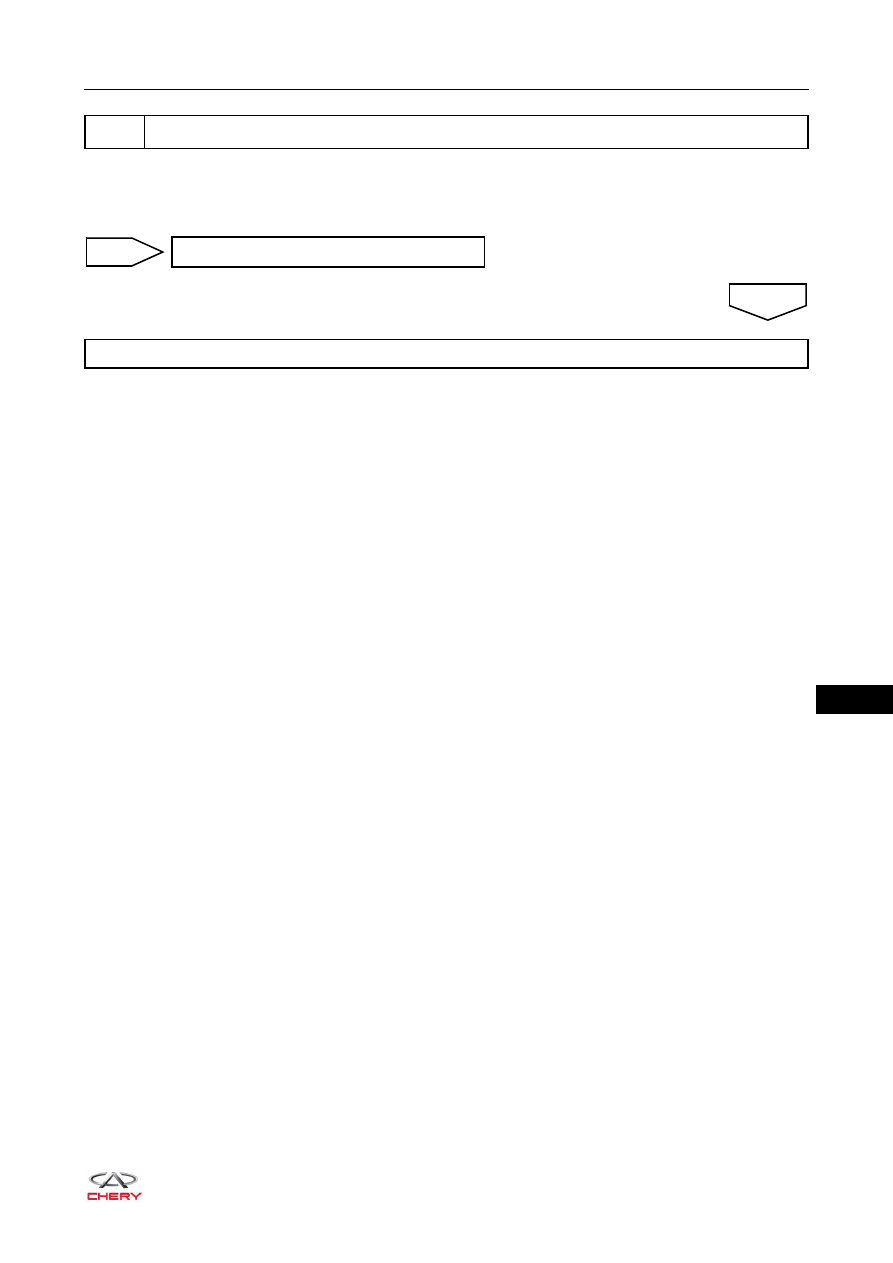
a. Remove the starter (

See page 15-64

).

b. Replace the starter.
c. Connect X-431 3G diagnostic tester to Data Link Connector (DLC) again to check if any DTC is detected.

10

Reconfirm DTCs after replacing starter

Repair or replace PEPS controller

NG

OK

System operates normally

15–

64

15

ON-VEHICLE SERVICE

Starter

Removal

1. Turn off all the electrical equipment and ignition switch.
2. Disconnect the negative battery cable.
3. Remove the engine trim cover assembly (

See page 10-10

).

4. Remove the intake manifold assembly (

See page 10-24

).

5. Remove the starter.

a. Move away the terminal cover, remove the starter 

power cable nut (1) and disconnect the starter power 
cable.

(Tightening torque: 13 ± 1 N·m)

b. Remove 2 fixing bolts (arrow) from starter.

(Tightening torque: 35 ± 5 N·m)

c. Remove the starter.

Inspection

1. Check starter clutch.

a. As shown in the illustration, rotate the clutch pinion 

clockwise to check that it rotates smoothly. Rotate the 
clutch pinion counterclockwise to check that it locks.
If result is not as specified, replace the starter.

CAUTION

 Be sure to wear necessary safety equipment when repairing to prevent accidents.
 Try to prevent body paint surface from being scratched during removal and installation.

1

RT21150060

RT21150070

Free

Lock

15–

65

15

2. Check starter solenoid switch.

a. Check pull-in coil.

 Measure resistance between terminal 50 and 

terminal C.

 Standard resistance should be below 2 Ω.
If result is not as specified, replace the starter.

b. Check hold-in coil.

 Measure resistance between terminal 50 and 

starter solenoid switch body.

 Standard resistance should be below 2 Ω.
If result is not as specified, replace the starter.

3. Check starter assembly.

a. Perform pull-in test.

 Remove the nut, and disconnect the field coil lead 

from terminal C.

 As shown in the illustration, connect battery to the 

solenoid switch, and check that the starter clutch 
pinion extends.

If the starter clutch pinion does not move, replace the starter assembly.

RT21150080

 Terminal C

 Terminal 50

RT21150090

Switch Body

 Terminal 50

CAUTION

 These tests must be performed within 3 to 5 seconds to avoid burning out coil.
 Secure the starter assembly in a vise. Jaws of the vise should be covered by aluminum plate or brass 

plate; otherwise the starter assembly will be easily damaged when clamping it.

RT21150100

-

+

Terminal C

Body

Terminal 50

15–

66

15

b. Perform hold-in test.

 Keep the starter clutch pinion extending and 

connections of battery mentioned above, and 
disconnect the negative battery cable from 
terminal C.

 Check that the starter clutch pinion remains 

extended.

If the starter clutch pinion moves inward, replace the starter assembly.

c. Check if starter clutch pinion returns.

 Disconnect negative battery lead from the starter 

body. Check that the starter clutch pinion returns.

If the starter clutch pinion does not return, replace the starter assembly.

d. Check if starter rotates smoothly.

 Connect the field coil lead to terminal C, and 

tighten it with a nut.

 As shown in the illustration, connect battery to the 

starter. Check that the starter rotates smoothly and 
steadily when the starter clutch pinion is moving 
outward.

If result is not as specified, replace the starter assembly.

Installation

Installation is in the reverse order of removal.

RT21150110

Terminal C

Body

Terminal 50

-

+

RT21150120

Terminal C

Body

Terminal 50

-

+

RT21150130

Body

-

+

Terminal 30

Terminal 50

CAUTION

 The lead to be connected should avoid the pinion side to prevent the lead from getting caught as the 

pinion rotates.


Content   ..  180  181  182  183   ..