Chery B11. Manual - part 139
Chery Eastar Service Manual Body Dimension and Accessories
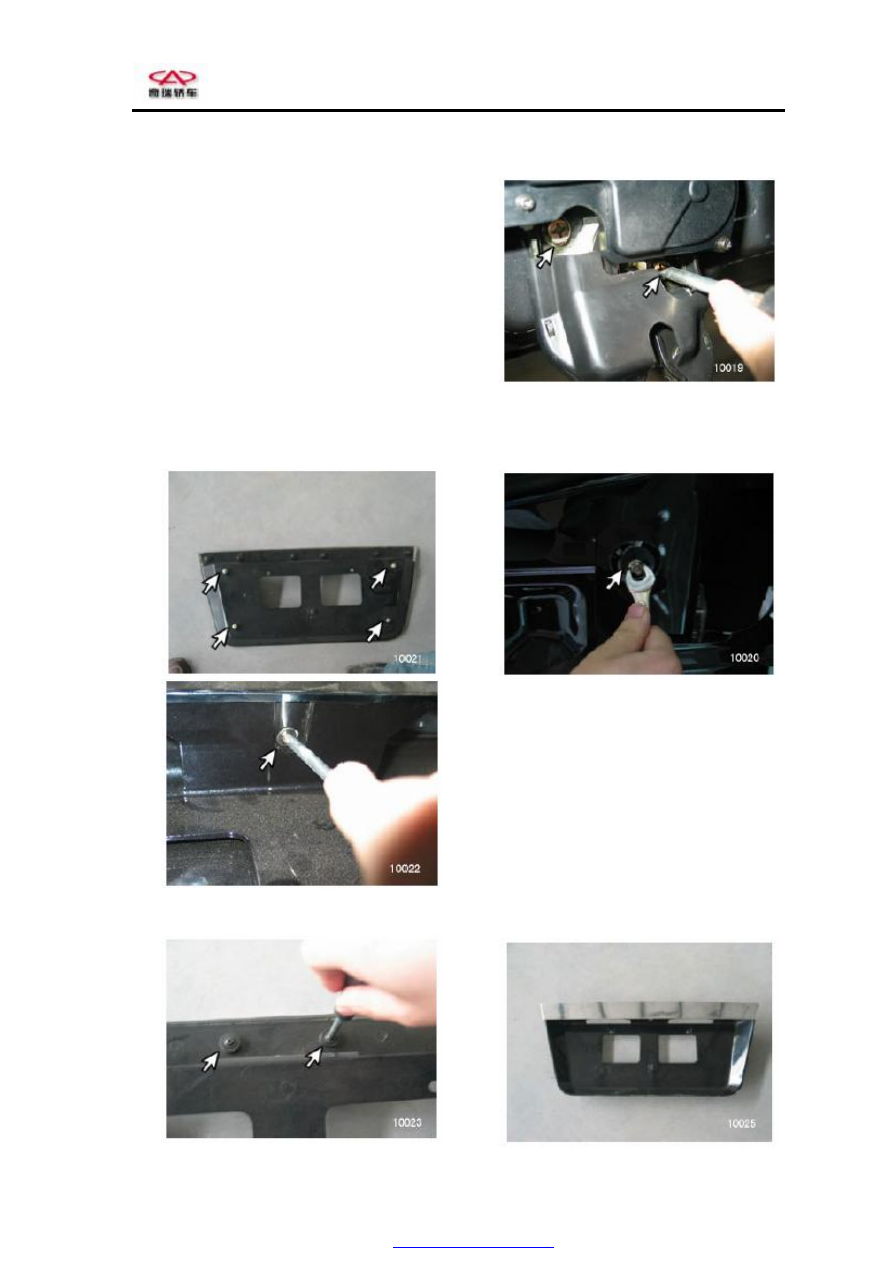
5
②
Loosen the two screws of door lock and remove
the luggage boot lock.
③
Remove the license plate.
④
Remove four fixing bolts and one screw from the
license plate, and detach the bracket.
⑤
Unscrew the fixing screw on the chromed
moulding, and remove the chromed moulding.
PDF created with pdfFactory Pro trial version