Chery A15. Manual - part 202


  Index      Chery     Chery A15 - service repair manual


Search            


Content   ..  200  201  202  203   ..


Chery A15. Manual - part 202


  Chery A15 Maintenance Manual 

Installing procedures are in the reversed   

order. Bear in mind that tightening torque   

for the set nut of steering wheel is 40N.m. 

During disassembling and installing, take   

necessary measure to avoid befouling the operation   

areas which are hard to clean. 

      It is very important to perform cleaning during 

the above operation.   


II. Roof linings   

Disassembling and installing 

Remove the armrest, sunshield and its   

bracket in accordance with the instructions.   

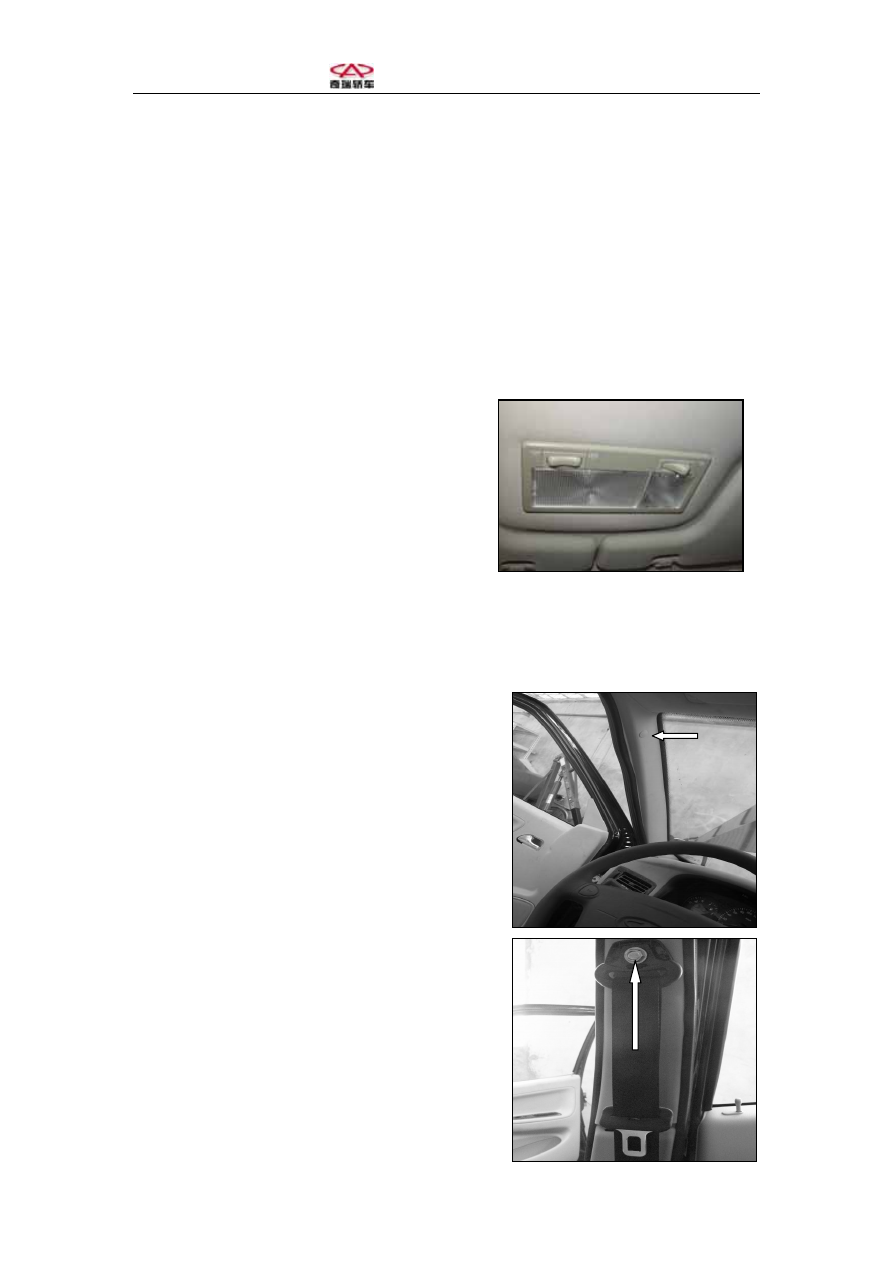
Use the screwdriver to prize the glass on the   

roof lining and the vehicle internal light and   

remove them. For models with double vehicle   

internal lights, remove the two lights and the   

electricity wires.   


Remove A column.   

Remove the decorative lid. Remove part of   

the sealing adhesive strips in the operation area.   

Loosen the set bolt between the inner   

lining and A column. Remove A column.   


Remove B column 

Remove the lid and loosen the set bolt   

between the belt and B column; remove part   

of the sealing adhesive strips in the operation area. 

  Chery A15 Maintenance Manual 


Remove the decorative cap and loosen the   

set bolt between the inner lining and B column;   

remove B column.   


Remove C column 

Remove the decorative cap and loosen the   

set bolt between the inner lining and C column.   


      Take out the fixing plug for the roof lining by 

using the plug-extracting tool.   


  Chery A15 Maintenance Manual 

Removal of the roof lining should be 

performed by another operator, who shall pull it   

out from the rear door.   

Disassembling procedures are in the reversed 

order. Installing angle for the right/left front safety 

belt winder assembly is 0º. Tightening torque for 

the check screws is 50±10N·m. Tightening 

torque for set bolt of adjusting slide   

is 24±5N·m. Tightening torque for set   

bolt of the guide ring is 50±10N·m. Installing   

angle for the rear right/left safety belt winder   

assembly is 30º and tightening torque for them is   

50±10N·m.  

During disassembling and installing, take   

necessary measure to avoid befouling the areas   

which are hard to clean. 

      It is very important to perform cleaning during 

the above operation.   


III. Inner guard board of rear door   

    Disassembling and installing  

1.  Remove the set screws of the armrest 

decoration. Disassemble the armrest lid and the   

armrest base. Remove the guard frame of the 

internal opening handle. Remove the safety handle.   


  Chery A15 Maintenance Manual 

2.  Remove the set screws between the   

inner guard board and the door frame.   


Installing procedures are in the reversed order. 

Tightening torque for the set screws of the 

internal opening handle is 1.5±0.15N·m.   


During disassembling and installing, take   

necessary measures to avoid befouling the operation   

area. It is very important to perform cleaning 

during the above operation.   


    IV. Passenger compartment carpet 


Disassembling and installing    

Remove the fixture decorations between the   

door sealing adhesive strips and the carpet.   

Loosen the set screws between the vehicle   

floor and the safety belt. Remove the oil tray. 

Disassemble the fixing plug for the carpet using the   

plug-extracting tool.   

Installing procedures are in the reversed order.   

Bear in mind that tightening torque for the safety belt   

is 50±10N·m. 


Content   ..  200  201  202  203   ..