Acura RL (1996-2004 year). Manual - part 609
A/C System Service
Evacuation
Use only service equipment that is U.L.-listed and is cer-
tified to meet the requirements of SAE J2210 to remove
HFC-134a (R-134a) from the air conditioner system.
CAUTION: Exposure to air conditioner refrigerant and
lubricant vapor or mist can irritate eyes, nose and throat.
Avoid breathing the air conditioner refrigerant and lubri-
cant vapor or mist.
If accidental system discharge occurs, ventilate work
area before resuming service.
R-134a service equipment or vehicle air conditioner sys-
tems should not be pressure tested or leak tested with
compressed air.
Some mixtures of air and R-134a have been
shown to be combustible at elevated pressures and can
result in fire or explosion causing injury or property
damage. Never use compressed air to pressure test R-
134a service equipment or vehicle air conditioner sys-
tems.
Additional health and safety information may be obtained
from the refrigerant and lubricant manufacturers.
1. When an A/C system has been opened to the atmo-
sphere, such as during installation or repair, it must
be evacuated using a R-134a refrigerant recovery/
recycling/charging station. (If the system has been
open for several days, the receiver/dryer should be
replaced, and the system should be evacuated for
several hours.)
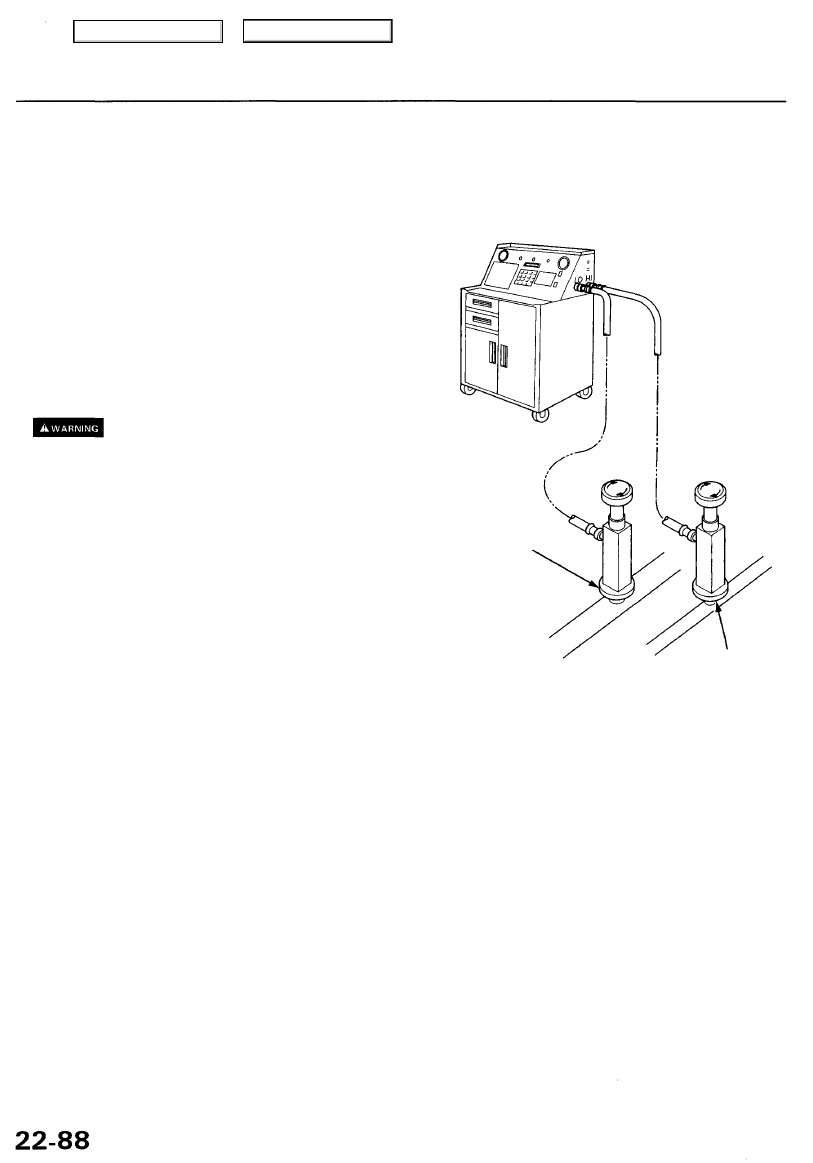
RECOVERY/RECYCLING/CHARGING STATION
LOW-PRESSURE
SIDE
HIGH-PRESSURE
SIDE
2. Connect a R-134a refrigerant recovery/recycling/
charging station to the vehicle, as shown, following
the equipment manufacturer's instructions.
NOTE: If the low pressure does not reach more than
93.3 kPa (700 mmHg, 27.6 in.Hg) in 15 minutes, there
is probably a leak in the system. Partially charge the
system, and check for leaks (see Leak Test).
Main Menu
Table of Contents