Buick-Rainier (2004 year). Manual - part 17
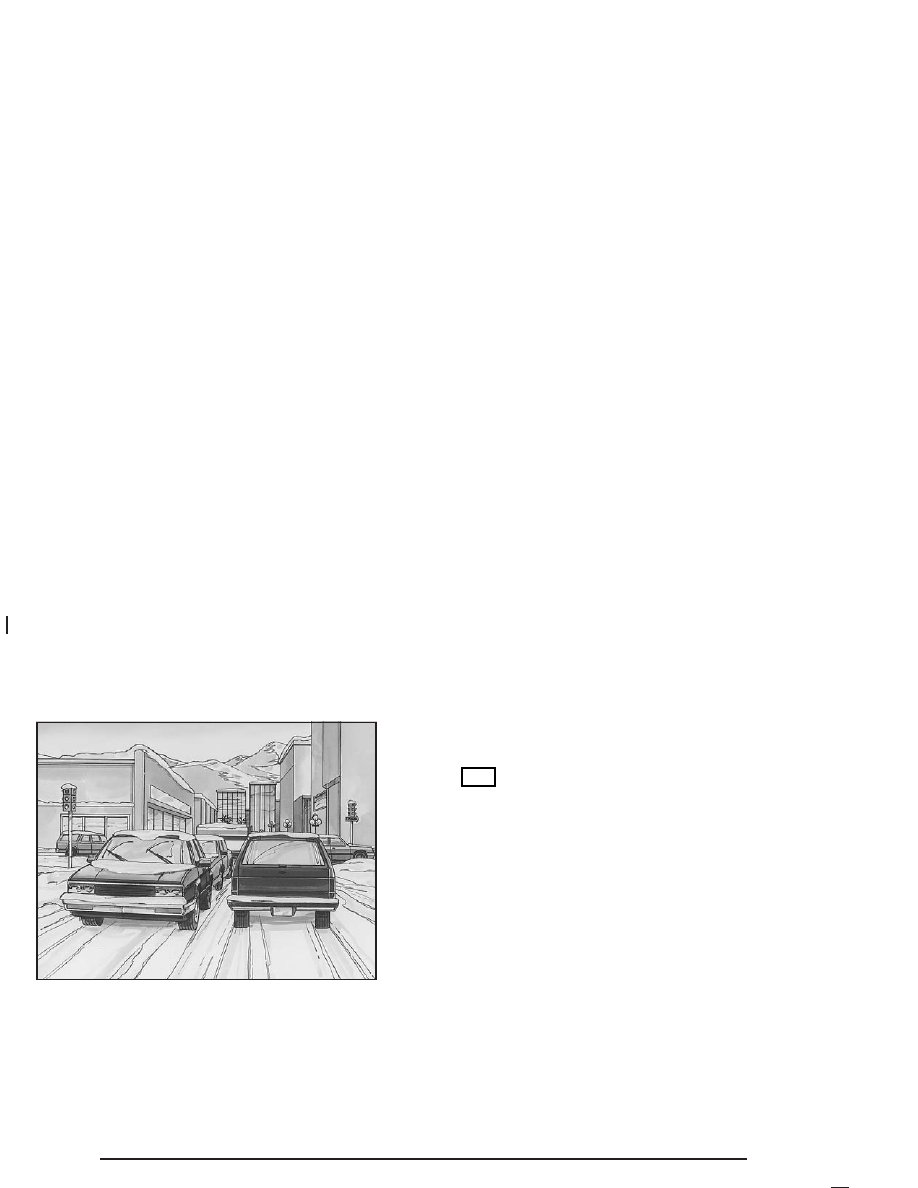
Winter Driving
Here are some tips for winter driving:
•
Have your vehicle in good shape for winter.
•
You may want to put winter emergency supplies
in your vehicle.
Also see Tires on page 5-59.
Include an ice scraper, a small brush or broom, a
supply of windshield washer fluid, a rag, some winter
outer clothing, a small shovel, a flashlight, a red
cloth and reflective warning triangles. And, if you will be
driving under severe conditions, include a small bag
of sand, a piece of old carpet or a couple of burlap bags
to help provide traction. Be sure you properly secure
these items in your vehicle.
4-40