Saturn Sky (2008 year). Manual - part 9
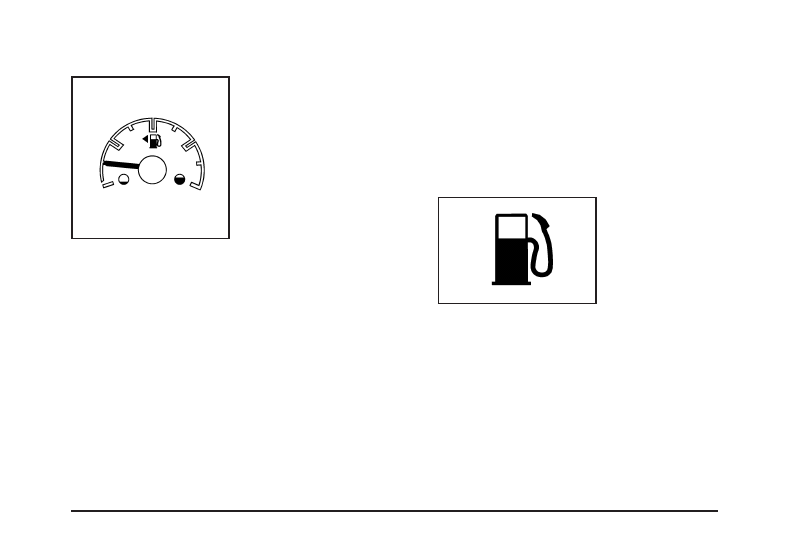
Fuel Gage
Your fuel gage tells you
about how much fuel you
have left.
Here are four things that some owners ask about.
None of these show a problem with your fuel gage:
•
At the service station, the gas pump shuts off before
the gage reads full.
•
It takes a little more or less fuel to fill up than the
gage indicated. For example, the gage may have
indicated the tank was half full, but it actually took a
little more or less than half the tank’s capacity to
fill the tank.
•
The gage moves a little when you turn a corner or
speed up.
•
The gage doesn’t go back to empty when you turn
off the ignition.
For your fuel tank capacity, see Capacities and
Specifications on page 5-99.
Low Fuel Warning Light
This light, below the
fuel gage, will come on
briefly when the engine
is started.
This light also comes on when the fuel tank is low on
fuel. When you add fuel the light should go off. If it does
not, have your vehicle serviced.
3-37