Genesis G90 (2017 year). Manual - part 28
Inner panel fuse panel
7-61
07
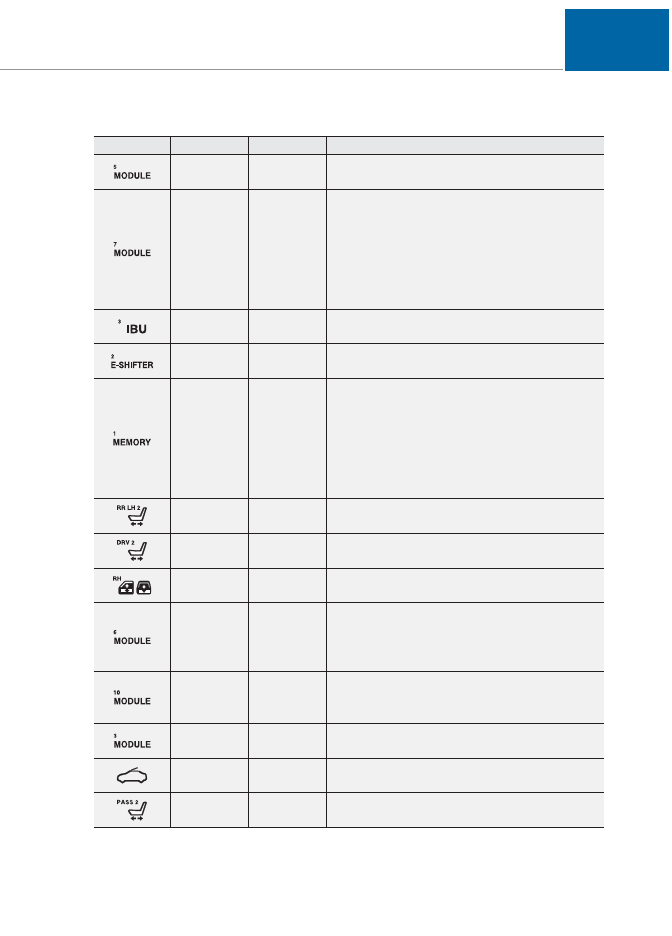
Symbol
Fuse name Fuse rating
Circuit protected
MODULE5
10A
Stop Lamp Switch, Driver/Passenger Door Module
MODULE7
10A
Electro Chromic Mirror, A/V & Navigation Head
Unit, AMP, A/C Control Module, Front A/C
Controller, Air Quality Sensor, MTS E-Call Module,
Rear Seat Warmer Control Module LH/RH Head
Lamp LH/RH Driver/Passenger CCS Module
Rear CCS Module LH/RH, Driver/Passenger IMS
Control Module, Rear IMS Control Module LH/RH,
Rear Seat Console Switch
IBU3
10A
IBU Control Module
E-SHIFTER2
10A
Electronic ATM Shift Lever
MEMORY1
10A
Security Indicator, A/C Control Module, Front A/C
Controller, Instrument Cluster, Driver/Passenger
IMS Control Module, Rear IMS Control Module
LH/RH, Head-Up Display, Analog Clock
Driver/Passenger Seat Control Switch, Power
Trunk Module, Rear Seat Control Switch LH/RHM
Driver/Passenger Smart Key, Outside Handle Rear
Smart Key Outside Handle LH/RH
RR LH2
P/SEAT
25A
Rear IMS Control Module LH
DRIVER
P/SEAT2
25A
Driver IMS Control Module
PASSENGER
P/WINDOW
30A
Passenger Power Window Module
Rear Power Window Module RH
MODULE 6
10A
Crash Pad Switch, Blind Spot Detection Radar
LH/RH ECS Unit, Electric Parking Brake Module,
Lane Keeping Assist Module, Front Console
Switch, Steering Tilt & Telescopic Module
MODULE 10
10A
Cooling Fan Controller (BLDC), Rear Seat Console
Switch, Around View Unit, Parking Guide Unit
MODULE3
10A
GATEWAY (B+ (MCU)), Data Link Connector,
Hazard Switch
SUNROOF
25A
Sunroof Motor
PASSENGER
P/SEAT2
25A
Passenger IMS Control Module