Snowmobile Arctic Cat (2000 year). Manual - part 165
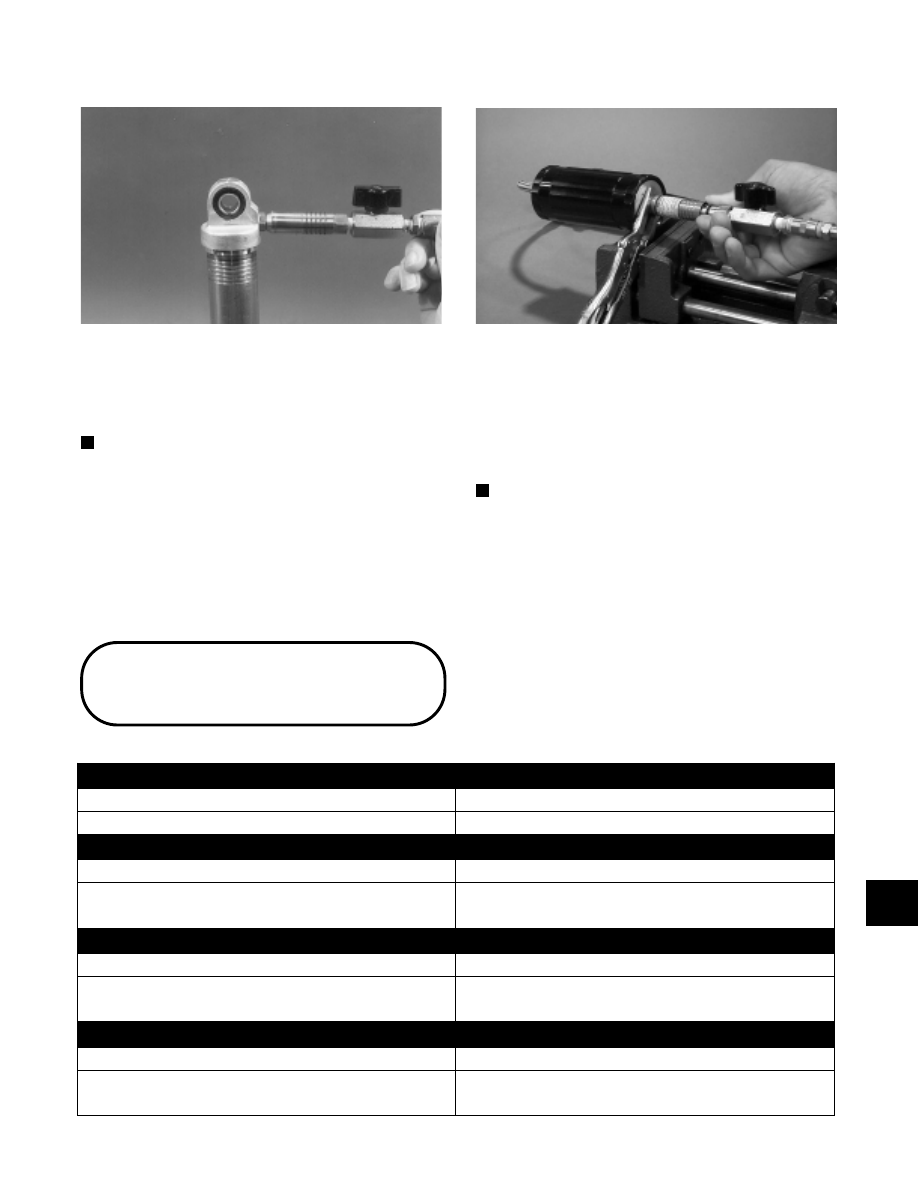
Fig. 9-554
AG335
2. Turn the nitrogen tank valve open and slowly rotate
the regulator T-handle inward until the gauge reads
200 lb of pressure; then close filler valve and
remove inflation needle.
NOTE: On remote reservoir shocks, use a needle
nose vise grips to hold the bladder housing to keep
the end cap from pushing into the reservoir when
inserting the inflation needle.
Fig. 9-555
AG851
3. Install the screw into the bladder housing and
tighten securely.
4. With the reservoir pressurized, push down on the
shock shaft until it nearly bottoms and release it.
The shaft should return to its extended position
smoothly.
NOTE: If a soft spot or a mushy area is felt as the
shaft is pushed down, this would indicate air in the
shock body. If there is air in the shock body,
discharge the reservoir gas pressure. Disassemble
the shock to the point that the “filling with oil” and
the “bleeding air” procedures can be redone.
Assemble and repeat the pressurizing procedure.
To test the shock absorber for nitrogen gas leaks,
submerge in water.
Troubleshooting
Track
Problem: Track Edge Frayed—Drive Lugs Worn
Condition
Remedy
1. Track alignment adjusted incorrectly
1. Align—replace track
Problem: Track Worn Adjacent to Outer Drive Lugs
Condition
Remedy
1. Track tension adjusted incorrectly
1. Adjust track tension
2. Rear idler wheels dirty—damaged
2. Clean—replace idler wheels
Problem: Track Ratchets—Slaps Tunnel
Condition
Remedy
1. Track tension adjusted incorrectly (too loose)
1. Adjust track tension (tighten)
2. Drive sprockets misaligned—damaged
2. Align—replace sprockets
Problem: Wear-Strip Wear Excessive
Condition
Remedy
1. Slide rail bent—broken—damaged
1. Repair—replace slide rail
2. Track alignment adjusted incorrectly
2. Adjust track alignment
9
9-177