Suzuki Grand Vitara JB416 / JB420. Manual - part 8
0B-4 Maintenance and Lubrication:
Repair Instructions
Engine Accessory Drive Belt Inspection
S5JB0A0206001
WARNING
!
All inspection and replacement are to be
performed with ENGINE NOT RUNNING.
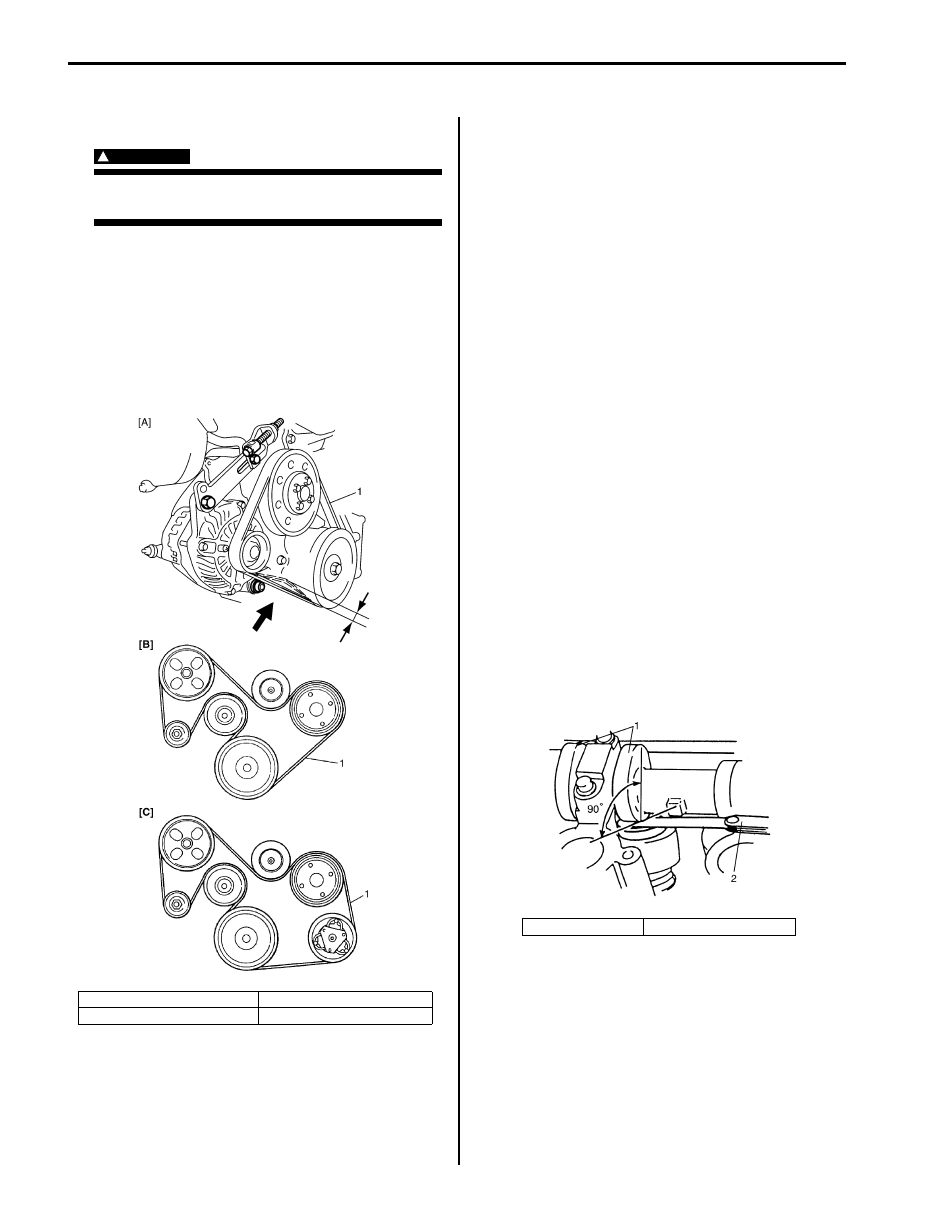
Water Pump and Generator Drive Belt
Inspect belt for cracks, cuts, deformation, wear
cleanliness and tension. If any defect exists, adjust or
replace.
For belt inspection, refer to “Water Pump and Generator
Drive Belt Tension Inspection and Adjustment (For M16
Engine) in Section 1J” or “Water Pump and Generator
Drive Belt On-Vehicle Inspection (For J20 Engine) in
Section 1J”.
Power Steering Pump and A/C Compressor (If
Equipped) Drive Belt (M16 Engine)
Inspect belt for cracks, cuts, deformation, wear
cleanliness and tension. If any defect exists, adjust or
replace.
For inspection, refer to “P/S Pump and A/C Compressor
(If Equipped) Drive Belt Inspection and Adjustment for
M16 Engine Model in Section 6C”.
Engine Accessory Drive Belt Replacement
S5JB0A0206002
Water Pump and Generator Drive Belt
Replace belt referring to “Water Pump and Generator
Drive Belt Removal and Installation (For M16 Engine) in
Section 1J” or “Water Pump and Generator Drive Belt
Removal and Installation (For J20 Engine) in Section
1J”.
Power Steering Pump and A/C Compressor (If
Equipped) Drive Belt (M16 Engine)
Replace belt and then adjust belt tension referring to “P/
S Pump and A/C Compressor (If Equipped) Drive Belt
Removal and Installation for M16 Engine Model in
Section 6C”.
Valve Lash (Clearance) Inspection
S5JB0A0206043
Inspect intake and exhaust valve lash and adjust as
necessary.
Refer to “Valve Lash (Clearance) Inspection: For M16A
Engine with VVT in Section 1D” or “Valve Lash
(Clearance) Inspection: For J20 Engine in Section 1D”
for valve lash inspection and adjustment procedure.
[A]: M16 engine
[C]: J20 engine with A/C
[B]: J20 engine without A/C
I5JB0A020018-01
1. Camshaft
2. Thickness gauge
I2RH0B020003-02