Geely Emgrand X7. Manual part - 691


  Главная      Geely     Geely Emgrand X7 - Manual


поиск по сайту            


содержание   ..  689  690  691  692  ..


Geely Emgrand X7. Manual part - 691


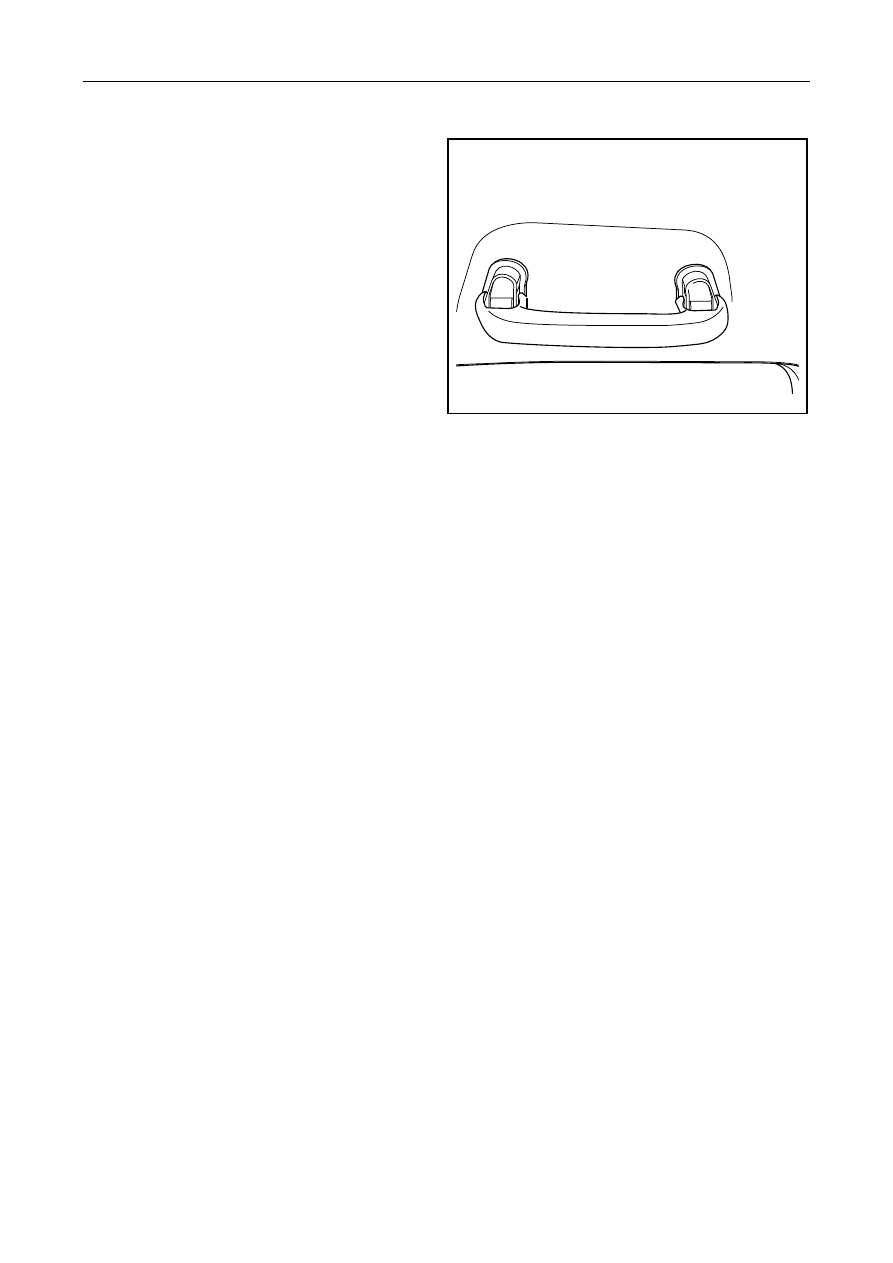
10.  Install trimming covers on both sides of right 

front safety handle. The installation of the left 
rear and right rear safety handles is the same. 

11.   Install interior reading lamp . 

12.   Install Rear post trim plate 

13.   Install middle column trimming plate. 

14.   Install front column trimming plate. 

15.   Install doorsill inner trimming plate of four-door 

vehicle. 

16.  Connect the battery negative cable. 

NL12-0190b

2763


12.9.1.12 Indoor carpet replacement 

Dismantlement Procedure 

Warning! 

Warning: Refer to Warning on Battery Disconnection in Warnings and Precautions. 

1.    Disconnect the battery negative cable. Refer to 

2.11.8.1 Battery Cable Disconnection/Connection Procedures.


2.    For dismantling of left, right front row seat, refer to 

12.7.3.2 Replacement of front row seat

3.    For dismantling of left and right middle row seats, refer to 

12.7.3.4 Replacement of middle row seats.


4.    For dismantling of auxiliary instrument table assembly, refer to 

12.8.3.2 Replacement of auxiliary instrument 

panel. 

5.   For dismantlement of the left/right internal threshold trim panel, see 

12.9.1.1 Replacement of Left/Right 

Front Threshold Internal Trim Panel Assembly. 

6.    For dismantlement of lower trim panels for left and right center pillars, see 

12.9.1.3 Replacement of Center 

Pillar Trim Panels. 

7.    For dismantlement of the rear pillar top trim panel, see 

12.9.1.6 Replacement of Rear Pillar Top Trim Panel. 

8.    For dismantlement of the right intermediate seat belt lock catch assembly, see

 9.3.7.5 Replacement of 2nd 

Row Right Seat Belt Lock Catch. 

9.    Remove the in-vehicle carpet. 

Installation Procedure: 

1.  Install the passenger compartment floor carpet. 

2.    Install left / right middle row seat 

3.    Install left and right front row seats. 

4.    Install right safety belt buckle assembly of middle row seat. 

5.    Install the trim panel for the boot. 

6.    Install the left and right lower center pillar trim panels. 

7.    Install the left/right threshold internal trim panel. 

8.    Install the floor console assembly. 

9.  Connect the battery negative cable. 

2764


12.10 Exterior trim 

12.10.1 Dismantle and install 

12.10.1.1 Front/rear logo front/rear replacement 

Dismantlement Procedure 

1.  Dismantle logo on the front of vehicle by using 

slotted screwdriver. 

Notes: 

The screwdriver port is covered by the adhesive tape 
to protect the parts. 


NL12-0191b


Installation Procedure: 

1.  Use a special cleaning solution to clean the front 

emblem attached surface. 

2.  Install logo on the front of vehicle to the 

specified position. 

Notes: 

For the method for replacing the logo on the tailing of 
the body, refer to the method for replacement of the 
logo on the head of the body.


NL12-0192b

2765


12.10.1.2 Engine hood sound insulation cushion replacement 

Dismantlement Procedure 

1.  Dismantle the retaining clips for engine hood 

interior trim panel, and dismantle the sound 
insulation pad. 


NL12-0193b

Installation Procedure: 

1.  Install engine cover inner trimming plate buckle, 

and fix sound insulation pad. 


NL12-0193b


2766


содержание   ..  689  690  691  692  ..