содержание .. 659 660 661 ..
Geely Emgrand X7. Manual part - 660
8. Install the side trim panel of the ventilation cover
plate.
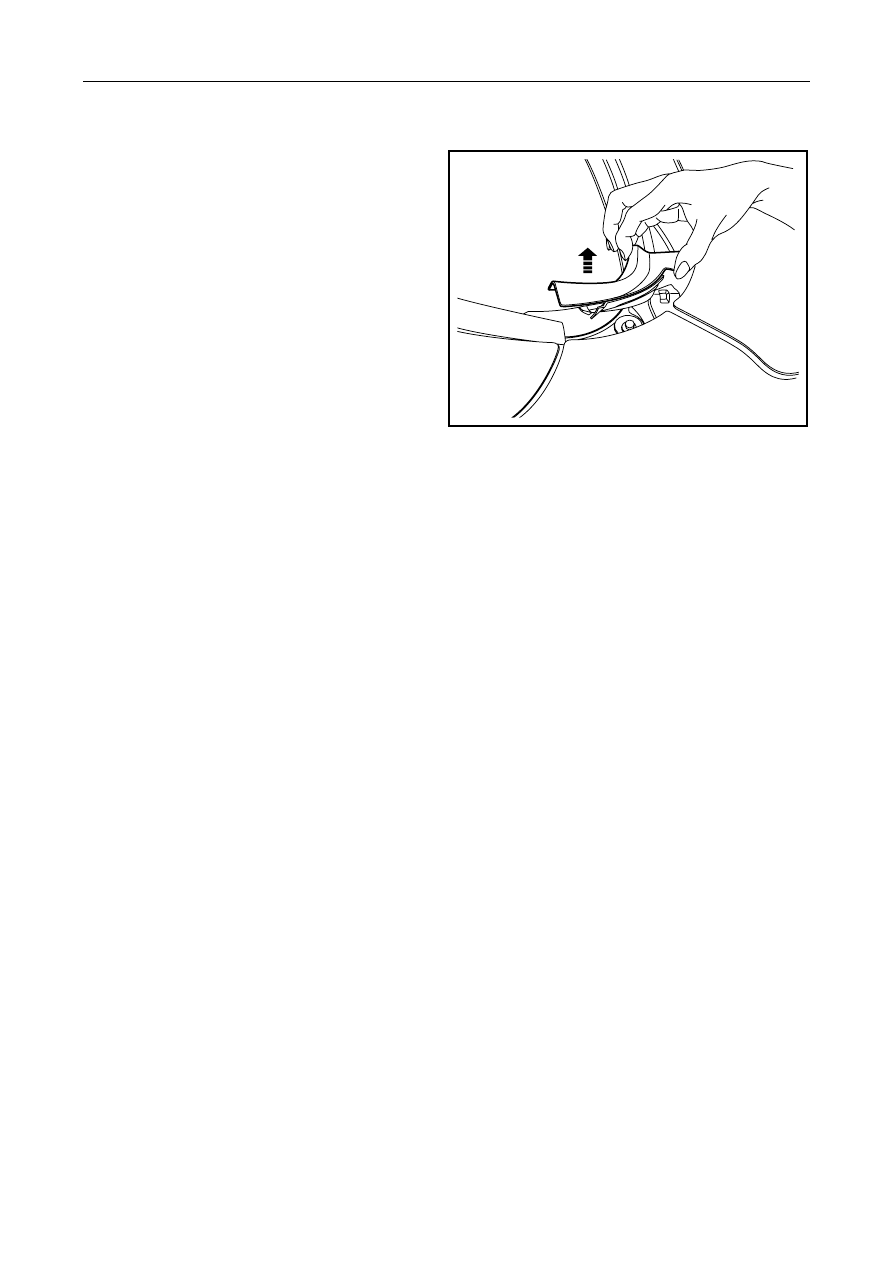
9. Install
the
headlamp.
10. Install doorsill lower trimming plate.
11. Install the front fender liner.
12. Install the wheel.
13. Lower the vehicle.
14. Install front bumper support and front bumper.
NL12-0130b
2639