содержание .. 111 112 113 114 115 ..
Geely Emgrand X7. Manual part - 114
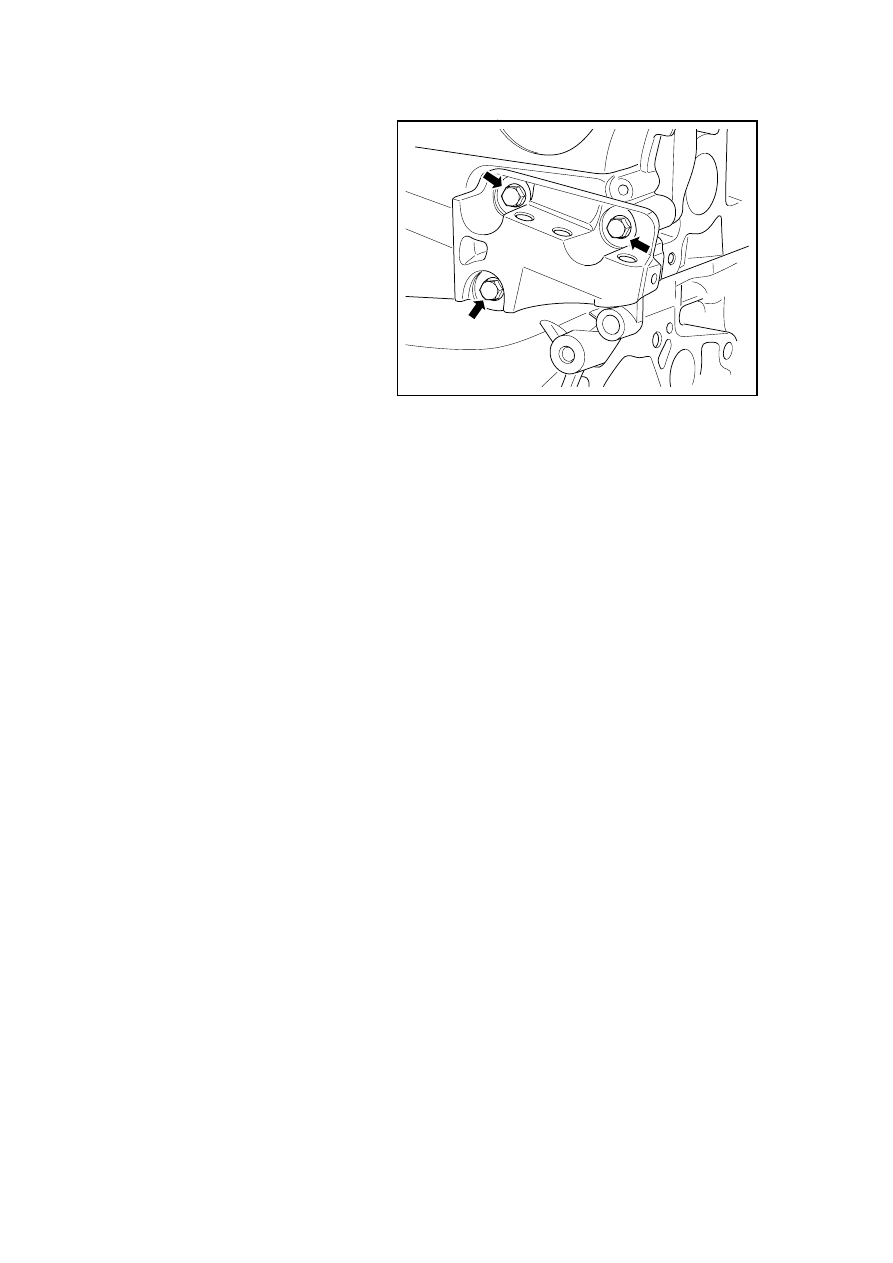
Installation Procedure:
1. Install and tighten the fixing bolts
of engine mount to the specified
torque.
2. Install and tighten the right
engine suspension to the engine
retaining bolts and nuts.
3. Install and tighten the engine
right suspension to the body
bolts.
4. Remove the supporting jack.
5. Install the generator assembly.
6. Install the engine hood.
7. Install negative cable of battery.
GC02-0022c
455