Chrysler Le Baron, Dodge Dynasty, Plymouth Acclaim. Manual - part 113
All subassemblies should be inspected and/or recon-
ditioned when transaxle recondition is performed. Re-
fer to appropriate subassembly in this section for
recondition procedure.
ASSEMBLY SUBASSEMBLY INSTALLATION
When rebuilding, reverse the above procedure.
VALVE BODY-RECONDITION
Tighten all valve body screws to 5 Newton-
meters (40 in.lbs.)
Do not clamp any portion of valve body or transfer
plate in a vise. Any slight distortion of the aluminum
body or transfer plate will result in sticking valves,
excessive leakage or both. When removing or in-
stalling valves or plugs, slide them in or out
carefully. Do not use force.
TAG ALL SPRINGS AS THEY ARE REMOVED
FOR REASSEMBLY IDENTIFICATION.
CLEANING AND INSPECTION
Allow all parts to soak a few minutes in a suitable
clean solvent. Wash thoroughly and blow dry with
compressed air. Make sure all passages are clean and
free from obstructions.
Inspect manual and throttle valve operating levers
and shafts for being bent, worn or loose. If a lever is
loose on its shaft, it should be replaced. Do not attempt
to straighten bent levers.
Inspect all mating surfaces for burrs, nicks and
scratches. Minor blemishes may be removed with cro-
cus cloth, using only a very light pressure. Using a
straightedge, inspect all mating surfaces for warpage
or distortion. Slight distortion may be corrected, using
a surface plate. Make sure all metering holes in steel
plate are open. Using a pen light, inspect bores in valve
body for scores, scratches, pits and irregularities.
Inspect all valve springs for distortion and col-
lapsed coils. Inspect all valves and plugs for burrs,
nicks, and scores. Small nicks and scores may be re-
moved with crocus cloth, providing extreme care is
taken not to round off sharp edges. The sharpness of
these edges is important. They prevent foreign mat-
ter from lodging between valve and valve body, thus
reducing possibility of sticking. Inspect all valves
and plugs for freedom of operation in valve body
bores.
When bores, valves, and plugs are clean and dry,
the valves and plugs should fall freely in the bores.
The valve body bores do not change dimensions with
use. Therefore, a valve body that was functioning
properly when vehicle was new, will operate cor-
rectly if it is properly and thoroughly cleaned. There
is no need to replace valve body unless it is damaged
in handling.
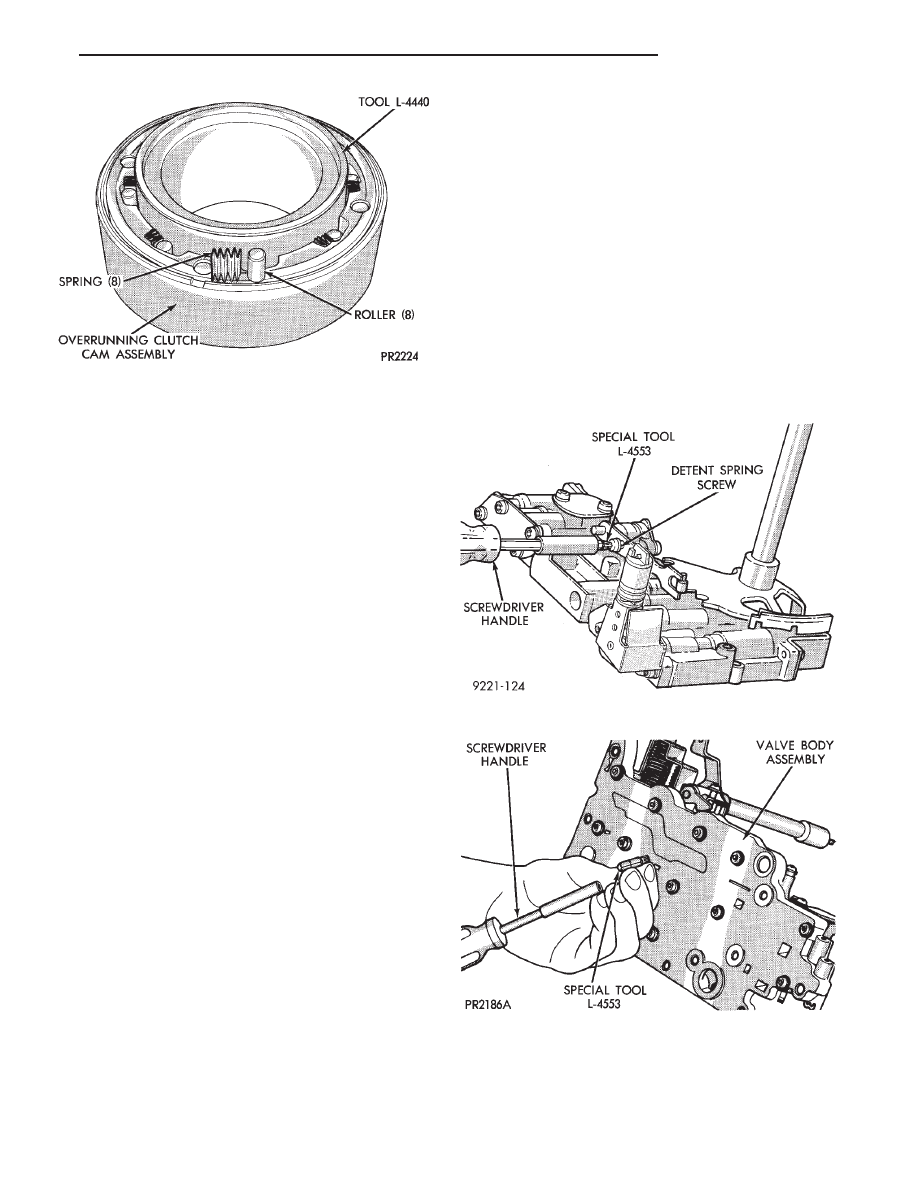
Fig. 1 Detent Spring Attaching Screw and Spring
Fig. 2 Remove Valve Body Screws
Fig. 33 Install Overrunning Clutch Rollers and
Springs
Ä
TRANSAXLE
21 - 57