Volvo XC60 (2019 year). Instruction - part 13
CLIMATE CONTROL
* Option/accessory.
228
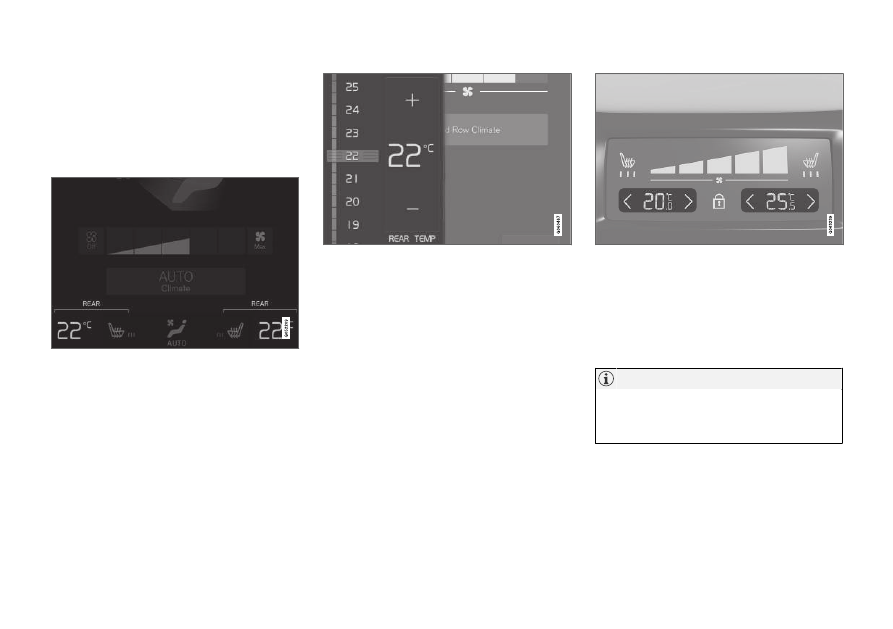
Setting the temperature for the rear
seats*
The temperature can be set to the desired num-
ber of degrees for the rear seat climate zones.
Setting the temperature for the rear
seats from the front seats
Temperature buttons in the Rear climate tab in Climate
view.
1. Open Climate view in the center display and
select the
Rear climate
tab.
2. Tap the left- or right-side temperature button
to open the control.
Temperature control.
3. Set the temperature by:
•
dragging the control to the desired tem-
perature
•
tapping
+
−
to raise/lower the tempera-
ture.
> The temperature will be set and the but-
ton will display the new temperature.
Setting the temperature for the rear
seats from the rear seats
1. Tap the unlock button on the tunnel con-
sole's climate panel to access the controls.
Temperature controls on the rear climate panel of the
tunnel console.
2. Tap the left or right side's
<>
buttons to
lower/raise the temperature.
> The temperature will be changed and the
climate panel screen will show the new
temperature.
Heating/cooling cannot be accelerated by
choosing a higher/lower temperature than
the desired temperature.
Related information
•