Volkswagen Fox (2004 year). Manual - part 55


  Index      Volkswagen     Volkswagen Fox - service repair manual 2004 year


Search            copyright infringement  


Content   ..  53  54  55  56   ..


Volkswagen Fox (2004 year). Manual - part 55


Sequence Wheel brake cyl‐

inder brake shoes

Amount of brake fluid that must be

drained from the wheel brake cyl‐

inders, that is, from the brake fit‐

tings:

right rear

0.25 litre

left rear

0.25 litre

right front

0.25 litre

left front

0.25 litre

Total quantity: 1 litre 

15)

15) of brake fluid drained from the brake fluid reservoir and from quantity changed

in the hydraulic clutch drive.

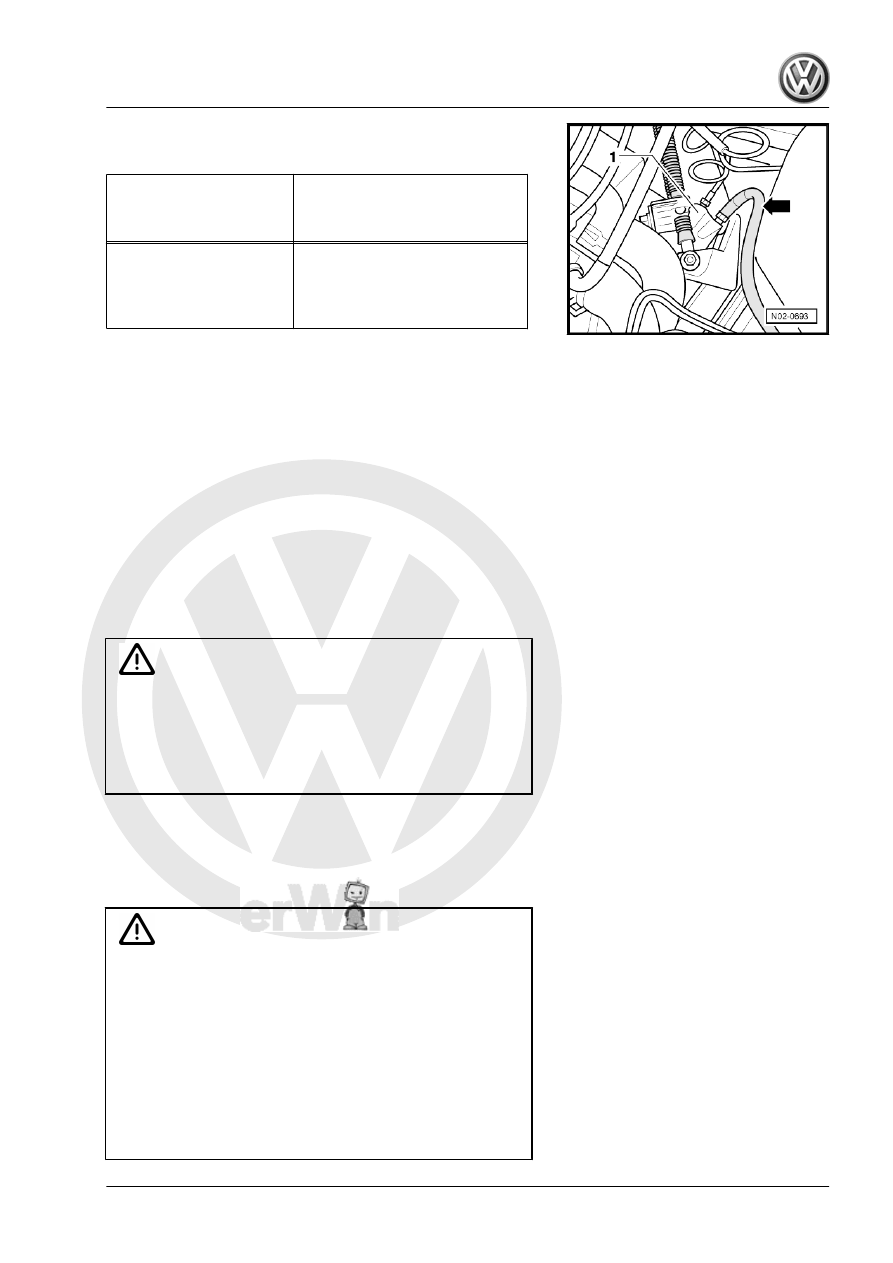
– Put the protection covers in the bleeding screws.
– Change the position of the passage lever on the Brake filler

and bleeder -VAS 5234- or on the Brake bleeding device -VAG

1869- to position -B- (check the operating instructions).

– Remove the passage hose from the adapter.
– Remove the brake fluid reservoir adaptor.
– Install the brake fluid reservoir cover.
– Remove the Brake pedal's tensioning element -VAG 1869/2-

between the driver's seat and the brake pedal, by pressing it.

– Check the brake pedal's pressure and its free clearance. Max.

clearance 1/3 of the pedal stroke.

WARNING

Do not forget to always correct the brake fluid's level in the

reservoir.
Never let it reach the minimum level, otherwise air may enter

the system.
Do not reuse the (used) aspirated brake fluid!

4.40

Brake fluid level (depending on brake

pad/lining wear) - check

Use only new, original VW brake fluid.

WARNING

♦ Do not let the brake fluid contact fluids containing mineral

oils (oil, petrol, cleaning products). Mineral oils damage

the seals and brake system hoses.

♦ The brake fluid is toxic. Additionally, due to its corrosive

effect, it must not come into contact with painted surfaces.

♦ The brake fluid is hygroscopic, that is, it absorbs the local

air humidity and, for this reason, it is stored in airtight

packages.

♦ Wash off any brake fluid spillage with plenty of water.
♦ Follow the rules for disposal!

FOX 2004 ➤

4. Service descriptions    

93

marking.

Note

In order to prevent the brake fluid from overflowing, the maximum

marking must not be exceeded.

Inspection service:
– The fluid level must always be assessed, based on the brake

pad wear. With the vehicle in operation, the fluid level lowers

due to wear and the automatic seating of the brake pads.

– With the fluid level at the minimum marking and slightly above

it, it becomes necessary to replenish the fluid when the brake

pad wear limit has almost been reached.

– If the pads are new, or far from their wear limit, the fluid level

must be within the minimum and maximum markings.

– If the fluid level drops below the minimum marking, check the

brake system (repair measure) before replenishing the brake

fluid.

4.41

Headlight adjustment - check and adjust

headlights if necessary

Special tools and workshop equipment required
♦ Headlight aligner -VAS 5046- or -VAS 5047-
In principle, the following checking and adjustment description is

valid for every country. However, it is necessary to consider the

guidelines and standards of each country.
Checking and adjustment conditions:
• Tyre inflation pressure OK.
• The headlight lenses must never be damaged or dirty.
• Reflectors and lamps OK.
• The vehicle load must be known.
Load: With a person or 75 kg on the driver's seat of empty vehicles

(empty weight):
The weight of an empty vehicle is the weight of the vehicle ready

for operation and with a full fuel tank (at least 90%), including the

weight of every component required to operation (e.g: spare

wheel, tools, towing hook, fire extinguisher, etc).
If the fuel tank is not at least 90% full, then simulate the load as

follows:
– Check the tank level on the fuel gauge. Establish the additional

weight according to the table below and put this weight in the

luggage compartment.

4.41.1

Filling quantities table

Fuel reservoir indicator filling

level

Additional weight in kg

1/4

30

1/2

20

FOX 2004 ➤

94

    4. Service descriptions

level

Additional weight in kg

3/4

10

full

0

Example:
If the fuel reservoir is half full, you must put an additional weight

of 20 kg in the boot.

Note

As additional weight, it is preferable to use fuel containers filled

with water (one fuel container with a 5-liter capacity corresponds

to a weight of approximately 5 kg).

The vehicle should be moved for a few meters and dampened

several times both at the front and at the rear so that the shock

absorbers are properly settled.
♦ The vehicle and the headlight adjusting device must be on a

level surface. ⇒  Instruction manual for the headlight adjusting

device.

♦ The vehicle and the headlight adjusting device must be

aligned.

♦ Tilting must be adjusted.
The frame above the headlight has the tilt values engraved in “%”.

The headlights must be adjusted according to the following data.

The percentage is related to a projection distance of 10 meters.

For instance, a 1.0% tilting value corresponds to 10 cm.
♦ The knurled wheel for adjusting the headlight reach must be

in position (-).

4.41.2

Check the headlight adjustment (with

the new inspection display without 15º

adjustment line).

Main headlights:
Please check the following:
– Check if, with the low beam on, the horizontal light-dark limit

contacts the separation limit -1- of the test surface.

FOX 2004 ➤

4. Service descriptions    

95

part and the right ascending part of the light-dark limit runs

vertically through the central mark -3-. In this case, the light

core of the light beam is at the right of the vertical line.

Note

Line -1- is the measurement from the ground to the centre of

the headlight minus 4.72 in for a distance of 10.94 yd.

Line -1- is the measurement from the ground to the centre of

the headlight minus 60 mm for a distance of 5 m.

For an easier determination of the breaking point -2-, cover

and then release the left half of the headlight (seen from the

driver's side). Then, test the low beam once more.

After correctly adjusting the low beam, the high beam is auto‐

matically adjusted. This means that the high beam centre must

be on the headlight central mark -3-. A 200-mm deviation to

the right or to the left, 150 mm upwards and 100 mm down‐

wards is acceptable.

– For the current checking viewer with an adjustment line of 15º,

the same adjustment as for new checking viewer applies. To

avoid incorrect adjustments, the 15º line will no longer be con‐

sidered.

Fog lights

– Check if the light-dark limit reaches the adjustment line and

runs vertically over the entire measuring device line.

Note

The light-dark separation mark is the measurement from the

ground to the centre of the headlight minus 7.87 in in for 10.94

yd of distance.

The light-dark separation mark is the measurement from the

ground to the centre of the headlight minus 100 mm in for 5 m

of distance.

Long reach headlights (CrossFox)

FOX 2004 ➤

96

    4. Service descriptions


Content   ..  53  54  55  56   ..