Subaru Impreza 3 / Impreza WRX / Impreza WRX STI. Manual - part 739
EI-43
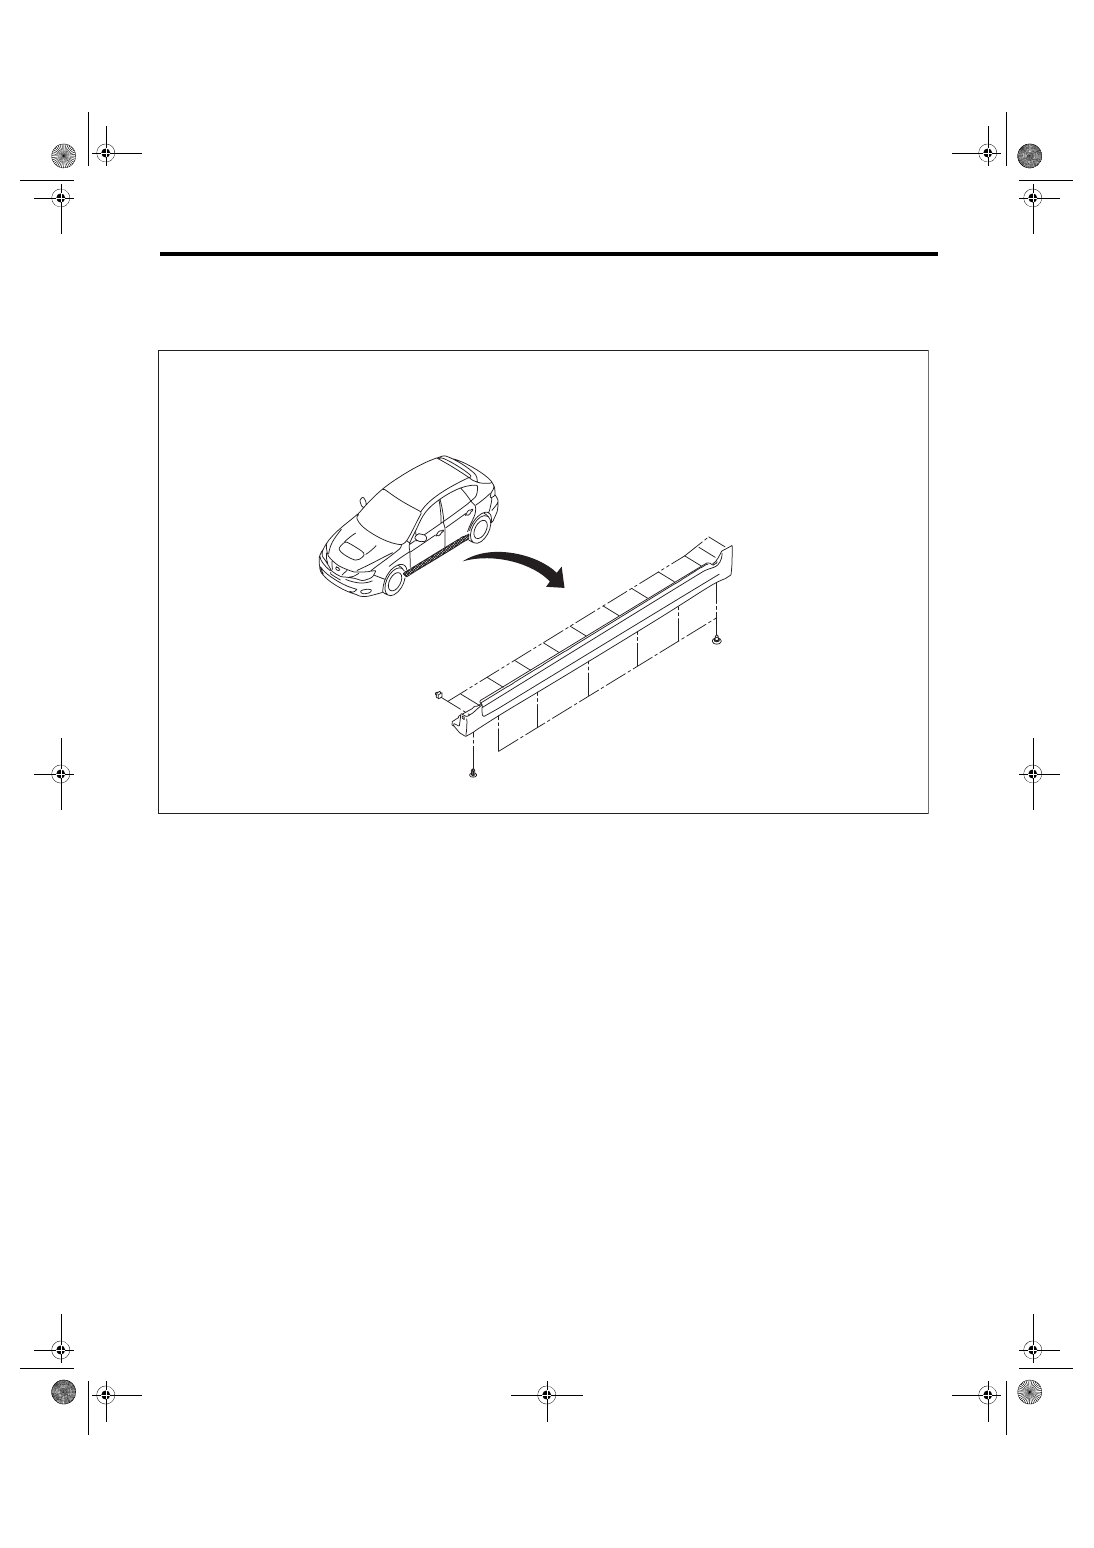
Side Sill Spoiler
EXTERIOR/INTERIOR TRIM
12.Side Sill Spoiler
A: REMOVAL
Remove the clip, and side spoiler.
B: INSTALLATION
Install each part in the reverse order of removal.
EI-02025