Subaru Impreza 3 / Impreza WRX / Impreza WRX STI. Manual - part 406
5MT-45
Center Differential
MANUAL TRANSMISSION AND DIFFERENTIAL
12.Center Differential
A: REMOVAL
1) Remove the manual transmission assembly
from the vehicle. <Ref. to 5MT-23, REMOVAL,
Manual Transmission Assembly.>
2) Remove the back-up light switch and the neutral
position switch. <Ref. to 5MT-33, REMOVAL,
3) Remove the transfer case together with the ex-
tension case assembly. <Ref. to 5MT-35, REMOV-
AL, Transfer Case and Extension Case
4) Remove the extension case assembly. <Ref. to
5MT-35, REMOVAL, Transfer Case and Extension
5) Remove the transfer driven gear. <Ref. to 5MT-
43, REMOVAL, Transfer Driven Gear.>
6) Remove the center differential.
B: INSTALLATION
1) Attach the center differential to transfer case.
2) Install the transfer driven gear. <Ref. to 5MT-43,
INSTALLATION, Transfer Driven Gear.>
3) Install the extension case assembly. <Ref. to
5MT-35, INSTALLATION, Transfer Case and Ex-
4) Install the transfer case together with the exten-
sion case assembly. <Ref. to 5MT-35, INSTALLA-
TION, Transfer Case and Extension Case
5) Install the back-up light switch and the neutral
position switch. <Ref. to 5MT-33, INSTALLATION,
6) Install the manual transmission assembly to the
vehicle. <Ref. to 5MT-26, INSTALLATION, Manual
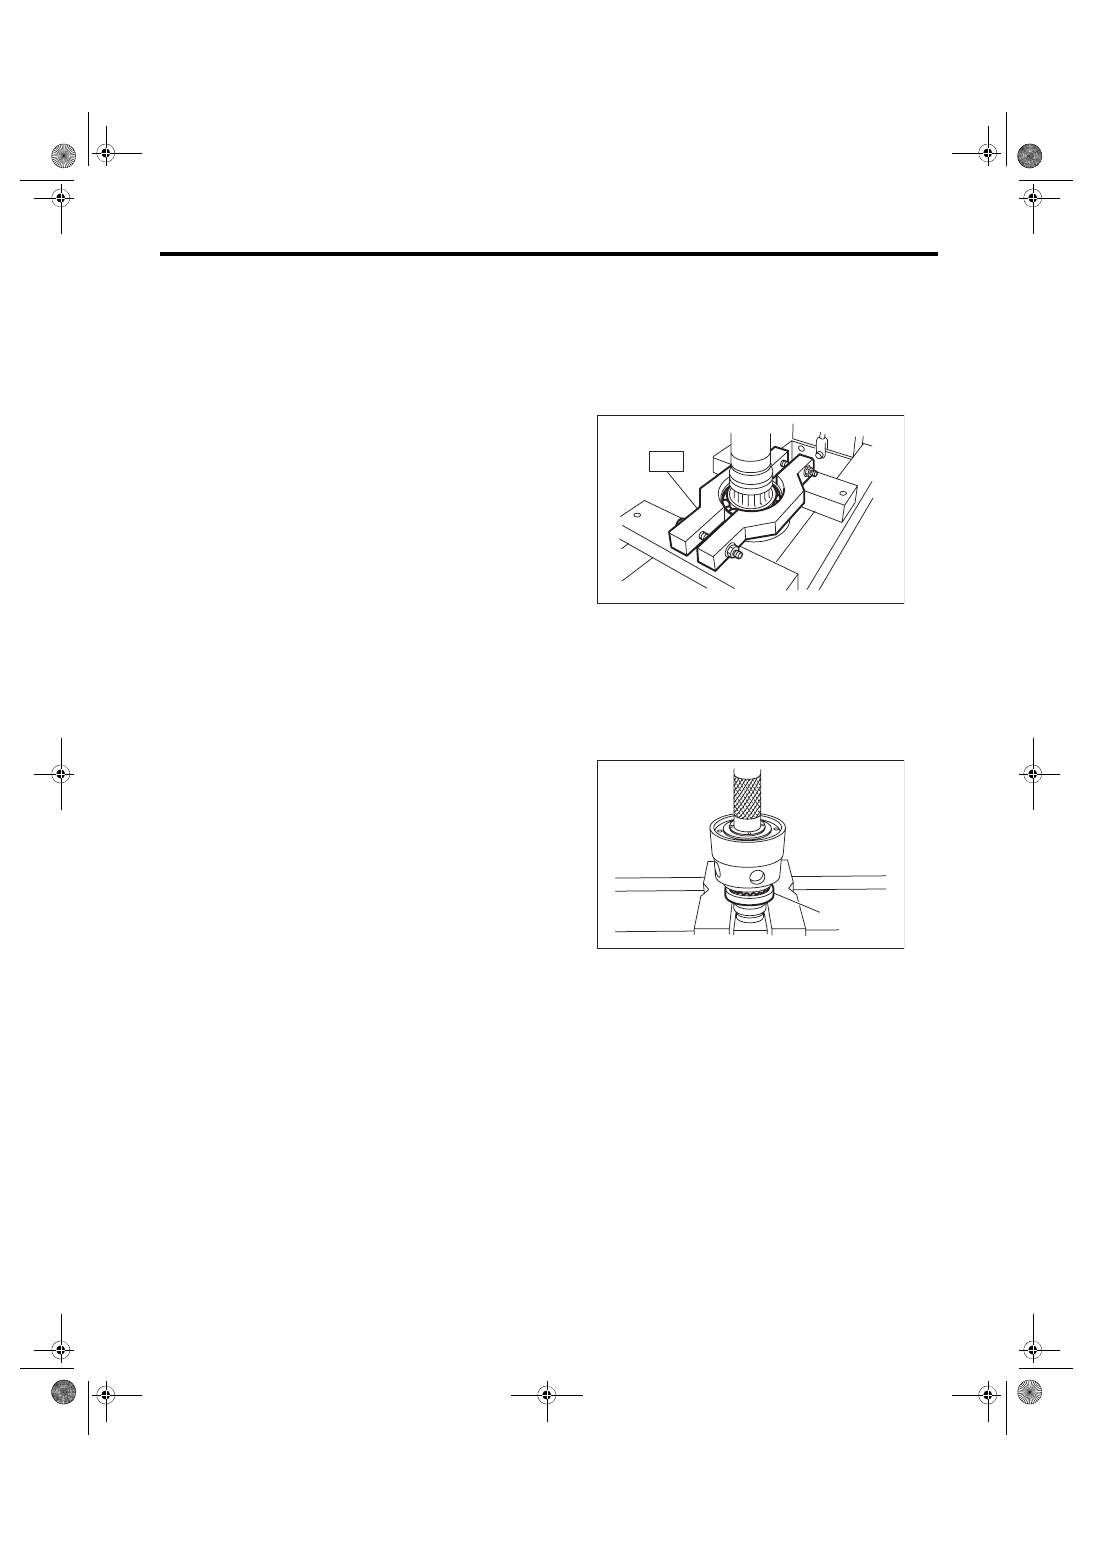
C: DISASSEMBLY
Remove the ball bearing using ST.
NOTE:
Center differential is a non-disassembled part
which should not be disassembled.
ST 498077300
CENTER DIFFERENTIAL
BEARING REMOVER
D: ASSEMBLY
Install the ball bearing to the center differential as-
sembly.
CAUTION:
• Do not apply a load in excess of 10 kN (1 ton,
1.1 US ton, 1.0 Imp ton).
• Use a new ball bearing.
E: INSPECTION
1) Bearing
Replace the bearings in the following cases.
• In case of broken or rusty bearings
• In case of worn or damaged bearings
• When the bearings fail to turn smoothly or emit
noise in rotation after gear oil lubrication.
• When bearing has other defects.
2) Center differential
If there is wear or damage, replace the center dif-
ferential case assembly.
(A) Ball bearing
MT-00147
ST
MT-00148
(A)