Subaru Impreza 3 / Impreza WRX / Impreza WRX STI. Manual - part 302
EN(H4DOTC)(diag)-432
Diagnostic Procedure with Diagnostic Trouble Code (DTC)
ENGINE (DIAGNOSTICS)
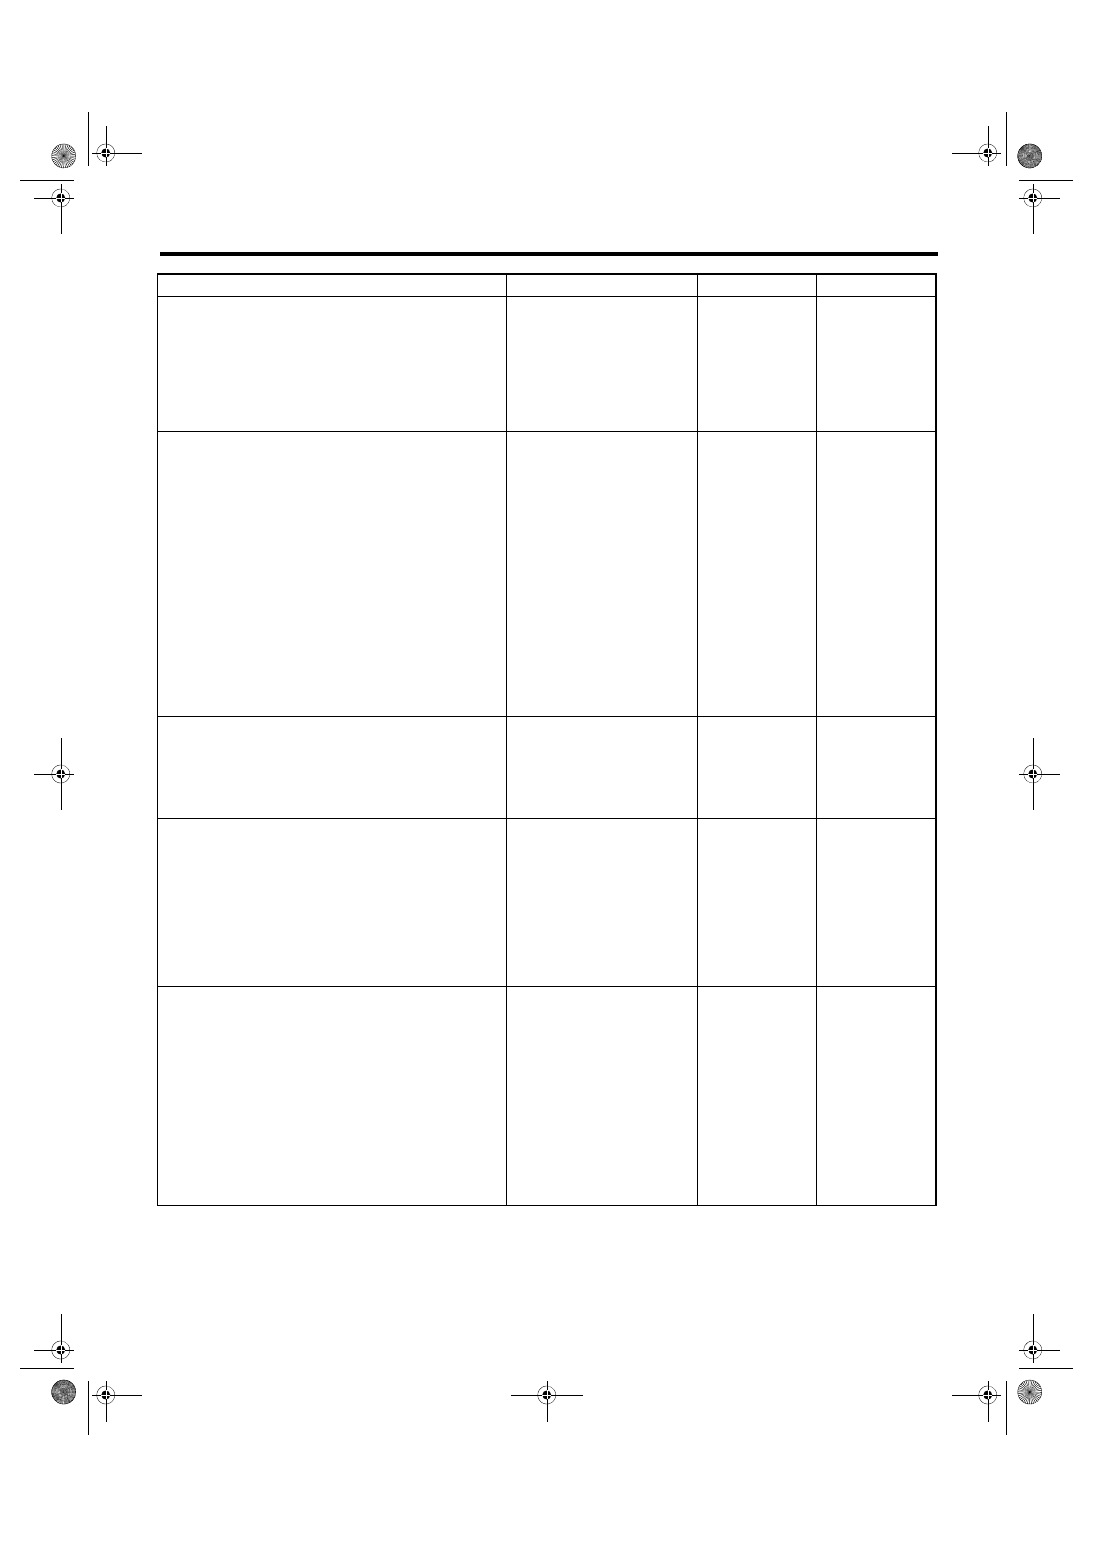
Step
Check
Yes
No
1
CHECK HARNESS BETWEEN ECM AND
LEAK CHECK VALVE ASSEMBLY CONNEC-
TOR.
1) Turn the ignition switch to ON.
2) Measure the voltage between ECM connec-
tor and chassis ground.
Connector & terminal
(B135) No. 4 (+) — Chassis ground (–):
Is the voltage 10 V or more?
2
CHECK FOR POOR CONTACT.
Check for poor contact of ECM connector.
Is there poor contact of ECM
connector?
Repair the poor
contact of ECM
connector.
Even if DTC is
detected, the cir-
cuit has returned to
a normal condition
at this time. Repro-
duce the failure,
and then perform
the diagnosis
again.
NOTE:
In this case, tem-
porary open or
short circuit of har-
ness or temporary
poor contact of
connector may be
the cause.
3
CHECK POWER SUPPLY TO LEAK CHECK
VALVE ASSEMBLY.
Measure the voltage between the leak check
valve assembly connector and engine ground.
Connector & terminal
(R400) No. 5 (+) — Engine ground (–):
Is the voltage 10 V or more?
Repair the power
supply circuit.
4
CHECK HARNESS BETWEEN ECM AND
LEAK CHECK VALVE ASSEMBLY CONNEC-
TOR.
1) Turn the ignition switch to OFF.
2) Disconnect the connector from ECM and
the leak check valve assembly.
3) Measure the resistance between leak check
valve assembly and chassis ground.
Connector & terminal
(R400) No. 1 — Chassis ground:
Is the resistance 1 MΩ or
more?
Repair the short
circuit to ground in
harness between
ECM connector
and leak check
valve assembly
connector.
5
CHECK HARNESS BETWEEN ECM AND
LEAK CHECK VALVE ASSEMBLY CONNEC-
TOR.
Measure the resistance of harness between
ECM connector and the leak check valve
assembly connector.
Connector & terminal
(B135) No. 4 — (R400) No. 1:
Is the resistance less than 1 Ω? Go to step
Repair the harness
and connector.
NOTE:
In this case, repair
the following item:
• Open circuit in
harness between
ECM
connector
and the leak check
valve
assembly
connector
• Poor contact of
coupling connector