Subaru Legacy (2005 year). Manual - part 298
CO(H4DOTC)-23
COOLING
Radiator Cap
7. Radiator Cap
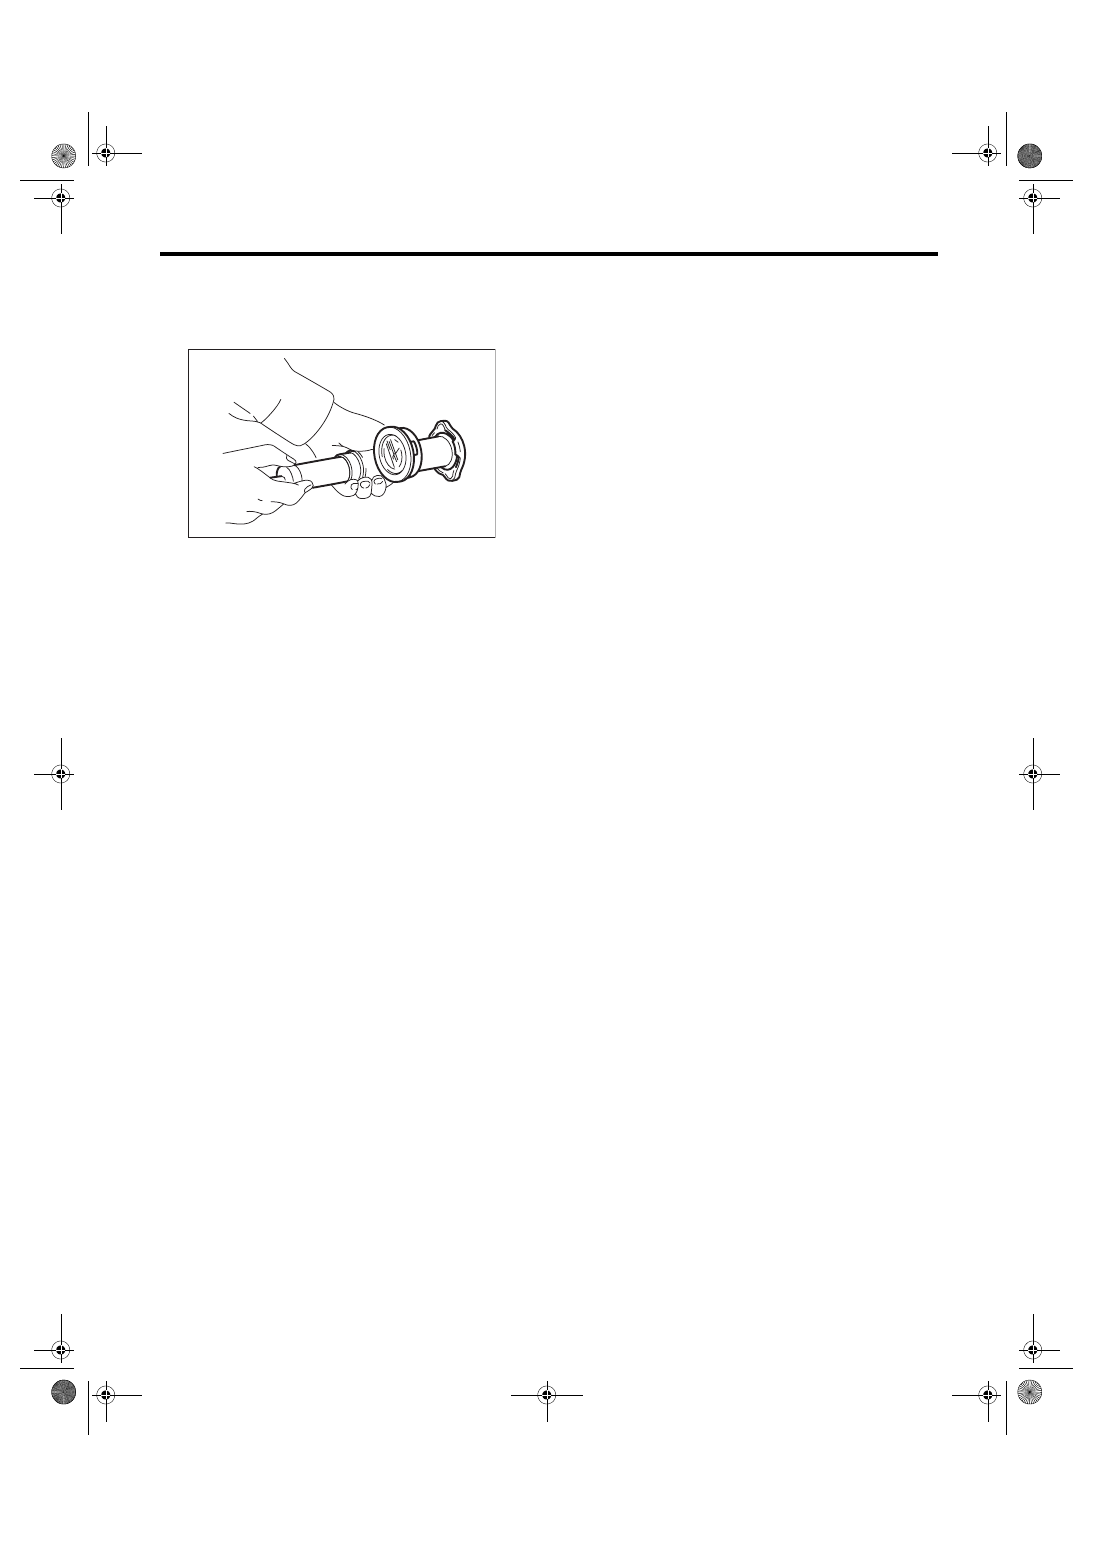
A: INSPECTION
1) Attach the radiator cap to tester.
2) Increase pressure until the tester gauge pointer
stops. Radiator cap is functioning properly if it holds
the service limit pressure for five to six seconds.
Coolant filler tank side
Specified pressure:
93 — 123 kPa (0.95 — 1.25 kgf/cm
2
, 14
—
18
psi)
Service limit pressure:
83 kPa (0.85 kgf/cm
2
, 12 psi)
Radiator side
Specified pressure:
122
—
152 kPa (1.24 — 1.55 kgf/cm
2
, 18 —
22 psi)
Service limit pressure:
112 kPa (1.14 kgf/cm
2
, 16 psi)
CAUTION:
• Be sure to remove foreign matter and rust
from the cap in advance, otherwise results of
pressure test will be incorrect.
• Do not confuse the cap of coolant filler tank
with that of radiator.
CO-00044