Subaru Legacy (2005 year). Manual - part 273


  Index      Subaru     Subaru Legacy - service repair manual 2005 year


Search            


Content   ..  271  272  273  274   ..


Subaru Legacy (2005 year). Manual - part 273


ME(H4DOTC)-35

MECHANICAL

Engine Assembly

6) Install the pitching stopper.

Tightening torque:

T1: 50 N

m (5.1 kgf-m, 36.9 ft-lb)

T2: 58 N

m (5.9 kgf-m, 43 ft-lb)

7) Remove the ST from converter case. (AT model)

NOTE:
Be careful not to drop the ST into the converter
case when removing ST.
ST

498277200

STOPPER SET

8) Install the starter. <Ref. to SC(H4SO 2.0)-6, IN-
STALLATION, Starter.>
9) Install the torque converter clutch to drive plate.
(AT model)

(1) Tighten the bolts which hold torque convert-
er clutch to drive plate.
(2) Tighten other bolts while rotating the crank-
shaft by using ST.

CAUTION:
Be careful not to drop bolts into the torque con-
verter clutch housing.
ST

499977400

CRANK PULLEY WRENCH

Tightening torque:

25 N

m (2.5 kgf-m, 18.4 ft-lb)

10) Install the linear motion mounting. <Ref. to
ME(H4DOTC)-38, INSTALLATION, Linear Motion
Mounting.>

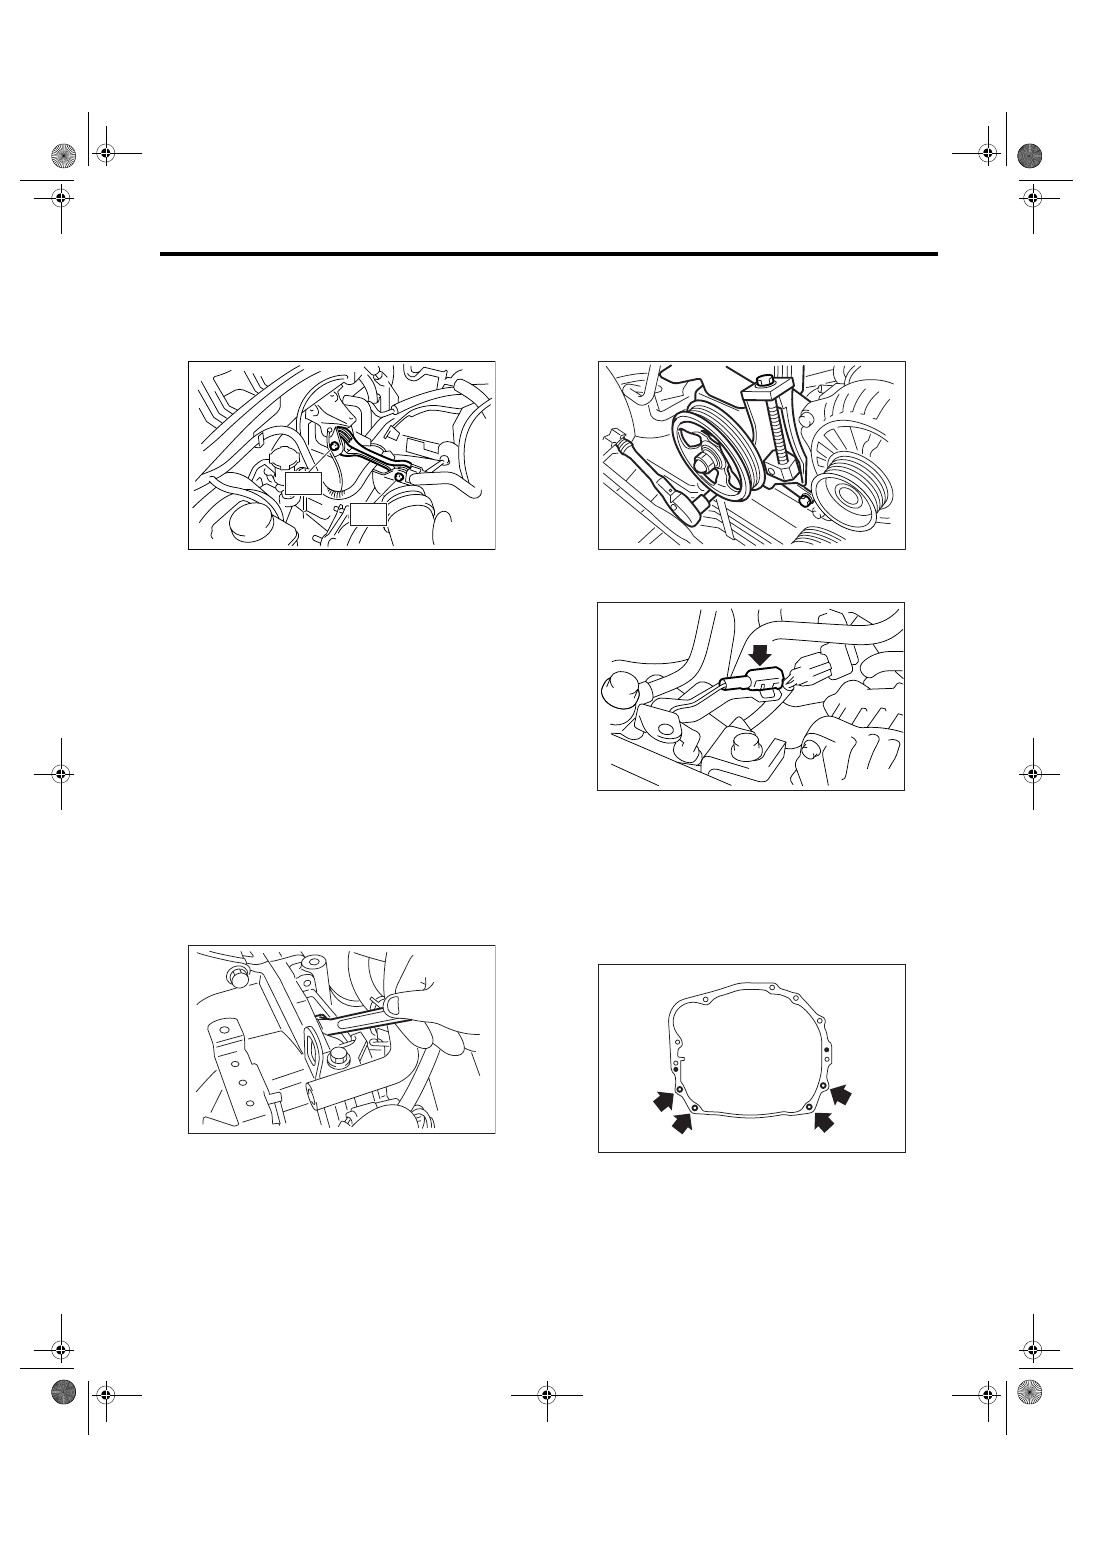
11) Install the power steering pump on bracket.

(1) Install the power steering pump.

Tightening torque:

20.1 N

m (2.05 kgf-m, 14.8 ft-lb)

(2) Connect the power steering switch connec-
tor.

(3) Install the front side belt and adjust it. <Ref.
to ME(H4DOTC)-40, FRONT SIDE BELT, IN-
STALLATION, V-belt.>

12) Lift-up the vehicle.
13) Tighten the nuts which hold lower side of the
transmission to engine.

Tightening torque:

50 N

m (5.1 kgf-m, 36.9 ft-lb)

LU-00224

T2

T1

ME-00044

ME-00037

ME-00035

ME-00040

ME(H4DOTC)-36

MECHANICAL

Engine Assembly

14) Tighten the nuts which install the front cushion
rubber onto crossmember.

Tightening torque:

85 N

m (8.7 kgf-m, 62.7 ft-lb)

NOTE:
Make sure the front cushion rubber mounting bolts
and locator are securely installed.

15) Install the center exhaust pipe.
<Ref. to EX(H4DOTC)-7, INSTALLATION, Center
Exhaust Pipe.>
16) Connect the oil flow control solenoid valve con-
nector and ground cable of exhaust side.

17) Lower the vehicle.
18) Connect the following hoses.

(1) Fuel delivery hose, return hose and evapo-
ration hose
(2) Heater inlet and outlet hoses
(3) Brake booster vacuum hose
(4) Pressure regulator hose

19) Connect the following connectors and termi-
nals.

(1) Engine ground terminals
(2) Engine harness connectors
(3) Generator connector and terminal
(4) A/C compressor connector

20) Install the air intake system.

(1) Install the intercooler. (DOHC turbo model)
<Ref. to IN(H4DOTC)-12, INSTALLATION, In-
tercooler.>
(2) Install the air cleaner element and air clean-
er case. <Ref. to IN(H4DOTC)-8, INSTALLA-
TION, Air Cleaner Case.>

21) Install the A/C pressure hoses.

NOTE:
Use a new O-ring.

Tightening torque:

25 N

m (2.5 kgf-m, 18.4 ft-lb)

22) Install the radiator. <Ref. to CO(H4DOTC)-20,
INSTALLATION, Radiator.>
23) Install the coolant filler tank. (DOHC turbo mod-
el) <Ref. to CO(H4DOTC)-31, INSTALLATION,
Coolant Filler Tank.>
24) Install the window washer tank.
25) Install the battery to vehicle, and install the bat-
tery ground terminal.
26) Fill with engine coolant. <Ref. to
CO(H4DOTC)-13, FILLING OF ENGINE COOL-
ANT, REPLACEMENT, Engine Coolant.>
27) Charge the A/C system with refrigerant. <Ref.
to AC-21, PROCEDURE, Refrigerant Charging
Procedure.>
28) Install the collector cover.
29) Remove the front hood stay, and close the front
hood.
30) Take off the vehicle from a lift.

C: INSPECTION

1) Check pipes and hoses are connected firmly.
2) Check the engine coolant and ATF are at speci-
fied levels.

LU-00223

ME-00805

ME-02092

ME-00803

ME(H4DOTC)-37

MECHANICAL

Engine Mounting

10.Engine Mounting

A: REMOVAL

1) Remove the engine assembly. <Ref. to
ME(H4DOTC)-31, REMOVAL, Engine Assembly.>
2) Remove the engine mounting from engine as-
sembly.

B: INSTALLATION

Install in the reverse order of removal.

Tightening torque:

Engine mounting

35 N

m (3.6 kgf-m, 25.8 ft-lb)

C: INSPECTION

Make sure that there are no cracks or other damag-
es.

ME(H4DOTC)-38

MECHANICAL

Linear Motion Mounting

11.Linear Motion Mounting

A: REMOVAL

1) Remove the collector cover.
2) Remove the air cleaner case.
3) Remove the linear motion mounting bracket.

4) Remove the speed nut (A), and remove the dy-
namic damper (B).

5) Remove the linear motion mounting.

B: INSTALLATION

Install in the reverse order of removal.

Tightening torque:

33 N

m (3.4 kgf-m, 24.3 ft-lb)

Tightening torque:

30 N

m (3.1 kgf-m, 22.1 ft-lb)

ME-00852

ME-02093

(A)

(B)

ME-02562

ME-02562

ME-00852


Content   ..  271  272  273  274   ..