SsangYong Stavic / SsangYong Rodius (2005 year). Manual - part 79
DI01-11
CHANGED BY
EFFECTIVE DATE
AFFECTED VIN
ENGINE ASSEMBLY
DI ENG SM - 2004.9
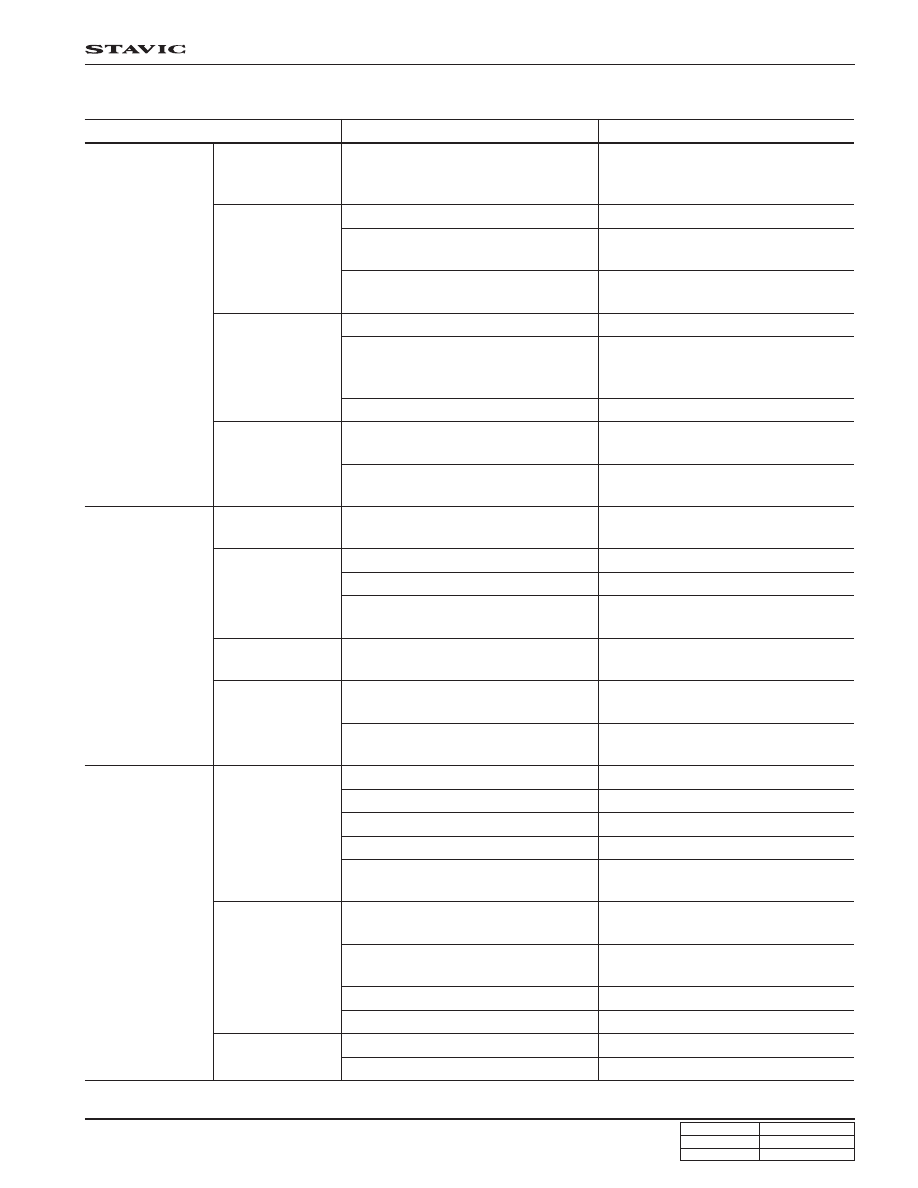
Probable Cause
• Refer to “Compression Pressure
Test”.
• Clogged fuel pipe.
• Clogged or contaminated fuel
filter.
• Malfunction of the fuel pressure
regulator.
• Malfunction of the spark plug.
• Electric leakage or poor
connection of the high tension
cable.
• Poor ignition timing.
• Leak of the intake manifold
gasket.
• Leakage of the vacuum hose.
• Refer to “Overheat” in this page.
• Abnormal spark plug.
• Poor ignition timing.
• Electric leakage or poor connec-
tion of the high tension cable.
• Clogged or contaminated fuel
filter and fuel pipe.
• Leak of the intake manifold
gasket.
• Excessive carbon deposit due to
abnormal combustion.
• Lack of coolant.
• Malfunction of the thermostat.
• Malfunction of the cooling fan.
• Poor water pump performance.
• Clogged or leaky radiator.
• Poor engine oil.
• Blocking oil filter or strainer.
• Lack of engine oil.
• Poor oil pump performance.
• Leakage of oil
• Damaged cylinder head gasket.
Correction
• Refer to “Compression Pressure
Test”.
• Clean the pipe.
• Replace the filter.
• Replace the fuel pressure
regulator.
• Adjust or replace the spark plug.
• Connect the cable correctly or
replace it.
• Adjust the ignition timing.
• Clean or replace the gasket.
• Connect the hose correctly or
replace it.
• Refer to “Overheat” in this page.
• Replace the spark plug.
• Adjust the ignition timing
• Connect the cable correctly or
replace it.
• Clean or replace the fuel filter and
the fuel pipe.
• Replace the gasket.
• Remove the carbon.
• Refill coolant.
• Replace the thermostat.
• Check or replace the cooling fan.
• Replace the pump.
• Clean, repair or replace the
radiator.
• Replace engine oil with the
specified one.
• Clean or repair the oil filter or the
strainer.
• Refill oil.
• Replace or repair the pump.
• Repair.
• Replace the gasket.
Condition
GENERAL DIAGNOSIS (Cont’d)
Decline of
Compression
Pressure
Engine Surging
(Engine power
makes
fluctuation in a
fixed speed and
speed changes
without
operating the
accelerating
pedal.)
Malfunction of
Fuel System
Overheat
Malfunction of
Ignition System
Others
Others
Malfunction of
Fuel System
Malfunction of
Cooling System
Excessive
Detonation
(According to
the opening
range of Mal-
function of
metallic is made
with abnormal
explosion )
Malfunction of
Ignition System
Malfunction of
Lubrication
System
Other
Overheated
Engine