Renault Zoe (2018 year). Instruction - part 8
2.27
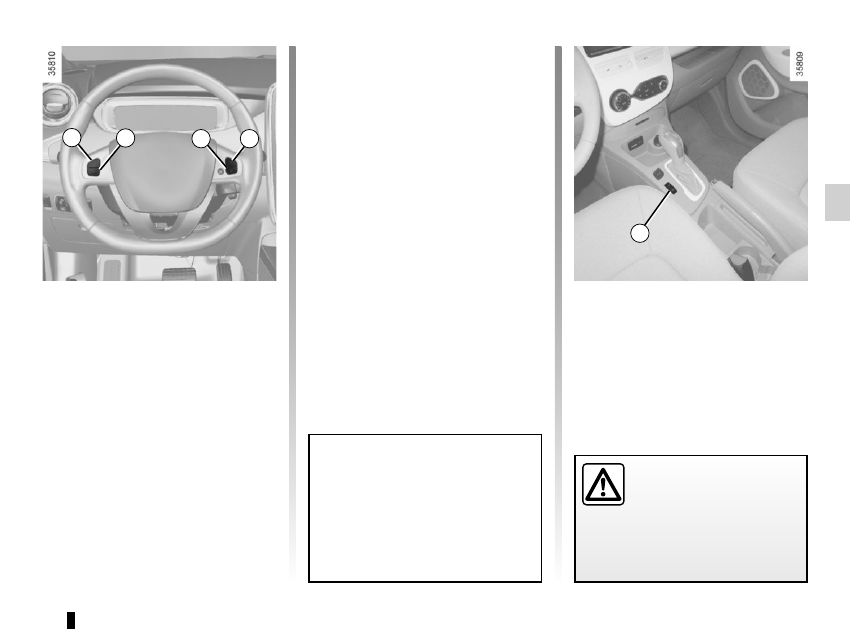
CRUISE CONTROL
(4/4)
When the cruise control function is
put on standby, pressing switch 2
(+) reactivates the cruise control
function without taking into account
the stored speed: it is the speed at
which the vehicle is moving that is
taken into account.
Putting the cruise control
on standby or switching it
off does not cause a rapid
reduction in speed: you
must brake by depressing the brake
pedal.
NB: if the speed previously stored is
much higher than the current speed,
the vehicle will accelerate more rapidly
to reach this threshold.
Switching off the function
The cruise control function is deacti-
vated if you press switch 1: in this case
a speed is no longer stored. The warn-
ing light (
or
Ï
) on the instru-
ment panel going out confirms that the
function is stopped.
2
3
5
4
1
Returning to the cruising speed
If a speed is stored, it can be recalled,
once you are sure that the road con-
ditions are suitable (traffic, road sur-
face, weather conditions, etc.). Press
switch 5 (R) if the vehicle speed is
above 20 mph (30 km/h).
When the stored speed is recalled, acti-
vation of the cruise control is confirmed
by the illumination of the warning light
Ï
on a green background.