Renault Koleos (2018 year). Instruction - part 12
2.80
– press the switch 5 OK;
– using the control 6, select the set-
tings to be changed;
– press the switch 5 OK.
System sound
Enables the system sound to be se-
lected from a choice of 3.
Deactivating the system sound
Activate or deactivate the parking dis-
tance control sound.
Note: If you deactivate the sound, you
will no longer be notified with beeps
when approaching an obstacle.
Deactivating the system
Activate or deactivate parking distance
control.
Vehicles not fitted with a navigation
system
Vehicle stationary:
– press and hold the switch 5 OK to
access the settings menu;
– repeatedly press the control 6 up or
down until you reach the “Driving as-
sistance” menu;
– press the switch 5 OK;
– repeatedly press the control 6 up or
down until you reach the “Parking
distance control settings” menu;
PARKING DISTANCE CONTROL
(4/5)
When the vehicle is being driven at
a speed below approximately 6 mph
(10 km/h), certain noises (motorcy-
cle, lorry, pneumatic drill, etc.) may
trigger the beeping sound of the
parking distance control.
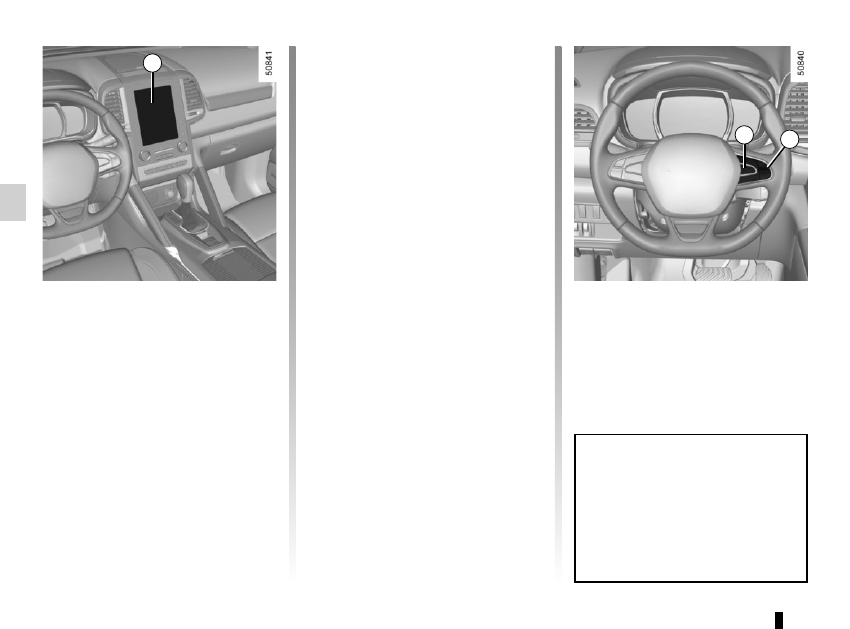
4
Adjustment
You can adjust certain settings from the
multifunction screen 4. Please see the
equipment instructions for further infor-
mation.
Vehicles fitted with a navigation
system
Select “Vehicle”, “Parking assist”,
“Obstacle detection”.
Parking distance control audio
volume
Adjust the volume of the parking dis-
tance control by pressing + or -.
5
6