Nissan Titan. Manual - part 571
ST-20
< UNIT REMOVAL AND INSTALLATION >
STEERING COLUMN
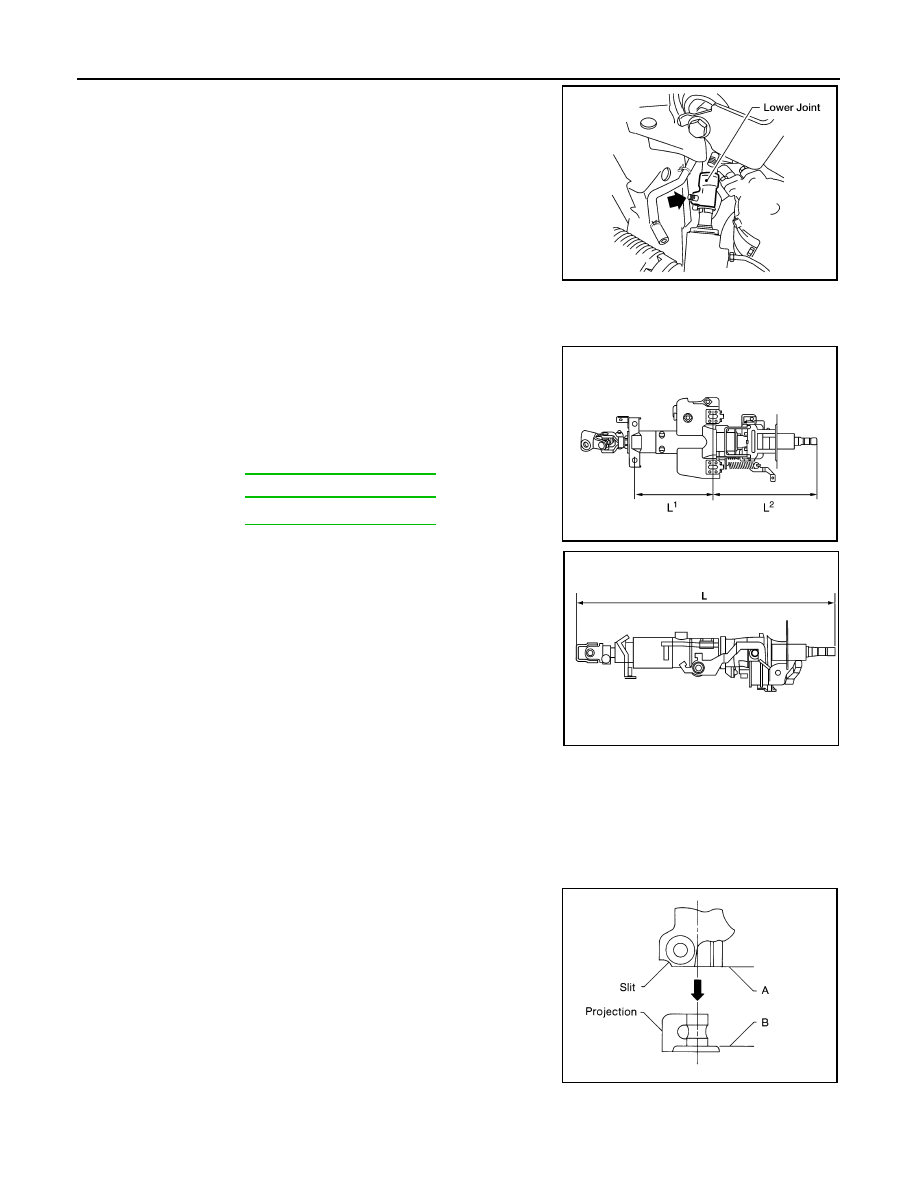
12. Remove bolt (lower side) of lower joint and remove lower joint
from vehicle.
INSPECTION AFTER REMOVAL
• Check for damage to steering column jacket tube. If damage is found, replace steering column with new
one.
• If the vehicle has been involved in a collision, or if noise and rattles
are heard during a turn, check the length (L, L
1
and L
2
) of the col-
umn. If out of specification, replace the steering column as an
assembly.
• Check for proper lubrication, apply grease as necessary.
INSTALLATION
Installation is in the reverse order of removal.
CAUTION:
When installing the steering column, finger-tighten all of the lower bracket and joint retaining bolts;
then tighten them to specification. Do not apply undue stress to the steering column.
NOTE:
Align slit of the coupling joint with projection on dust cover. Insert the
joint until surface (A) contacts surface (B).
• After installation, turn steering wheel to make sure it moves
smoothly. Make sure the number of turns are the same from the
straight-forward position to left and right locks. Make sure that the
steering wheel is in a neutral position when driving straight ahead.
• When installing steering column to steering member, install nut
from front side of vehicle.
INSPECTION AFTER INSTALLATION
• After installing the steering column, check the tilt mechanism for proper operation.
LGIA0029E
Steering column length
L
: Refer to
L
1
: Refer to
L
2
: Refer to
SGIA0475E
WGIA0080E
SST491C