содержание .. 1180 1181 1182 1183 ..
Nissan Murano. Manual - part 1182
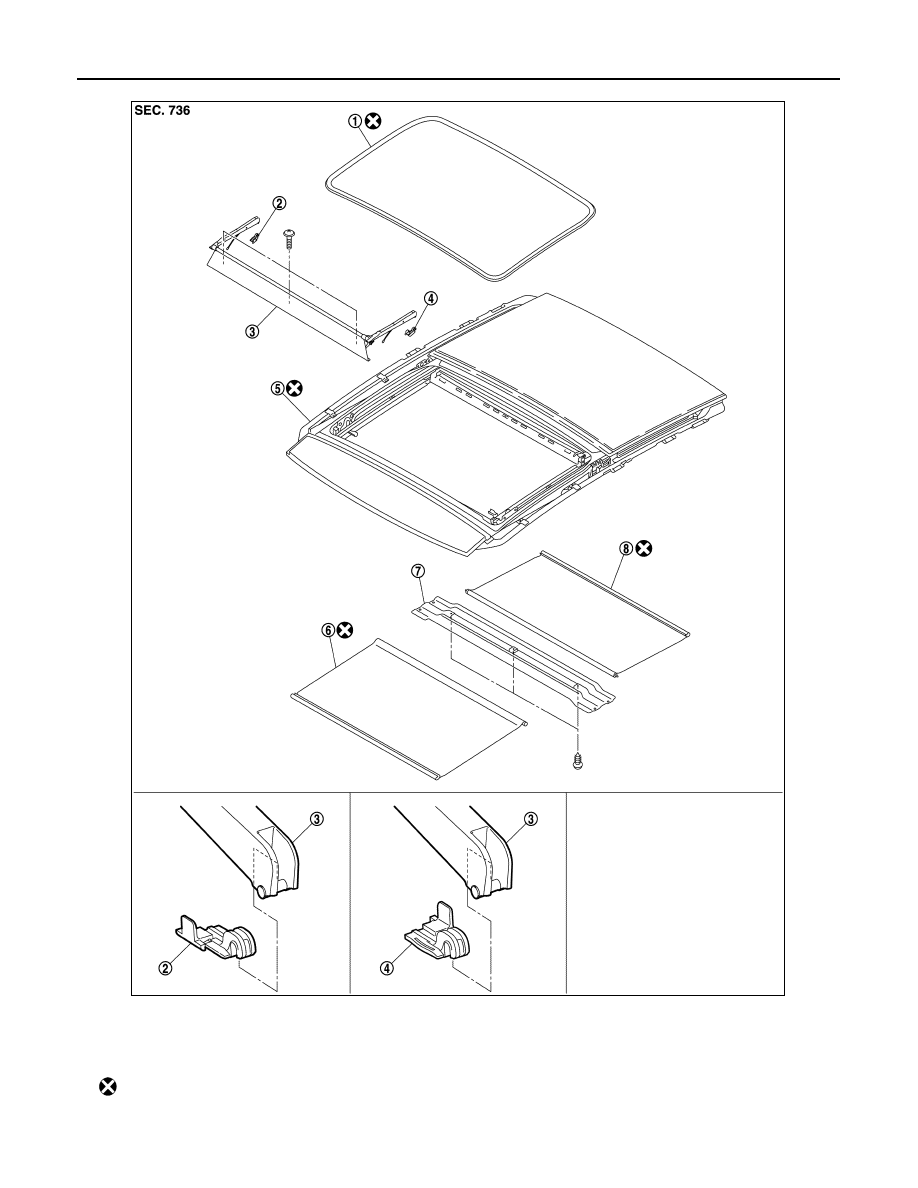
RF-112
< REMOVAL AND INSTALLATION >
SUNROOF UNIT ASSEMBLY
1.
Weather-strip
2.
Deflector arm fastener RH
3.
Wind deflector
4.
Deflector arm fastener LH
5.
Sunroof frame
6.
Front sunshade
7.
Sunshade cover
8.
Rear sunshade
: Always replace after every disassembly.
JMKIA6376ZZ