содержание .. 91 92 93 94 ..
Nissan Murano. Manual - part 93
AV-150
< REMOVAL AND INSTALLATION >
[BASE AUDIO WITH COLOR DISPLAY]
DISPLAY UNIT
DISPLAY UNIT
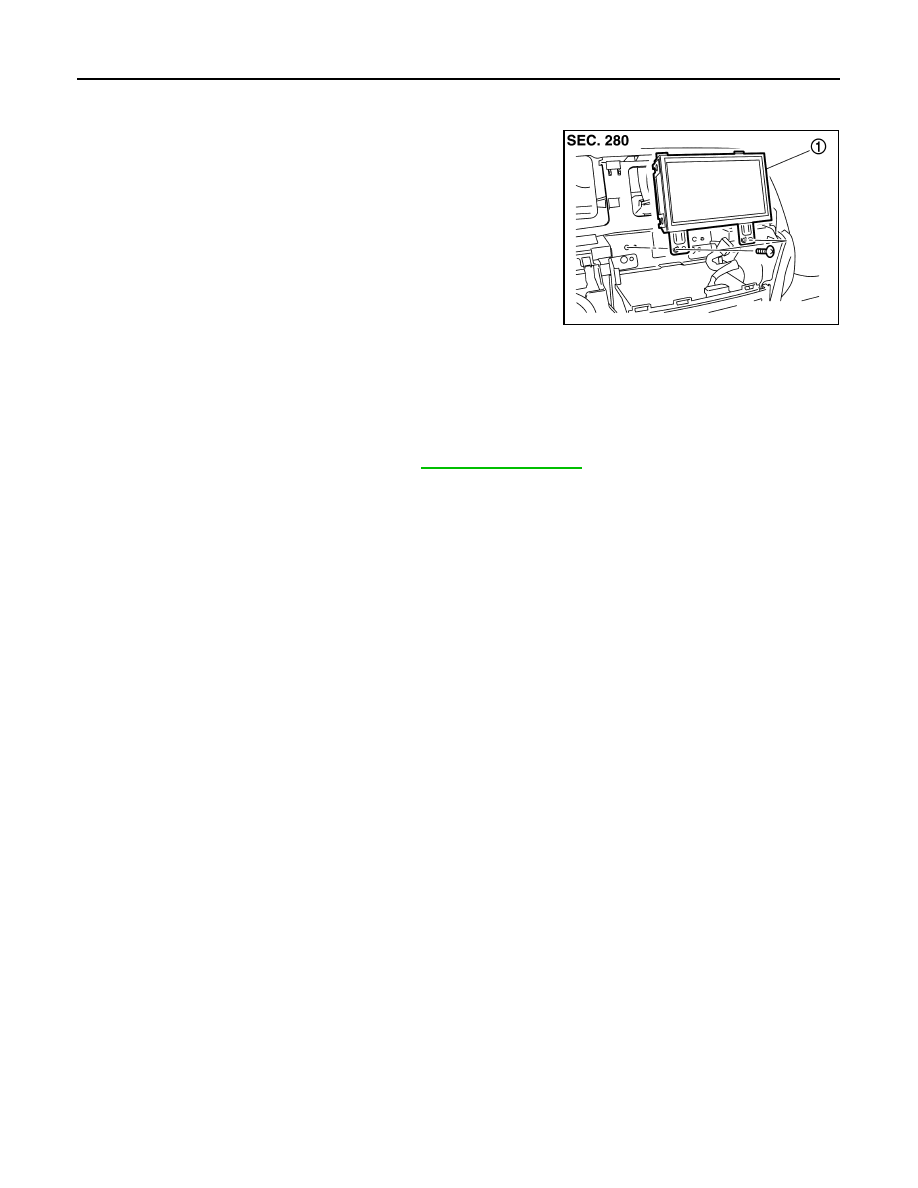
Exploded View
INFOID:0000000009721675
Removal and Installation
INFOID:0000000009721676
REMOVAL
1.
Remove center ventilator assembly. Refer to
2.
Remove display unit with bracket as a single unit.
INSTALLATION
Install in the reverse order of removal.
JPNIA0779ZZ
1.
Display unit