LEXUS UX 200 (2019 year). Instruction - part 8
124
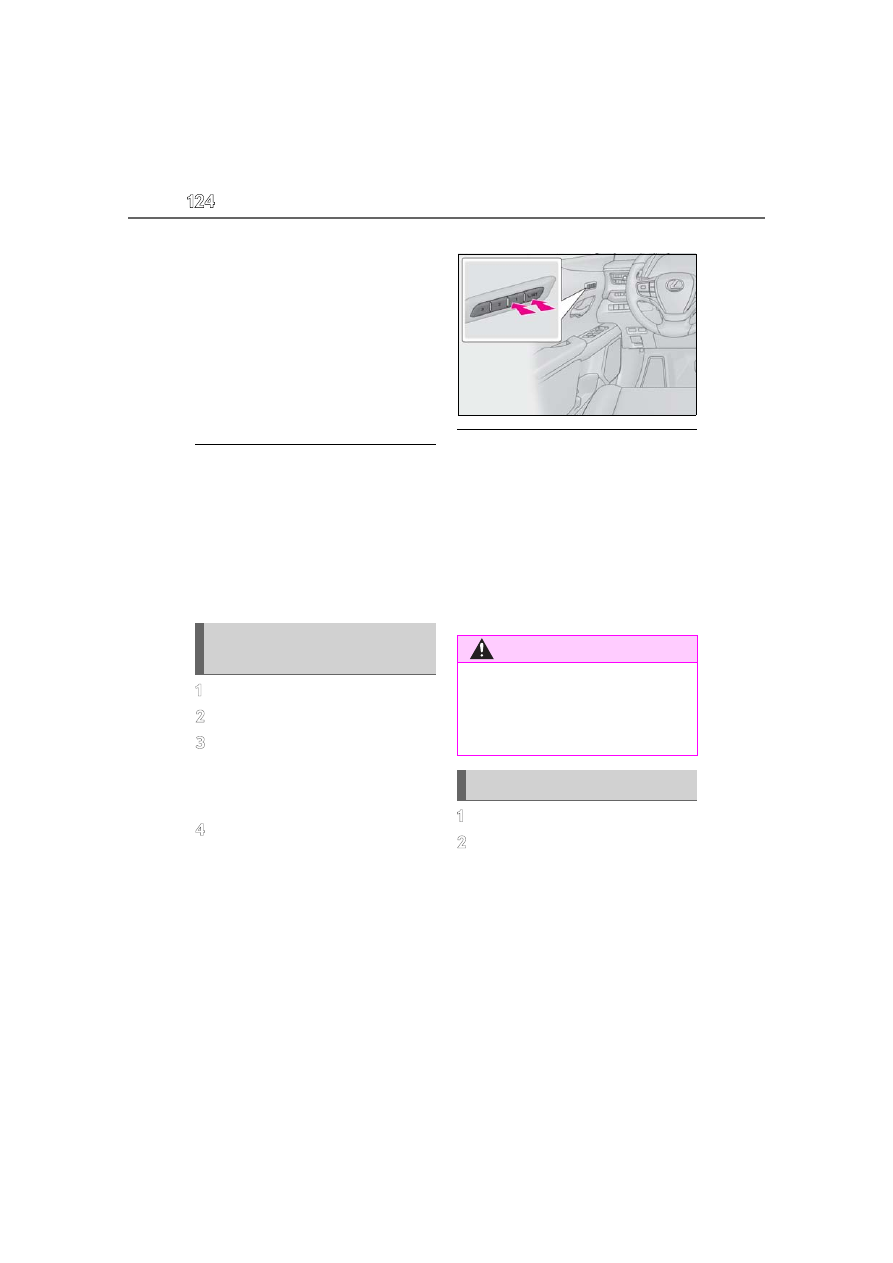
3-3. Adjusting the seats
unfastened.
When any of the following has been
performed, the driver’s seat and steer-
ing wheel automatically return to their
original positions.
The engine switch has been turned
to ACC or ON.
The driver’s seat belt has been fas-
tened.
■
Operation of the power easy access sys-
tem
When exiting the vehicle, the power easy
access system may not operate if the seat is
already close to the rearmost position, etc.
■
Customization
The seat movement amount settings of the
power easy access system can be custom-
ized. (Customizable features:
1
Check that the shift lever is in P.
2
Turn the engine switch to ON.
3
Adjust the driver’s seat, steering
wheel, outside rear view mirrors
and head-up display (if equipped)
to the desired positions.
4
While pressing the “SET” button, or
within 3 seconds after the “SET”
button is pressed, press button “1”,
“2” or “3” until the buzzer sounds.
If the selected button has already been
preset, the previously recorded position
will be overwritten.
■
Seat positions that can be memorized
(
The adjusted positions other than the posi-
tion adjusted by lumbar support switch can
be recorded.
■
In order to correctly use the driving
position memory function
If a seat position is already in the furthest
possible position and the seat is operated in
the same direction, the recorded position
may be slightly different when it is recalled.
1
Check that the shift lever is in P.
2
Turn the engine switch to ON.
Recording a driving position into
memory
WARNING
■
Seat adjustment caution
Take care during seat adjustment so that
the seat does not strike the rear passen-
ger or squeeze your body against the
steering wheel.
Recalling a driving position