Range Rover. Manual - part 245
CHASSIS AND BODY
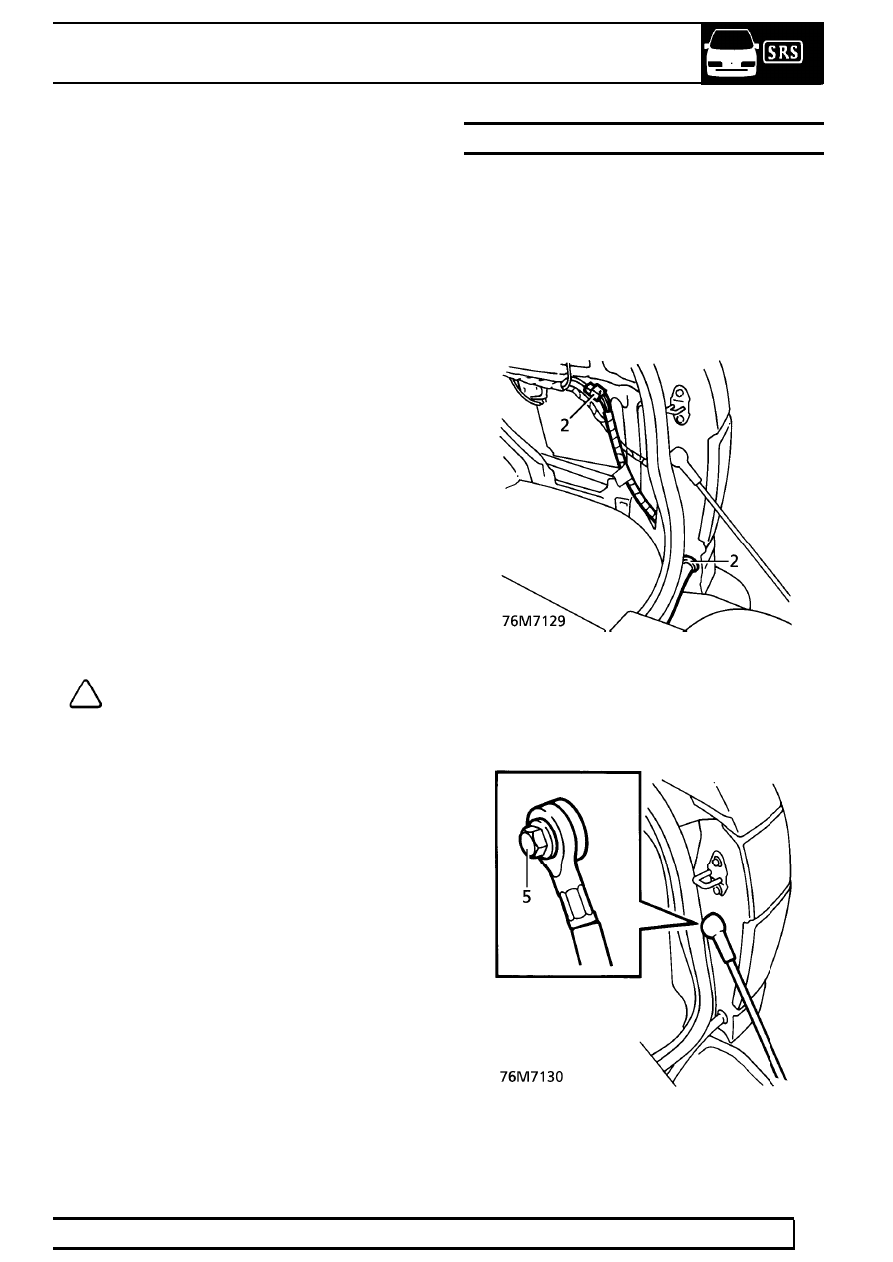
75
REPAIR
Refit
13. With assistance, position tailgate to hinges. Align
marks. Secure with bolts. Tighten to
25 Nm. (18
lbf.ft)
14. With assistance, connect gas struts to tailgate.
15. Remove protective tape from roof panel.
16. Attach draw string to washer tube. Pull tube
along roof into position at ’E’ post. Remove draw
string.
17. Connect tube to non-return valve.
18. Feed 3 tailgate harness multiplugs through roof
panel. Connect to body harness.
19. Secure tailgate harness protective sleeve to roof
panel.
20. Reposition headlining at ’E’ posts. Secure with
studs.
21. Fit load space access panel. Secure with turn
buckles.
22. Fit both ’E’ post finishers.
Adjust
23. Check alignment of lower tailgate.
See this
section.
24. Align tailgate to aperture by adjusting position of
hinges on tailgate or body.
25. Align tailgate to adjacent body panels by
adjusting position of hinges on body.
NOTE: To prevent wind noise, ensure top
edge of tailgate does not stand proud of
roof panel.
TAILGATE - LOWER
Service repair no - 76.28.30
Remove
1. Remove parcel tray support trim from RH side of
luggage area.
See this section.
2. Disconnect tailgate harness multiplug from body
harness. Release grommet from lower of ’E’
post. Pull harness from body.
3. Fit protection under tailgate.
4. Mark outline of hinges to body to aid
reassembly.
5. Remove bolt securing each check strap to body.
Collect spacer and fibre sealing washer.