Frelander 2. Manual - part 643
Front End Sheet Metal Repairs - Fender Apron Upper Panel
Removal and Installation
Removal
• NOTE: The fender apron upper panel is serviced as a separate weld-on panel.
• NOTE: The service panel is not fully welded.
• NOTE: There is an NVH element attached inside this panel, it is not serviced on the new panel. Therefore, if damaged, a
new element will be required.
1. The fender apron upper panel is replaced in conjunction with:
Front bumper cover
Hood
Hood latch panel
Both front fenders
2. For additional information relating to this repair procedure
please see the following:
For additional information, refer to:
Body and Frame
(501-26
Body Repairs - Vehicle Specific Information and Tolerance
Checks, Description and Operation) /
Standard Workshop Practices
(100-00 General Information,
Description and Operation).
3. Remove the hood latch panel.
For additional information, refer to: Hood Latch Panel (501-27,
Removal and Installation).
4. Remove the hood.
5. Remove the plenum chamber panel.
For additional information, refer to:
Plenum Chamber
(412-01
Climate Control, Removal and Installation).
6. LH Side: Remove the air intake pipe.
7. RH Side: Release and lay aside the wiring harness.
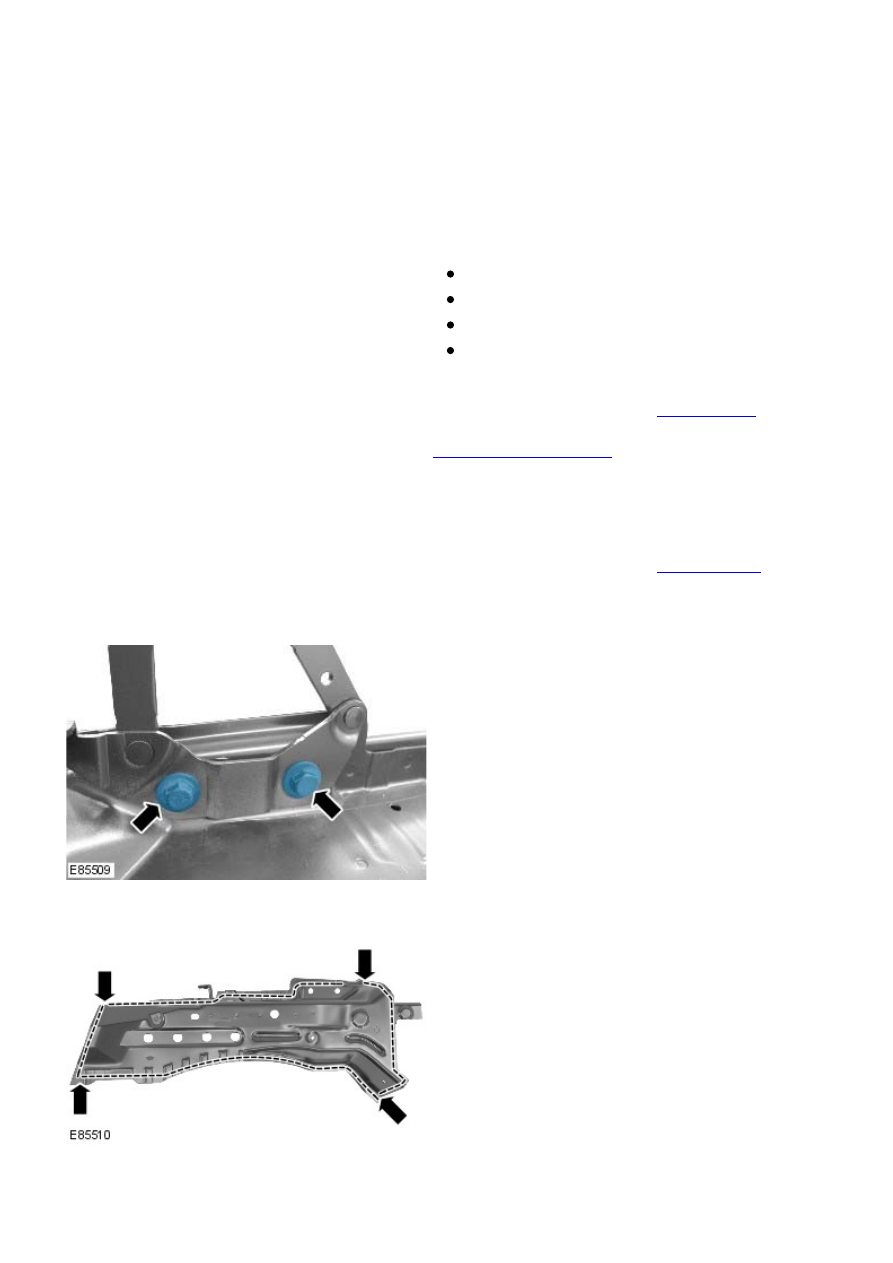
8. Remove the hood hinge, 2 x 13mm headed bolts.
9. Mill out the spot welds.