Frelander 2. Manual - part 642
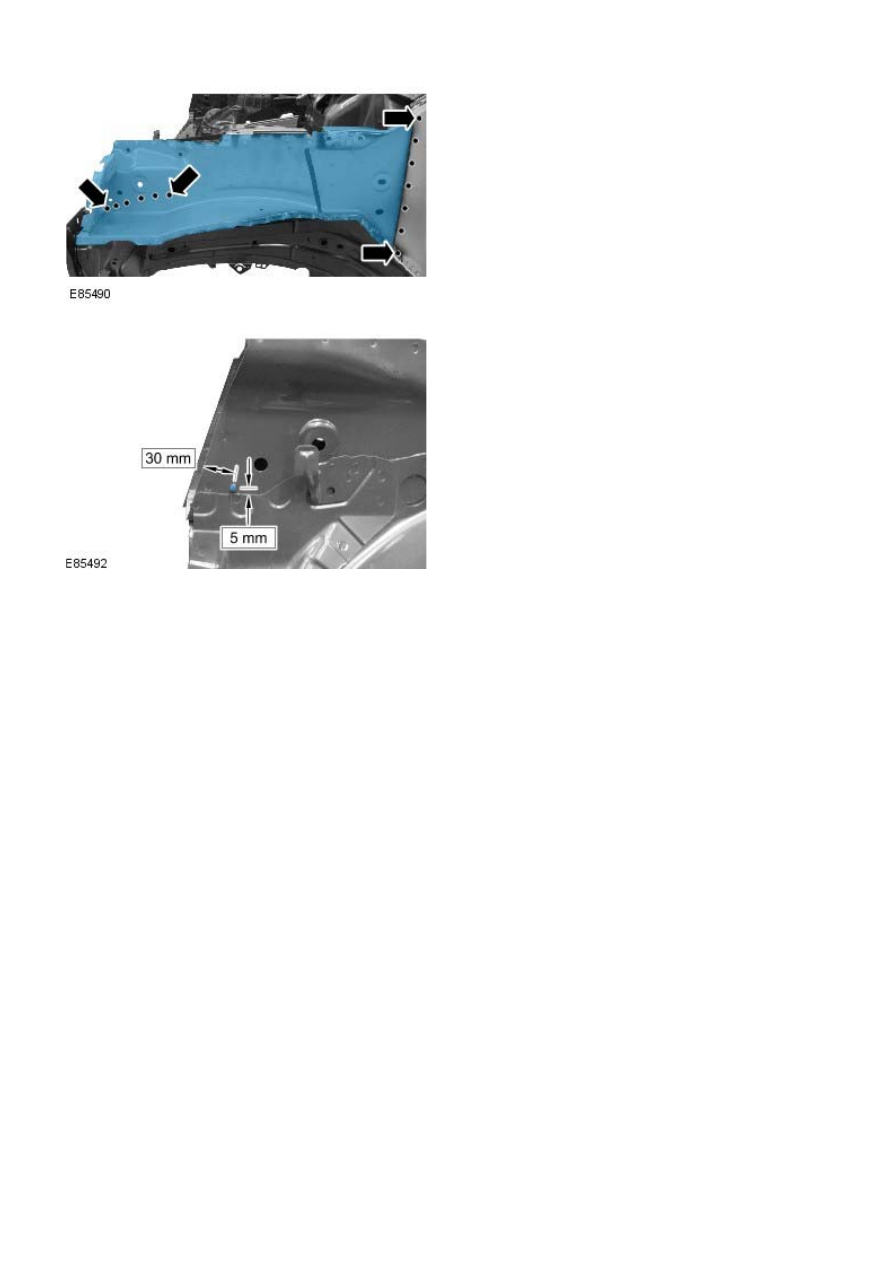
5. MIG Plug weld.
6. Install weld studs.
7. Dress all welded joints.
8. The installation of associated panels and mechanical
components is the reverse of removal.
|
|
|
5. MIG Plug weld. 6. Install weld studs. 7. Dress all welded joints. components is the reverse of removal. |