Frelander 2. Manual - part 573


  Index      Land Rover     Land Rover Frelander 2 - service repair manual 2006-2010 year


Search            


Content   ..  571  572  573  574   ..


Frelander 2. Manual - part 573


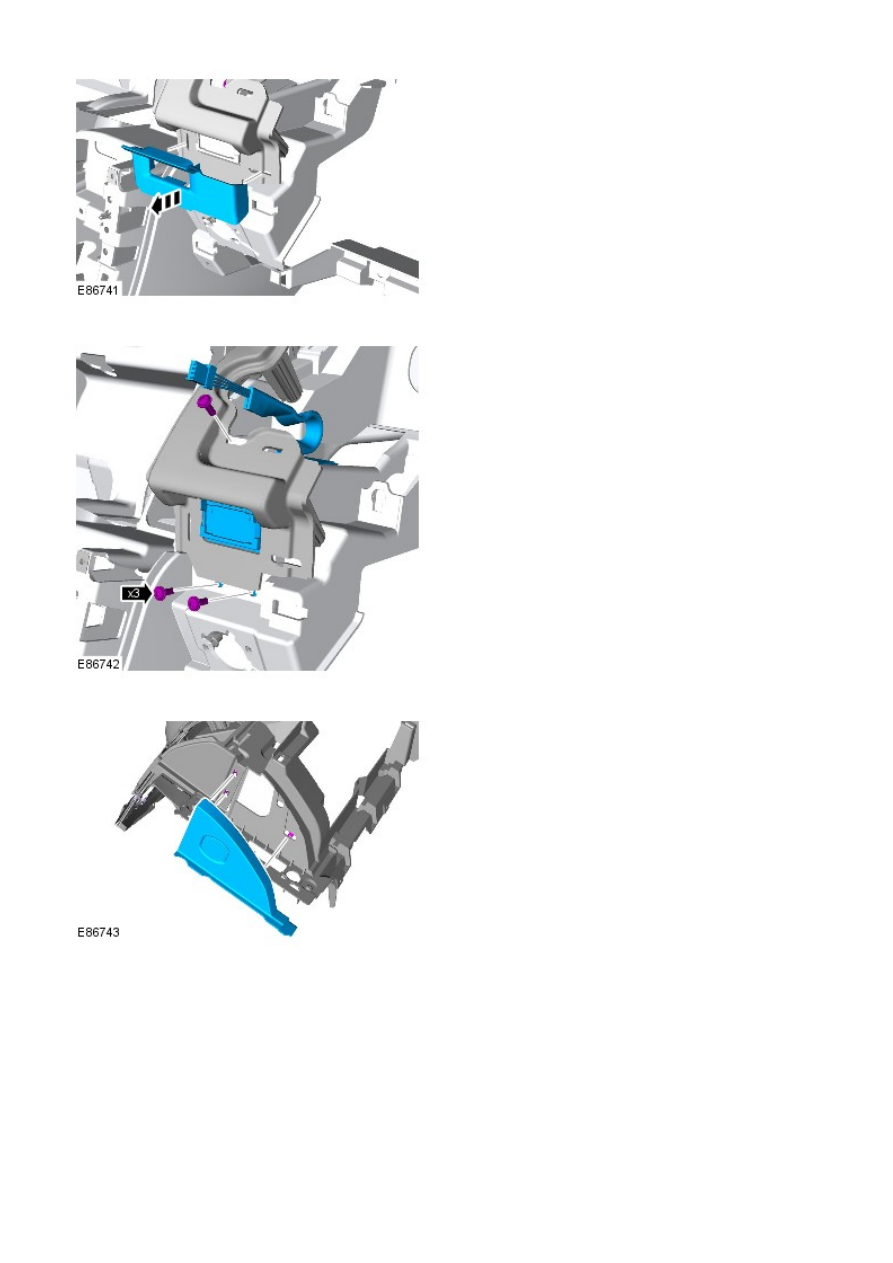
Remove the keyless start control module trim cover.

36.

Remove the keyless start control module.

37.

38.

Remove the driver side register.

39.

Remove the passenger side register.

40.

Remove the windshield defroster duct.

41.

Remove the register ducting.

42.

Remove the remaining clips.

43.

Installation

Install the clips.

1.

Install the register ducting.

2.

Install the windshield defroster duct.

3.

Install the passenger side register.

4.

Install the driver side register.

5.

Install the driver side instrument panel end trim panel.

6.

Install the keyless start control module.

7.

Install the keyless start control module trim cover.

8.

Install the in-vehicle temperature sensor.

9.

Install the windshield defroster trim panel.

10.

Install the glove compartment support panels.

11.

Install the glove compartment lid hinges.

12.

Install the glove compartment lamp.

13.

Install the passenger air bag module.

Torque: 10 Nm

14.

Install the glove compartment striker reinforcement panel.

15.

W ith assistance, install the instrument panel upper section.

16.

Secure the wiring harness clip to the passenger side of the
instrument panel upper section.

17.

Secure the 2 wiring harness clips to the windshield defroster duct
and connect the sunload sensor.

18.

W ith assistance, secure the instrument panel upper section.

19.

Install the windshield defroster outer finishers.

20.

Connect the passenger air bag module electrical connectors.

21.

Connect the glove compartment lamp electrical connector.

22.

Secure the passenger air bag module and glove compartment lamp
wiring harness.

23.

Install the glove compartment.

24.

Refer to: 

Glove Compartment

 (501-12 Instrument Panel and

Console, Removal and Installation).

Install the passenger side instrument panel end trim panel.

25.

Secure the wiring harness support bracket.

26.

Secure the wiring harness to the center of the instrument panel
upper section.

27.

Install the climate control assembly.

28.

Install the audio unit.

29.

Install the center speaker.

30.

Install the video display.

Refer to: 

Video Display

 (415-01 Information and Entertainment

System, Removal and Installation).

31.

Install the floor console.

Refer to: 

Floor Console

 (501-12 Instrument Panel and Console,

Removal and Installation).

32.

Install the floor console extensions.

33.

Install both instrument panel speakers.

34.

Install both upper trim panels.

35.

Connect the in-vehicle temperature sensor electrical connector.

36.

Connect the keyless start module electrical connector.

37.

Secure the instrument cluster wiring harness clip.

38.

Install the instrument cluster.

Refer to: 

Instrument Cluster

 (413-01 Instrument Cluster, Removal

and Installation).

39.

Install the clockspring.

Refer to: 

Clockspring

 (501-20B Supplemental Restraint System,

Removal and Installation).

40.

Install both cowl side trim panels.

Refer to: 

Cowl Side Trim Panel

 (501-05 Interior Trim and

Ornamentation, Removal and Installation).

41.

Secure both scuff plate trim panels.

42.

Install the A-pillar center trim panels.

43.


Content   ..  571  572  573  574   ..