Frelander 2. Manual - part 353


  Index      Land Rover     Land Rover Frelander 2 - service repair manual 2006-2010 year


Search            


Content   ..  351  352  353  354   ..


Frelander 2. Manual - part 353


Clutch - Clutch Disc and Pressure Plate

Removal and Installation
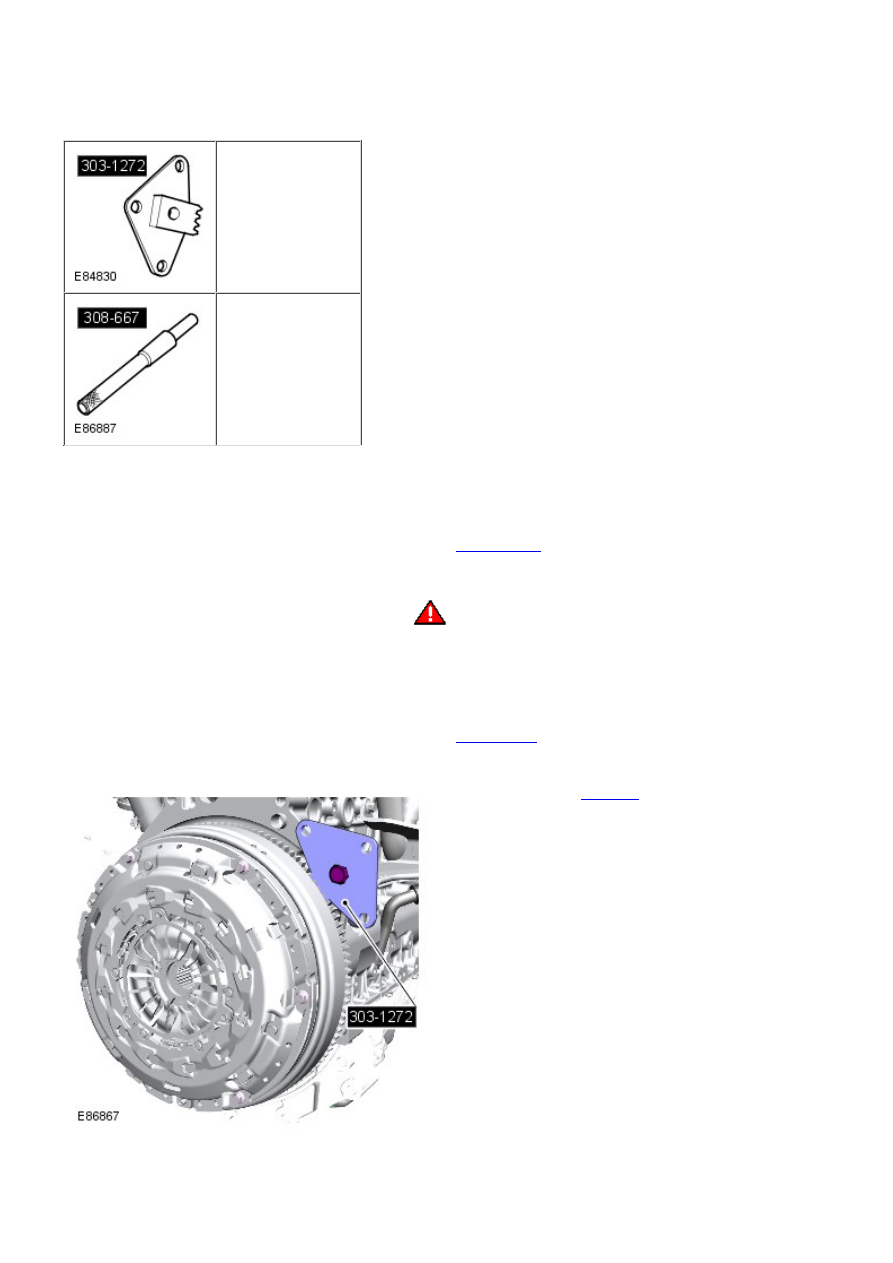
Special Tool(s)

303-1272
Locking Tool, Flywheel

308-667
Aligner, Clutch

Removal

Disconnect the battery ground cable.

Refer to: 

Specifications

 (414-00 Battery and Charging System -

General Information, Specifications).

1.

2. 

WARNING: Make sure to support the vehicle with axle

stands.

Raise and support the vehicle.

2.

Remove the transmission assembly.

Refer to: 

Transmission

 (308-03 Manual Transmission/Transaxle,

Removal).

3.

Special Tool(s): 

303-1272

4.

5. 

CAUTION: Discard the bolts.

• NOTE: Loosen the bolts of the clutch pressure plate
each two turns at a time in the sequence shown.

• NOTE: Restrain the flywheel.

5.

Installation

1. NOTE: The clutch cover is self adjusting. It is
recommended that a clutch disc and clutch cover is
replaced as an assembly. If a used clutch cover is
assembled with a new clutch disc, the clutch cover
adjustment must be reset prior to assembly. W ith the
clutch cover supported under its outside edge, press
down evenly on the diaphragm fingers as shown, until
the clutch cover adjustment ring can be rotated fully
counterclockwise. With the adjustment ring held in this
position, release the pressure on the diaphragm
fingers. The adjustment ring will be held in this
position until self adjustment on the application of the
clutch pedal.

Check, and if necessary, reset the clutch pressure
plate.

1.

2. CAUTIONS:

 Examine the flywheel for signs of scoring or

overheating. Renew if worn or damaged.

 Examine the clutch release bearing for signs of

wear or damage. Renew if necessary.

Clean the component mating faces.

2.

3. CAUTIONS:

 Make sure that new bolts are installed.

 Install the clutch disc with 'TRANSMISSION SIDE'

marking against the clutch cover.

• NOTE: Restrain the flywheel.

• NOTE: Follow the indicated sequence and tighten the
bolts of the clutch pressure plate each two turns at a
time until the specified tightening torque is achieved.

Special Tool(s): 

308-667

Torque: 23 Nm

3.

Remove the special tool.

Special Tool(s): 

303-1272

4.

Install the transmission.

Refer to: 

Transmission

 (308-03 Manual Transmission/Transaxle,

Installation).

5.

Connect the battery ground cable.

Refer to: 

Specifications

 (414-00 Battery and Charging System -

General Information, Specifications).

6.


Content   ..  351  352  353  354   ..