Frelander 2. Manual - part 229
1
2
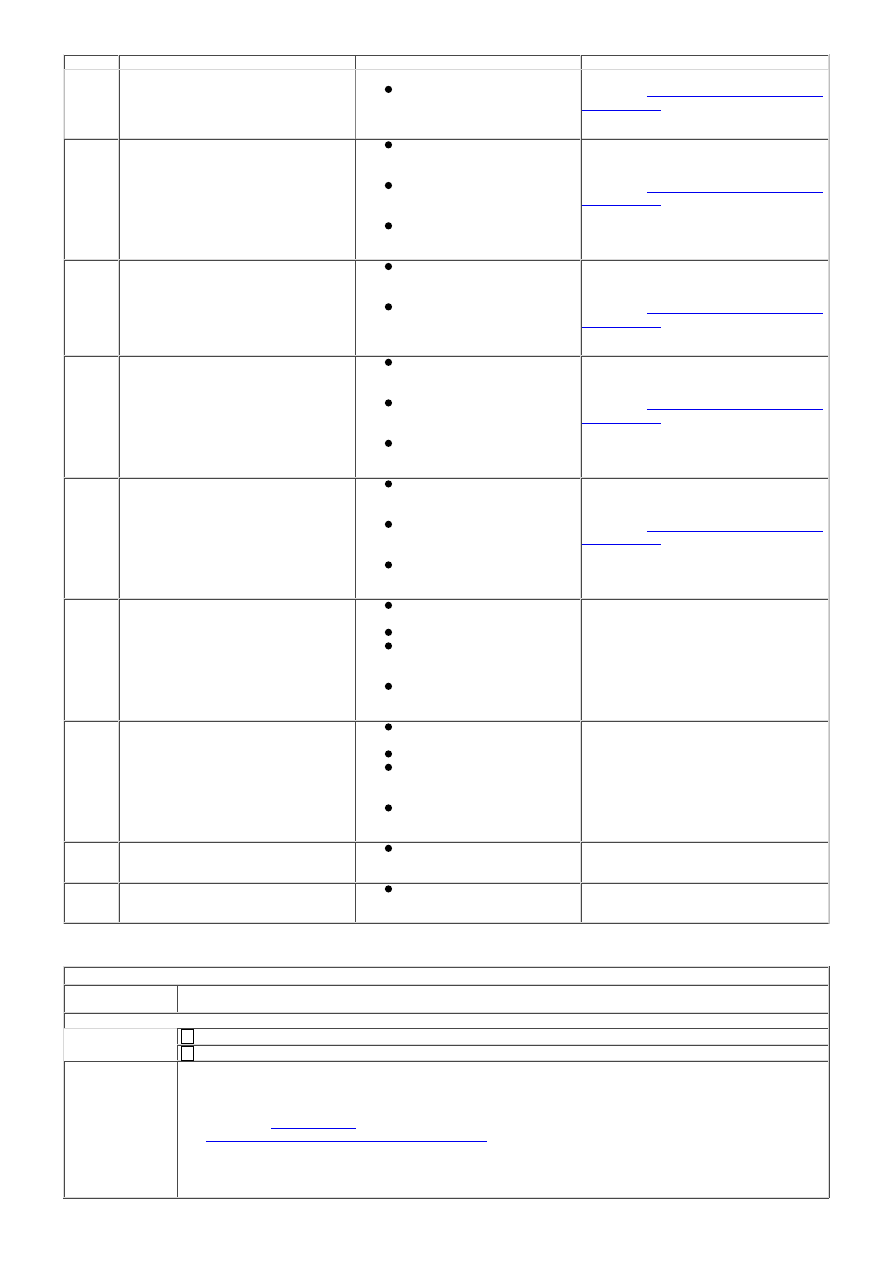
DTC
Description
Possible Cause
Action
resistance
Engine coolant temperature
(ECT) sensor failure
new sensor as required.
REFER to:
Engine Coolant Temperature
(ECT) Sensor
(303-14A Electronic
Engine Controls - I6 3.2L Petrol,
Removal and Installation).
P011621 Engine coolant temperature sensor 1
circuit range/performance - signal
amplitude less than minimum
Engine coolant temperature
(ECT) sensor 1 circuit: short
circuit to ground
Engine coolant temperature
(ECT) sensor 1 circuit: open
circuit
Engine coolant temperature
(ECT) sensor failure
Check the ECT sensor and circuits.
Refer to the electrical guides. Install a
new sensor as required.
REFER to:
Engine Coolant Temperature
(ECT) Sensor
(303-14A Electronic
Engine Controls - I6 3.2L Petrol,
Removal and Installation).
P011622 Engine coolant temperature sensor 1
circuit range/performance - signal
amplitude greater than maximum
Engine coolant temperature
(ECT) sensor 1 circuit: short
circuit to power
Engine coolant temperature
(ECT) sensor failure
Check the ECT sensor and circuits.
Refer to the electrical guides. Install a
new sensor as required.
REFER to:
Engine Coolant Temperature
(ECT) Sensor
(303-14A Electronic
Engine Controls - I6 3.2L Petrol,
Removal and Installation).
P011700 Engine coolant temperature sensor 1
circuit low
Engine coolant temperature
(ECT) sensor 1 circuit: short
circuit to ground
Engine coolant temperature
(ECT) sensor 1 circuit: open
circuit
Engine coolant temperature
(ECT) sensor failure
Check the ECT sensor and circuits.
Refer to the electrical guides. Install a
new sensor as required.
REFER to:
Engine Coolant Temperature
(ECT) Sensor
(303-14A Electronic
Engine Controls - I6 3.2L Petrol,
Removal and Installation).
P011800 Engine coolant temperature sensor 1
circuit high
Engine coolant temperature
(ECT) sensor 1 circuit: short
circuit to power
Engine coolant temperature
(ECT) sensor 1 circuit: open
circuit
Engine coolant temperature
(ECT) sensor failure
Check the ECT sensor and circuits.
Refer to the electrical guides. Install a
new sensor as required.
REFER to:
Engine Coolant Temperature
(ECT) Sensor
(303-14A Electronic
Engine Controls - I6 3.2L Petrol,
Removal and Installation).
P012500 Insufficient coolant temperature for
closed-loop fuel control
Damaged/Faulty coolant
thermostat
Cooling fan fault
Engine coolant temperature
sensor circuit: high
resistance
Engine coolant temperature
sensor failure
Check the cooling system operation.
Rectify as necessary. Check for DTCs
indicating a coolant temperature
sensor fault.
P012800 Coolant thermostat (coolant
temperature below thermostat
regulating temperature)
Damaged/Faulty coolant
thermostat
Cooling fan fault
Engine coolant temperature
sensor circuit: high
resistance
Engine coolant temperature
sensor failure
Check the cooling system operation.
Rectify as necessary. Check for DTCs
indicating a coolant temperature
sensor fault.
P145C68 Fan system component error
Cooling fan control module
temperature failure
No action necessary. Code for
information only.
P145D68 Fan system component error B
Cooling fan control module
high temperature indication
No action necessary. Code for
information only.
Pinpoint Tests
PINPOINT TEST A : LOSS OF COOLANT
TEST
CONDITIONS
DETAILS/RESULTS/ACTIONS
A1: VISUAL INSPECTION
Visually inspect for loss of coolant.
Carry out a system pressure test. See component tests in this section.
Is the engine cooling system leaking?
Yes
Rectify the leak as indicated by the test result. Top-up and fill the cooling system to the correct
level with the correct specification fluid as necessary.
REFER to:
Specifications
(303-03A Engine Cooling - I6 3.2L Petrol, Specifications) /
Cooling System Draining, Filling and Bleeding
(303-03A Engine Cooling - I6 3.2L Petrol, General
Procedures).
TEST the system for correct operation.
No
Verify the customer complaint.