Frelander 2. Manual - part 175
Engine - I6 3.2L Petrol - Engine Upper Support Insulator
Removal and Installation
Removal
• NOTE: Removal steps in this procedure may contain installation details.
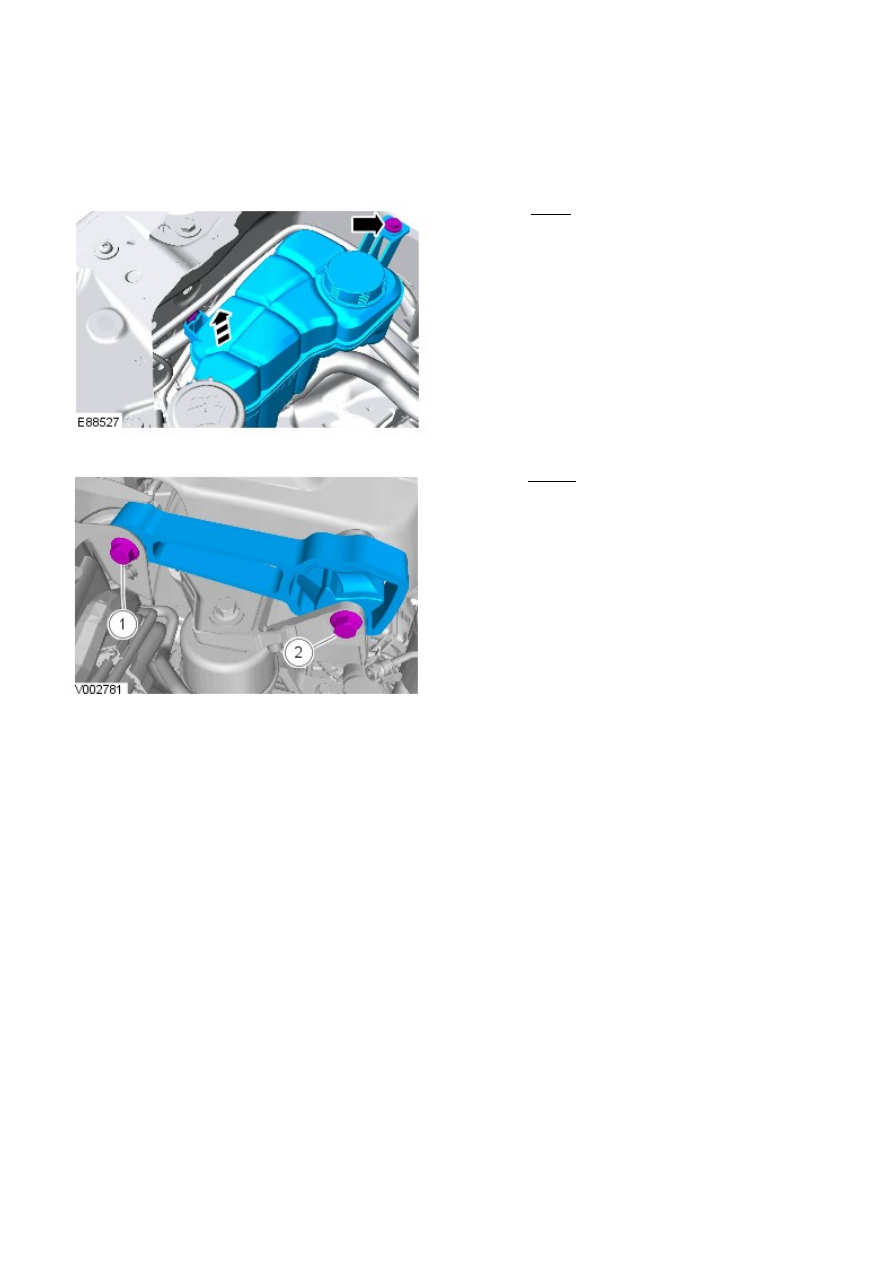
Torque: 10 Nm
1.
Torque: 110 Nm
2.
Installation
To install, reverse the removal procedure.
1.