Freelander 1. Manual - part 267

AIR CONDITIONING
REFRIGERANT RECOVERY, RECYCLING AND RECHARGING
82-1
AIR CONDITIONING
REFRIGERANT RECOVERY, RECYCLING AND RECHARGING
Refrigerant recovery - recycling and
recharge
$% 82.30.02
Refrigerant recovery
WARNING: Servicing must only be carried
out by personnel familiar with both the
vehicle system and the charging and testing
equipment. All operations must be carried
out in a well ventilated area away from open
flame and heat sources.
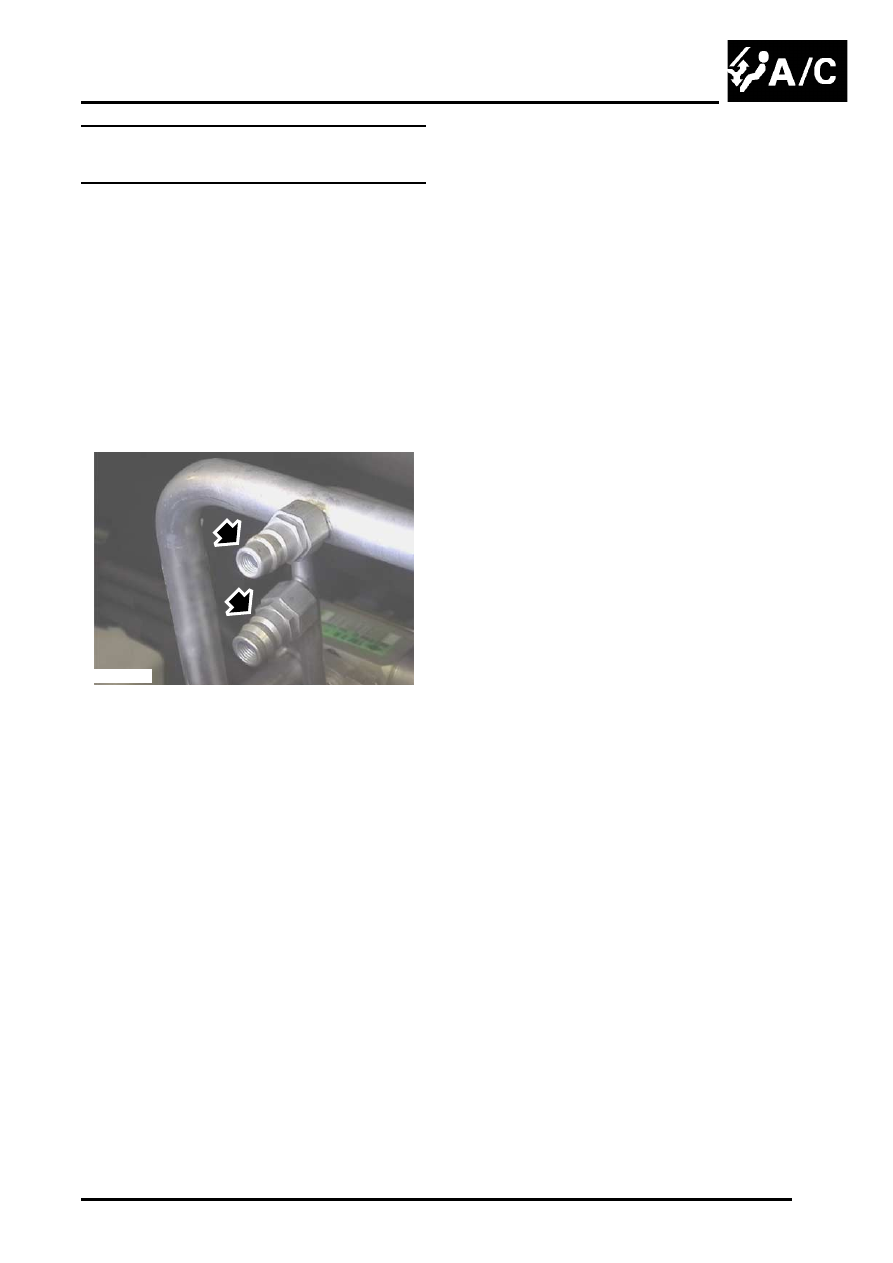
1. Remove dust caps from high and low pressure
connectors.
2. Connect high and low pressure hoses to
appropriate connections.
3. Open valves on connectors.
4. Turn valves on refrigerant station to correct
positions.
5. Turn process switch to correct position.
6. Turn main switch to 'ON'.
7. Allow station to recover refrigerant from
system.
WARNING: Refrigerant must always be
recycled before re-use to ensure that the
purity of the refrigerant is high enough for
safe use in the air conditioning system.
Recycling should always be carried out with
equipment which is in compliance with SAE
J2210. Other equipment may not recycle
refrigerant to the required level of purity. A
R134a Refrigerant Recovery Recycling
Recharging Station must not be used with
any other type of refrigerant. Refrigerant
R134a from domestic and commercial
sources must not be used in motor vehicle
air conditioning systems.
8. Close valves on refrigerant station.
9. Turn main switch to 'OFF'.
10. Close valves on connectors.
11. Disconnect high and low pressure connectors.
12. Fit dust caps to connectors.
13. Open tap at rear of station to drain refrigerant
oil.
14. Measure and record quantity of refrigerant oil
recovered from system.
15. Close tap at rear of station.
Evacuation
1. Remove dust caps from high and low pressure
connectors.
2. Connect high and low pressure hoses to
appropriate connections.
3. Open valves on connectors.
4. Turn valves on refrigerant station to correct
positions.
5. Turn Process switch to correct position.
6. Turn main switch to 'ON'.
7. Allow station to evacuate system.
Recharging
CAUTION: The system must be evacuated
immediately before recharging
commences. Delay between evacuation and
recharging is not permitted.
1. Close valves on refrigerant station.
2. Close valve on oil charger.
3. Disconnect yellow hose from refrigerant
station.
4. Remove lid from oil charger.
5. Pour correct quantity of refrigerant oil into oil
conditioning compressor replacement.
6. Fit lid to oil charger.
7. Connect yellow hose to refrigerant station.
8. Open valve on oil charger.
9. Move pointer on refrigerant gauge to mark
position of refrigerant drop.
10. Slowly open correct valve on refrigerant station
and allow vacuum to pull refrigerant into
system.
11. Close valve on refrigerant station when correct
amount of refrigerant has been drawn into air
conditioning system.
conditioning compressor replacement.
12. Turn main switch to 'OFF'.
13. Close valves on connectors.
14. Disconnect high and low pressure connectors.
15. Fit dust caps to connectors.
M82 0728