Freelander 1. Manual - part 206
DOORS
REPAIRS 76-1-17
Pocket - front door
$% 76.34.19
Remove
1. Remove 8 Torx screws securing pocket to door
and remove pocket.
Refit
1. Fit pocket and secure with Torx screws.
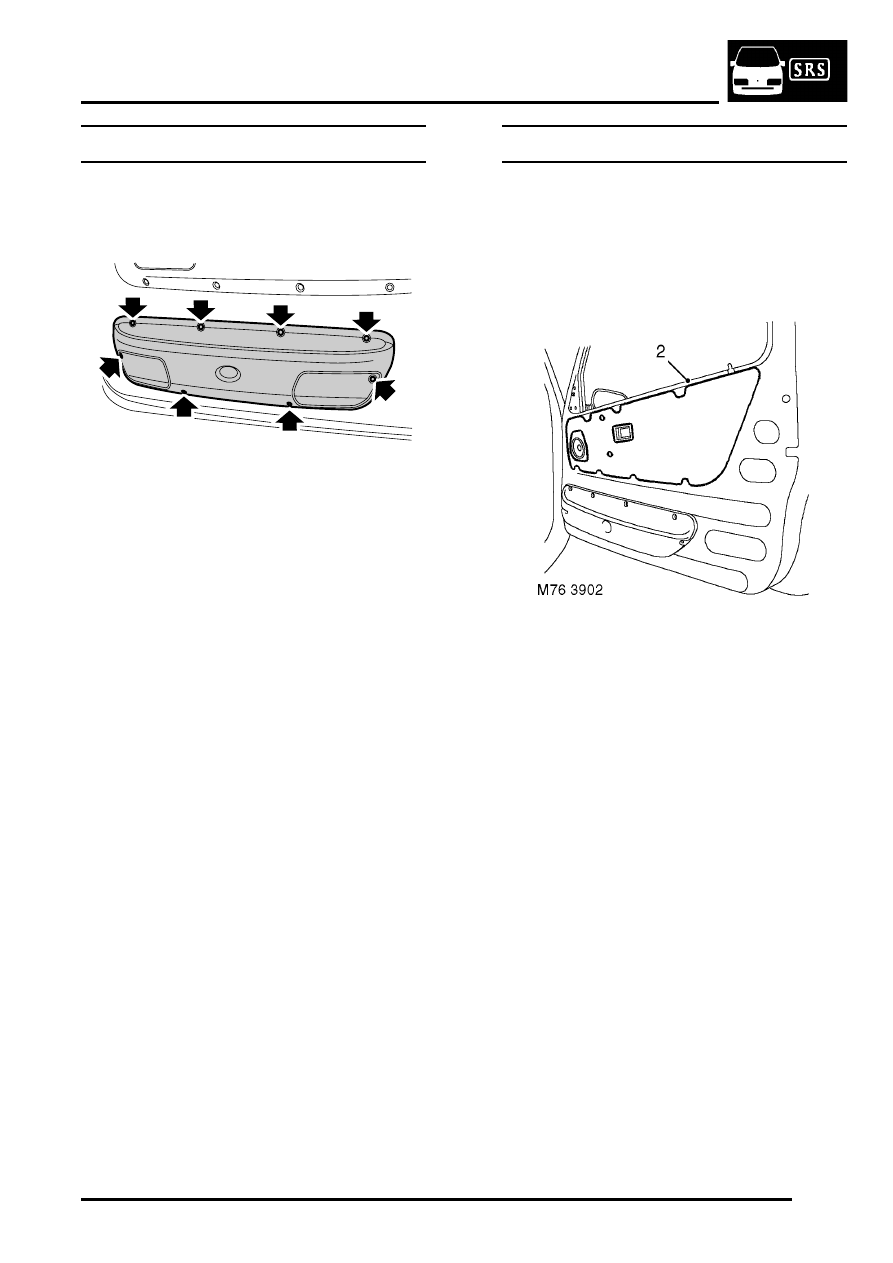
Plastic sheet - front door - upper - 3 door
$% 76.34.24
Remove
1. Remove front door trim casing.
2. Release and discard plastic sheet.
Refit
1. Clean door contact area with white spirit.
2. Position NEW plastic sheet to door and seal in
position, by applying hand pressure to centre
bottom of sheet first then move out from this
point in both directions applying an even
pressure to the seal, smooth out any creases.
3. Fit front door trim casing.
M76 4026