Discovery 2. Manual - part 229
DOORS
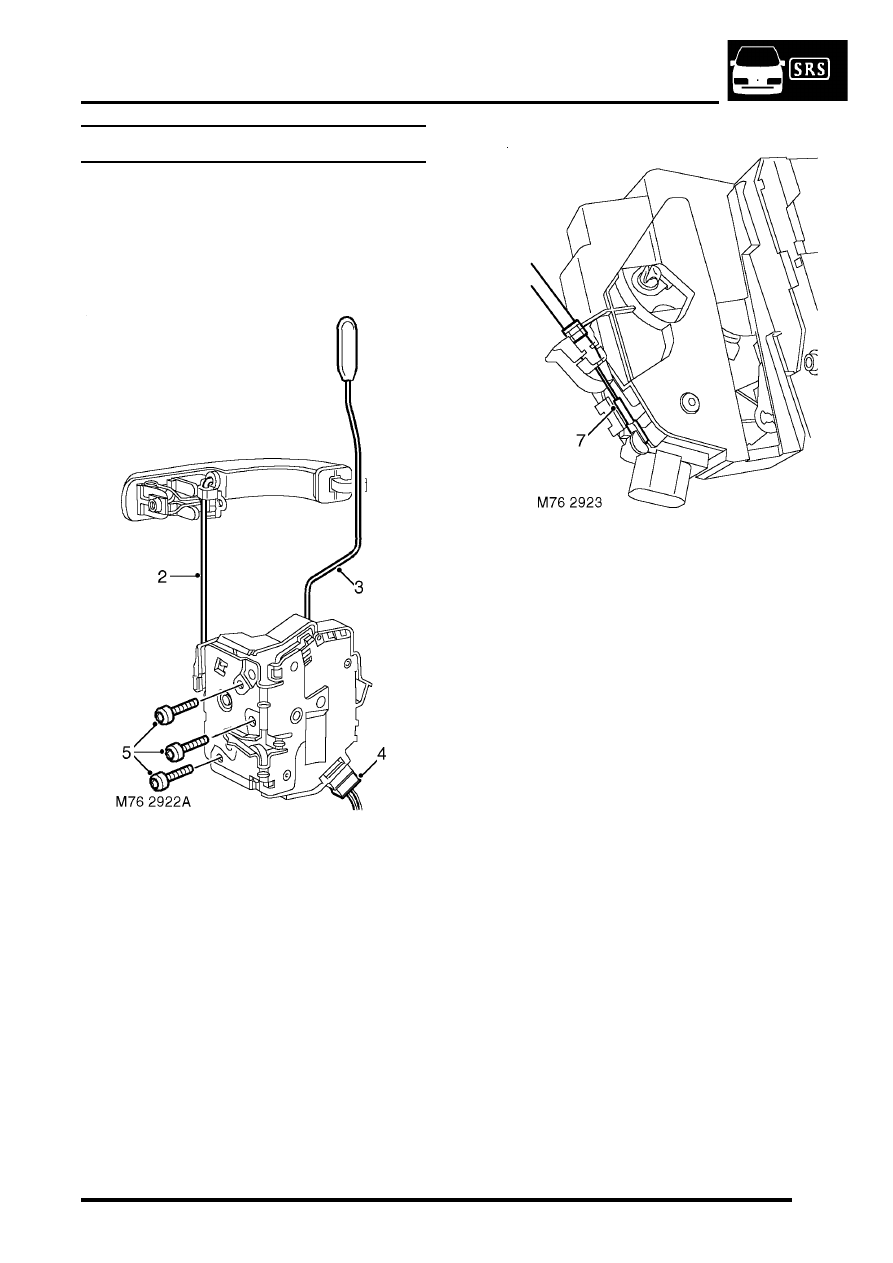
REPAIRS 76-1-11
Latch and motor - front door
$% 76.37.12
Remove
1. Remove front door frame.
DOORS, REPAIRS, Glass - front or
2. Release exterior handle control rod from latch.
3. Release and disconnect sill button lock rod
from latch.
4. Disconnect multiplug from motor.
5. Remove 3 Torx screws securing latch and
motor assembly to door.
6. Remove latch and motor assembly through
aperture in the lower section of the door.
7. Disconnect release cable from latch and
remove latch and motor assembly.
Refit
1. Connect release cable to latch.
2. Position latch and motor assembly to door. Fit
Torx screws securing latch to door and tighten
to 7 Nm (5.2 lbf.ft).
3. Connect multiplug to motor.
4. Connect exterior handle control rod to latch.
5. Connect sill button lock rod to latch.
6. Fit front door frame.