Land Rover Discovery. Manual - part 175
76
CHASSIS AND BODY
32
REPAIR
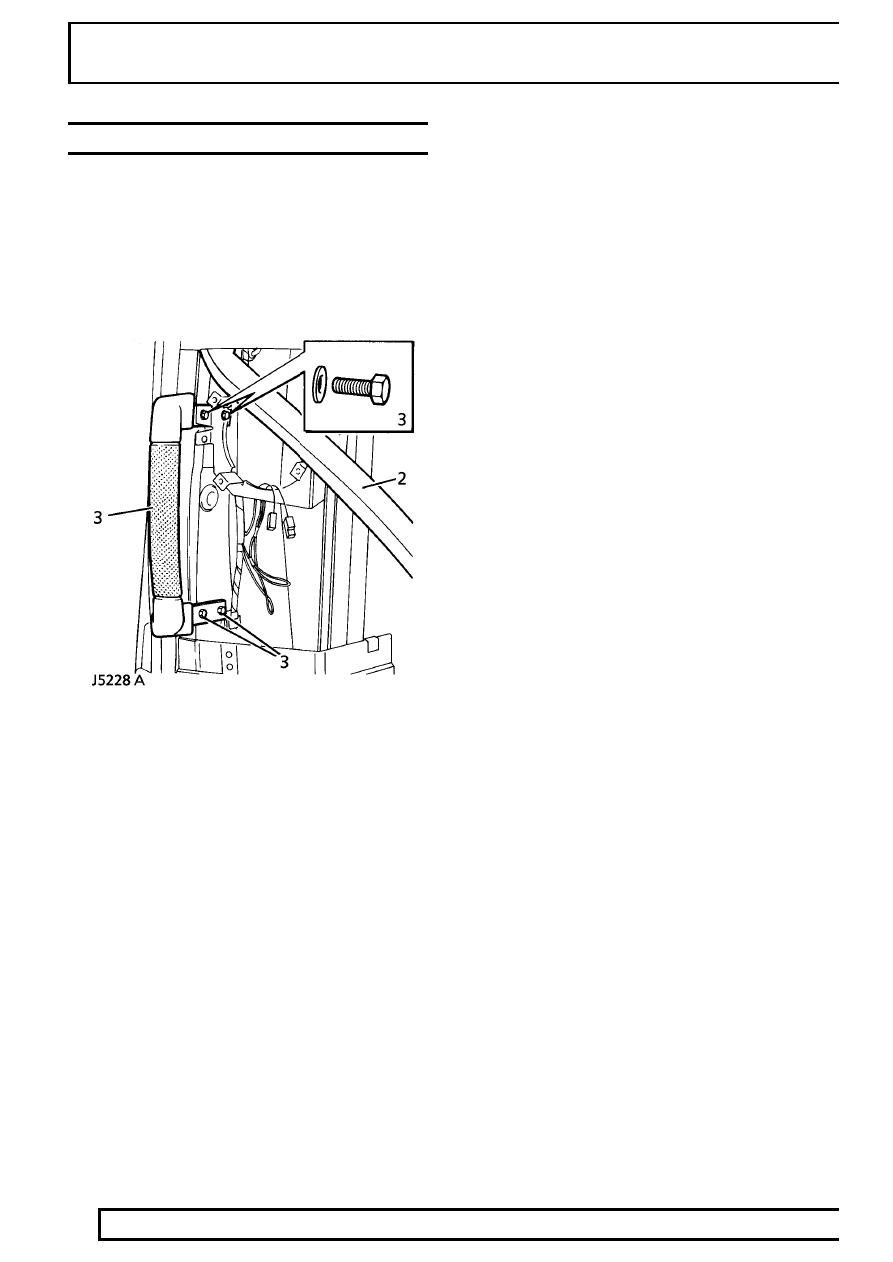
REAR GRAB HANDLE
Service repair no - 76.58.35
Remove
1. Remove speaker and rear quarter trim panel.
2. Detach the foam strip.
3. Remove the four securing bolts and detach the
handle.
Refit
4. Reverse removal procedure.