Defender (1999-2002). Manual - part 133


  Index      Land Rover     Defender - service manual 1999-2002 year


Search            


Content   ..  131  132  133  134   ..


Defender (1999-2002). Manual - part 133


86

ELECTRICAL

4

REPAIR

Refit

12. Clean mating face of alternator and vacuum

pump.

13. Fit vacuum pump to alternator and tighten bolts

to 10 Nm (7 lbf.ft) .

14. Position alternator and connect multiplug.
15. Connect vacuum hose and oil drain hose to

vacuum pump and secure clip.

16. With assistance align alternator to mounting

bracket and fit but do not tighten bolt.

17. Fit bolt securing support stay to alternator and

tighten to 25 Nm (18 lbf.ft) .

18. Tighten alternator to mounting bracket bolt to 45

Nm (33 lbf.ft).

19. Using new ’O’ ring, fit and tighten lubrication pipe

union to 10 Nm (8 lbf.ft) .

20. Connect lead to alternator and tighten nut to 6

Nm (4.4 lbf.ft) .

21. Fit auxilliary drive belt tensioner and tighten bolt

to 50 Nm (37 lbf.ft) .

22. Fit auxilliary drive belt. See this Section.
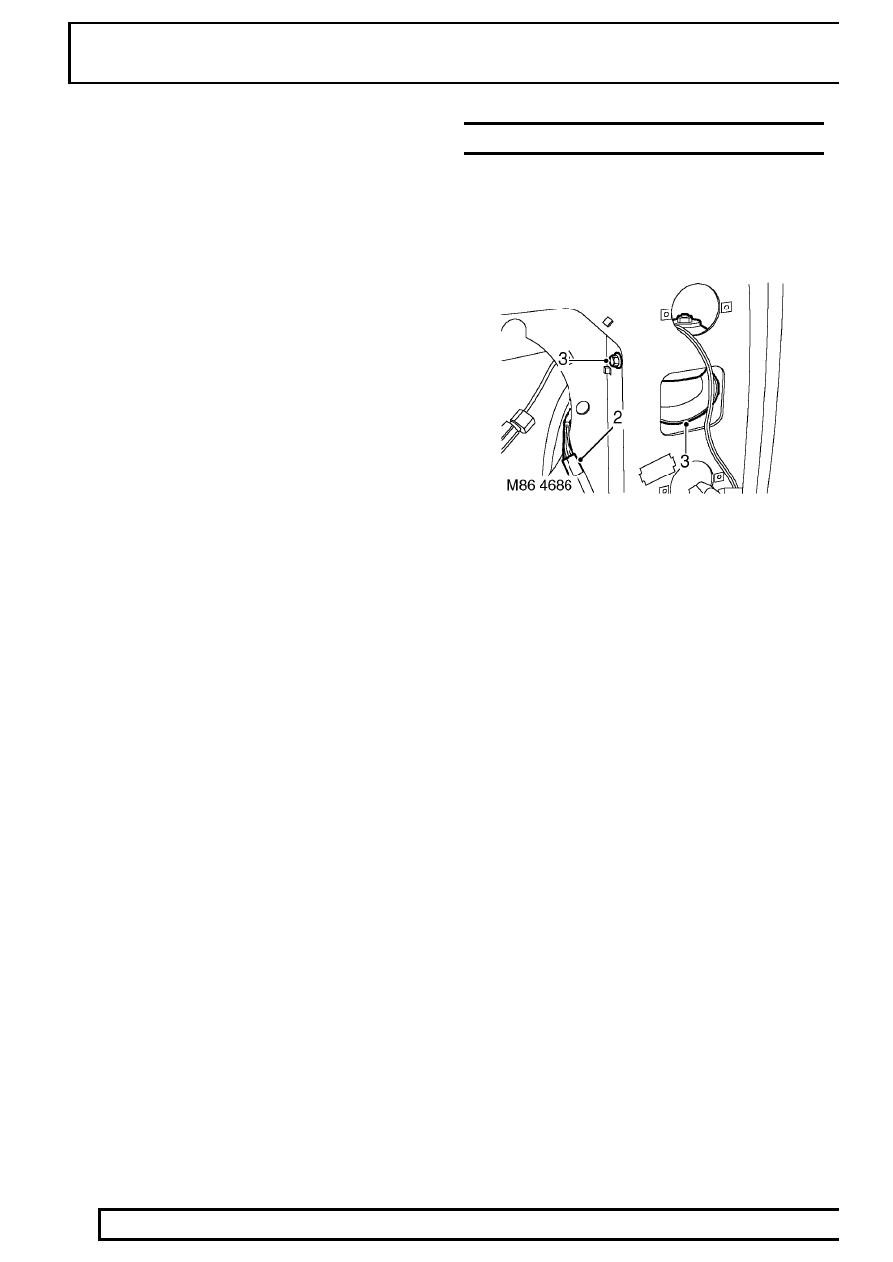
HORN - LH

Service repair no - 86.30.10

Remove

1. Remove LH headlamp. See this Section.

2. Disconnect horn multiplug.
3. Remove nut and remove horn from mounting

bracket.

Refit

4. Position horn, tighten securing and connect

multiplug.

5. Fit LH headlamp. See this Section.

ELECTRICAL

5

REPAIR

HEADLAMP

Service repair no - 86.40.49

Remove

1. Remove 4 screws and release side and indicator

lamps from wing.

2. Disconnect multiplugs and remove side and

indicator lamps.

3. Remove 2 screws and remove headlamp

finisher.

4. Remove 4 screws securing headlamp to wing,

disconnect multiplugs and remove headlamp.

5. Remove headlamp seal.

Refit

6. Fit headlamp seal.
7. Position headlamp, connect multiplugs, fit and

tighten headlamp screws.

8. Fit headlamp finisher and secure with screws.
9. Position side and indicator lamps, connect

multiplugs and secure with screws.

10. Reset headlamp alignment. See Adjustment.

86

ELECTRICAL

6

REPAIR

LAMP - TAIL

Service repair no - 86.40.70

Remove

1. Remove 2 screws securing tail lamp to body.
2. Disconnect multiplug and remove lamp.

Refit

3. Position tail lamp and connect multiplug.
4. Fit and tighten lamp securing screws.

RADIO

Service repair no - 86.50.03

Remove

1. Using tool SMD 4091 release radio from cage.

2. Disconnect coaxial cable from radio.
3. Disconnect 2 multiplugs from radio.
4. Remove radio from fascia.

Refit

5. Position radio to fascia and connect multiplugs.
6. Connect coaxial cable to radio.
7. Secure radio in cage.

ELECTRICAL

7

REPAIR

SPEAKER - FRONT

Service repair no - 86.50.15

Remove

1. Remove 4 screws securing speaker to fascia.
2. Release speaker from fascia and disconnect 2

Lucars.

3. Remove speaker.

Refit

4. Position speaker to fascia and connect Lucars.
5. Fit speaker to fascia and secure with screws.

SWITCH - TRANSMISSION BRAKE

Service repair no - 86.65.45

Remove

1. Release cover from transmission brake lever.
2. Remove 2 bolts and release transmission brake

lever from body.

3. Disconnect Lucar from transmission brake

warning switch.

4. Remove 2 screws securing switch from brake

lever and remove switch.

Refit

5. Fit switch to brake lever and tighten screws.
6. Connect switch Lucar.
7. Position brake lever and tighten bolts to 22 Nm

(16 lbf.ft).

8. Position cover to brake lever.


Content   ..  131  132  133  134   ..