Defender (1999-2002). Manual - part 90


  Index      Land Rover     Defender - service manual 1999-2002 year


Search            


Content   ..  88  89  90  91   ..


Defender (1999-2002). Manual - part 90


BRAKES

7

REPAIR

Refit

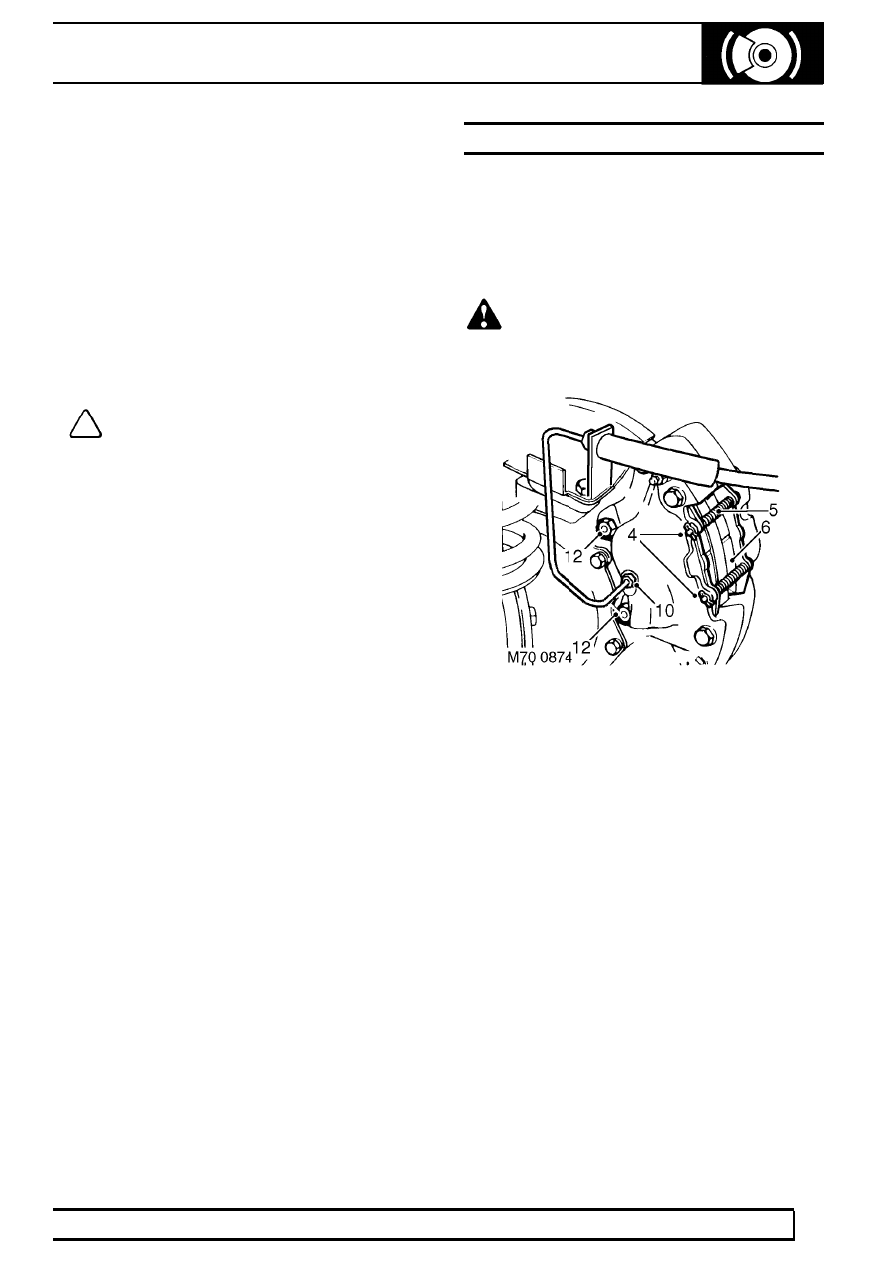
11. Position modulator to mounting bracket and

connect multiplug.

12. Fit modulator to mounting bracket and tighten

nuts to 9 Nm (7 lbf.ft) .

13. Connect 2 multiplugs to rear of modulator.
14. Remove plugs from brake pipes and modulator.
15. Clean brake pipe unions.
16. Connect brake pipe unions to modulator

ensuring pipes are connected to their correct
ports.

17. Tighten all unions to 14 Nm (10 lbf.ft) .
18. Bleed brake system. See Adjustment.

NOTE: To ensure correct operation, the
ABS system MUST be tested using
TestBook.

BRAKE CALIPER - FRONT

Service repair no - 70.55.02

Remove

1. Loosen front road wheel nuts.
2. Raise front of vehicle.

WARNING: Support on safety stands.

3. Remove road wheel.

4. Remove split pins from pad retaining pins.
5. Remove brake pad retainers and springs.
6. Remove brake pads and shim if fitted.
7. Pull back brake hose shield.
8. Clamp brake hose using a suitable clamp.
9. Position container beneath brake caliper to

collect spillage.

10. Loosen brake pipe union and disconnect from

caliper.

11. Plug brake pipe and caliper connections.
12. Remove 2 bolts securing caliper.
13. Remove brake caliper.

70

BRAKES

8

REPAIR

Refit

14. Clean caliper to hub mating faces.
15. Position caliper to hub, fit bolts and tighten to 82

Nm (60 lbf.ft).

16. Remove plugs from pipe to caliper connections

and wipe.

17. Connect pipe to caliper, tighten union to 15 Nm

(11 lbf.ft).

18. Apply a light film of grease to rear of brake pads.

19. Fit pads to calipers.

From 02MY, ensure pads are correctly fitted,
with leading edge chamfer fitted as shown.

20. Fit pad retainers and springs.
21. Fit split pins to retainers.
22. Remove brake hose clamp.
23. Bleed brakes. See Adjustment.
24. Depress brake pedal to seat pads onto discs.
25. Fit road wheels, remove axle stands and tighten

nuts to 130 Nm (96 lbf.ft).

BRAKE CALIPER - REAR

Service repair no - 70.55.03

Remove

1. Loosen rear road wheel nuts.
2. Raise rear of vehicle.

WARNING: Support on safety stands.

3. Remove road wheel.

4. Remove split pins from brake pad retaining pins.
5. Remove brake pad retaining pins.
6. Remove brake pad retainer springs.
7. Remove brake pads and shim if fitted.
8. Position container beneath brake caliper to

collect spillage.

9. Loosen brake pipe union and disconnect from

caliper.

CAUTION: Plug the connections.

10. Remove 2 bolts securing caliper.
11. Remove brake caliper.

BRAKES

9

REPAIR

Refit

12. Clean caliper to axle bracket mating faces.
13. Position caliper to axle bracket, fit bolts and

tighten to 82 Nm (60 lbf.ft).

14. Remove plugs from pipe and caliper.
15. Clean brake pipe union and caliper.
16. Connect pipe to caliper, tighten union to 15 Nm

(11 lbf.ft).

17. Apply a light film of grease to rear of brake pads.

18. Fit brake pads.

From 02MY, ensure shims are correctly fitted,
see illustration.

NOTE: Vehicles from 02MY have leading
and trailing edge chamfers on rear pads.

19. Fit pad retainer springs.
20. Fit brake pad retaining pins and secure with new

split pins.

21. Bleed brakes. See Adjustment.
22. Depress brake pedal to seat pads onto discs.
23. Fit road wheels, remove axle stands and tighten

nuts to 130 Nm (96 lbf.ft).

SWITCH - STOP LIGHT

Service repair no - 70.35.42

Remove

1. Disconnect 2 Lucars from stop light switch.
2. Remove mastic from around switch.
3. Remove switch from pedal box.

Refit

4. Fit and tighten switch to pedal box.
5. Apply mastic to switch.
6. Connect 2 Lucars to switch.

70

BRAKES

10

REPAIR

FRONT BRAKE PADS - FROM 02MY

Service repair no - 70.40.02

Remove

1. Remove front road wheels.
2. Clean exterior of calipers.

3. Remove split pin from retaining pins.
4. Remove pad retaining pins and anti-rattle

springs.

5. Remove brake pads.
6. Clean exposed parts of pistons, using new brake

fluid. Wipe away excess with a lint free cloth.

7. Using piston clamp LRT-70-500 press each

piston back into its bore. Ensure that displaced
brake fluid does not overflow from reservoir.

Refit

8. Fit brake pads.

NOTE: Ensure pads are correctly fitted,
with leading edge chamfer fitted as shown.

9. Fit pad retaining pins and anti-rattle springs.

Secure with new split pins.


Content   ..  88  89  90  91   ..