Defender. Manual - part 284


  Index      Land Rover     Land Rover Defender - service manual 2007 year


Search            


Content   ..  282  283  284  285   ..


Defender. Manual - part 284


Prepare old surfaces

6. Clean all panel joint edges to a bright smooth finish, using a belt type sander.

WARNING: Care must be taken to avoid excessive heat build up which may be caused by this equipment.

CAUTION: Where significant straightening is required, heat must be applied to the area to avoid stretching the

Aluminium.

All tools used for working with Aluminium must be kept separate from those used on steel.

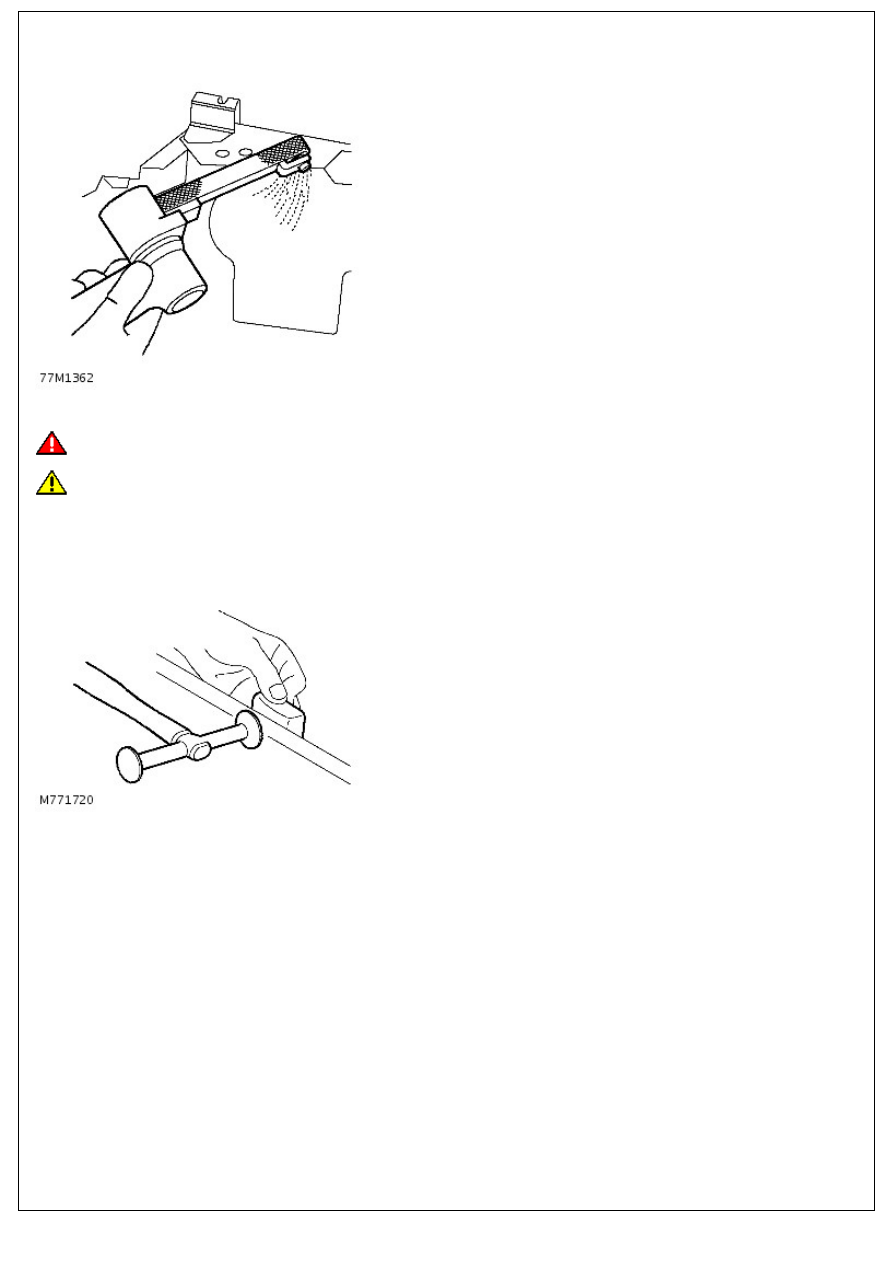
• NOTE: Prior to sanding, remove remaining sealant using a hot air gun to minimise the risk of toxic fumes caused by

generated heat.

7. Straighten existing joint edges using shaping block and hammer.

Prepare new surfaces

8. Prepare new panel joint edges for welding by sanding to a bright finish,. This must include inner as well as outer

face.

9. Drill holes in new panel, in the equivalent spot weld positions.

10. Apply adhesive sealant to panel joint surfaces.

CAUTION: Do not use Petroleum Spirit, Alcohol or Paint Thinners to clean mating faces.

11. All mating faces that have sealant applied to them must be cleaned using a suitable solvent. The majority of

aluminium sealants have a primer/pre-treatment included with them.

Offer up and align

Offer up new panel and align with associated panels. Clamp into position using welding clamps or Mole grips. Where a

joggle or brace joint is being adopted, make a set in the original panel joint edge or insert a brace behind the joint.

• NOTE: In cases where access for welding clamps is difficult, it may be necessary to use tack welds.

12. Dress MIG tack welds using a sander with 36 grit disc or a belt type sander where access is limited.

Welding

13. When plug welding, begin weld approximately 15 mm (0.6 in) from hole. This will allow the weld area to be

preheated which will enhance weld penetration. It will also allow the operator to see more easily where penetration

takes place. Fill hole with weld by moving in a circular direction around the hole.

14. When MIG seam welding, do not carry out lengthy operations. Divide the welds into short operations, this will

reduce the chances of overheating the work piece which in turn will avoid distortion and strain.

CAUTION: Only use a Stainless Steel wire brush for Aluminium.

15. Dress all welds using a sander with 36 grit disc or a belt type sander and/or wire brush.

Body Trim

The panel repair operations itemise body trim components which must be removed for access during each repair

Because of the unpredictable nature of accident damage, the items listed make no allowance for any difficulties which

may be found in removal and only apply to an undamaged vehicle. No allowance is made for any difficulties which may

be found during panel removal. Damaged body trim items must be renewed as necessary following body repairs.

SERVICEABLE PANELS

Front end panels

Item

Part Number

Description

1.

-

Hood

2.

-

Hinges


Content   ..  282  283  284  285   ..