Defender. Manual - part 185


  Index      Land Rover     Land Rover Defender - service manual 2007 year


Search            


Content   ..  183  184  185  186   ..


Defender. Manual - part 185


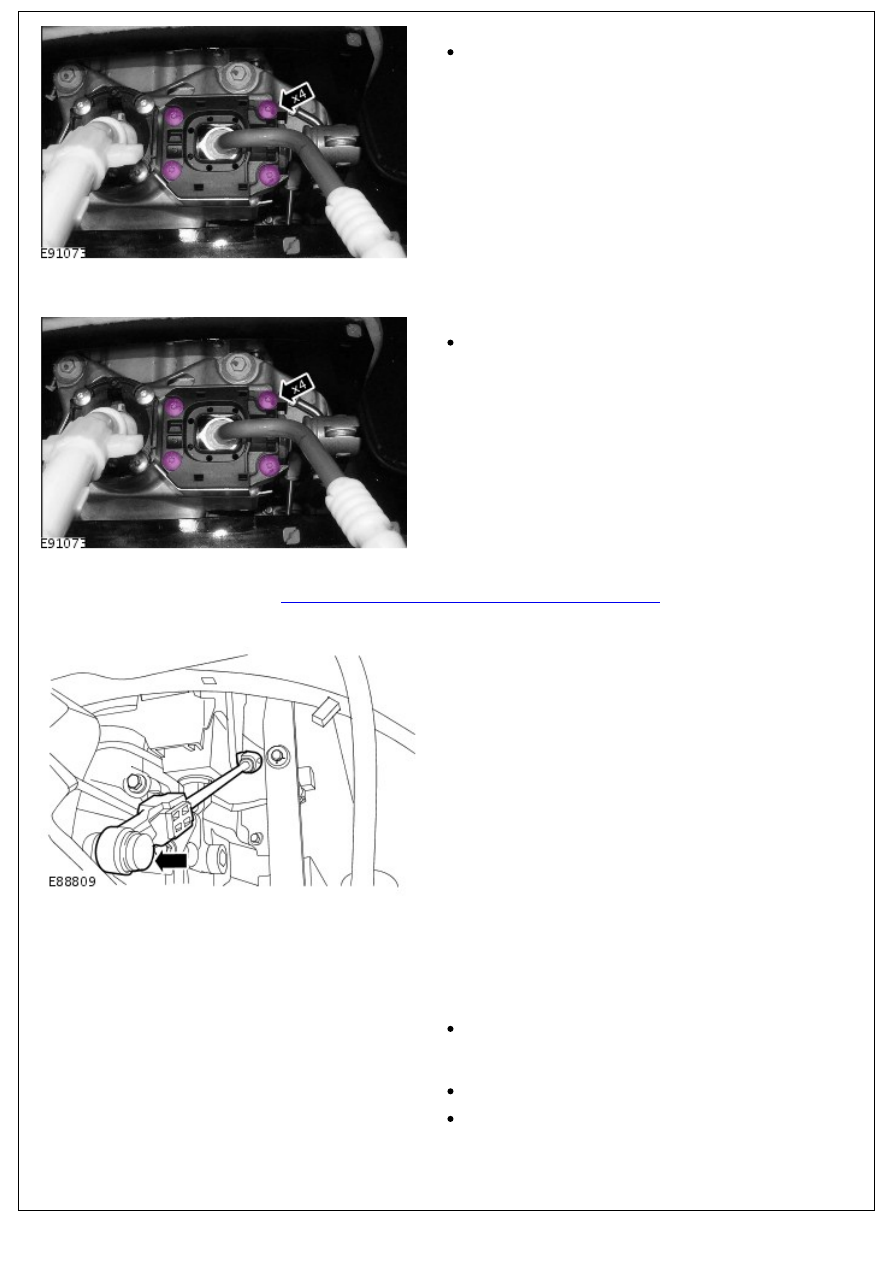
13. Remove the high/low range linkage.

Remove the 4 screws.

Installation

1. Install the high/low range linkage.

Tighten to 7 Nm (5 lb.ft).

• NOTE: If adjustment of the transfer case high/low range selector linkage has changed, carry out the adjustment

procedure. 

For additional information, refer to: 

Transfer Case High/Low Range Selector Rod Adjustment

 (308-07A Transfer Case -

2.4L Duratorq-TDCi HPCR (103kW/140PS) - Puma, General Procedures).

2. NOTE: Make sure the rod is fully engaged on the ball joint

and not on the foam washer.

Connect the high/low range selector rod.

3. Install the insulation pad support bracket.

4. NOTE: Position the differential lock to the left, to reduce

tension on the insulation.

Install the insulation pad.

5. Install the transmission cover panel.

Install the screws.

6. Install the gaiter with the selector levers attached.

Install the selector levers.

Fully seat the gaiter.

7. Install the transmission cover panel floor covering.

8. Install the parking brake lever.

8. Install the parking brake lever.

Tighten to 25 Nm (18 lb.ft)

9. Install the parking brake lever gaiter.

Install the clips.

10. Reposition the LH carpet.
11. Install the floor console. 

For additional information, refer to: 

Floor Console

 (501-12

Instrument Panel and Console, Removal and Installation).

Transfer Case - 2.4L Duratorq-TDCi HPCR (103kW/140PS) - Puma -

Transfer Case Input Shaft Seal

In-vehicle Repair

Special Tool(s)

Installer, seal

308-518

Removal

1. Disconnect the battery ground cable. 

For additional information, refer to: 

Battery Disconnect and

Connect

 (414-01 Battery, Mounting and Cables, General

Procedures).

2. 

WARNING: Do not work on or under a vehicle

supported only by a jack. Always support the vehicle on safety

stands.

Raise and support the vehicle.

3. Remove transfer case. 

For additional information, refer to: 

Transfer Case

 (308-07A

Transfer Case - 2.4L Duratorq-TDCi HPCR (103kW/140PS) -

Puma, Removal).

4. Remove and discard the transfer case input shaft seal.

Installation

1. Using the special tool, install a new transfer case input

1. Using the special tool, install a new transfer case input

shaft seal.

2. Install the transfer case. 

For additional information, refer to: 

Transfer Case

 (308-07A

Transfer Case - 2.4L Duratorq-TDCi HPCR (103kW/140PS) -

Puma, Installation).

3. Connect the battery ground cable. 

For additional information, refer to: 

Battery Connect

 (414-01

Battery, Mounting and Cables, General Procedures).


Content   ..  183  184  185  186   ..