Jeep Grand Cherokee WJ. Manual - part 45
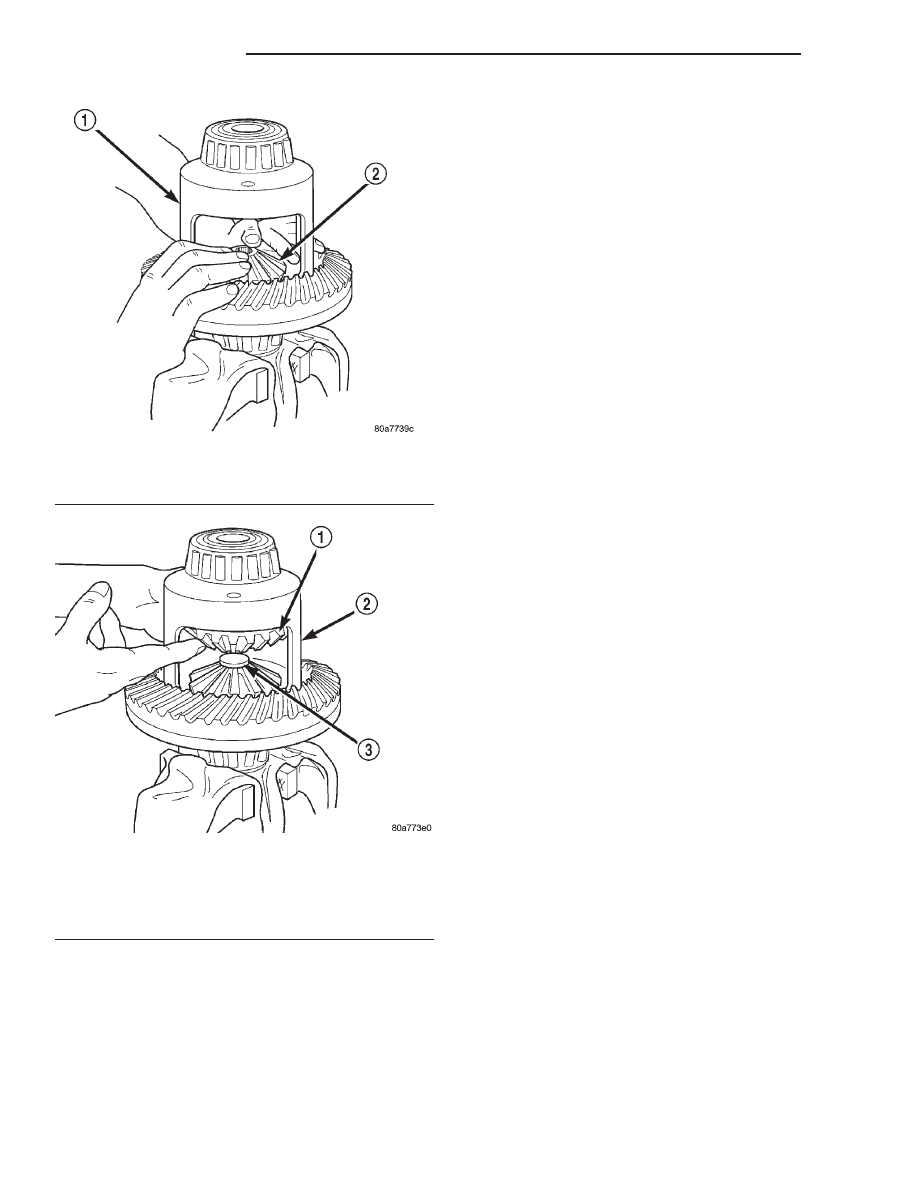
(13) Lubricate and install thrust washers behind
pinion gears and align washers with a small screw
driver. Insert mate shaft into each pinion gear to ver-
ify alignment.
(14) Remove forcing screw, threaded adapter, and
step plate.
(15) Install pinion gear mate shaft and align holes
in shaft and case.
(16) Install the pinion mate shaft lock screw finger
tight to hold shaft during differential installation.
If replacement side and/or pinion gears and
thrust washers were installed, it is not neces-
sary to measure the side gear backlash. Correct
fit is due to close machining tolerances during
manufacture.
(17) Lubricate all differential components with
hypoid gear lubricant.
CLEANING AND INSPECTION
AXLE COMPONENTS
Wash differential components with cleaning solvent
and dry with compressed air. Do not steam clean
the differential components.
Wash bearings with solvent and towel dry, or dry
with compressed air. DO NOT spin bearings with
compressed
air.
Cup
and
bearing
must
be
replaced as matched sets only.
Clean axle shaft tubes and oil channels in housing.
Inspect for;
• Smooth appearance with no broken/dented sur-
faces on the bearing rollers or the roller contact sur-
faces.
• Bearing cups must not be distorted or cracked.
• Machined surfaces should be smooth and with-
out any raised edges.
• Raised metal on shoulders of cup bores should
be removed with a hand stone.
• Wear and damage to pinion gear mate shaft,
pinion gears, side gears and thrust washers. Replace
as a matched set only.
• Ring and pinion gear for worn and chipped
teeth.
• Ring gear for damaged bolt threads. Replaced as
a matched set only.
• Pinion yoke for cracks, worn splines, pitted
areas, and a rough/corroded seal contact surface.
Repair or replace as necessary.
• Preload shims for damage and distortion. Install
new shims, if necessary.
TRAC-LOK
Y
Clean all components in cleaning solvent. Dry com-
ponents with compressed air. Inspect clutch pack
plates for wear, scoring or damage. Replace both
clutch packs if any one component in either pack is
damaged. Inspect side gears and pinions. Replace
any gear that is worn, cracked, chipped or damaged.
Inspect differential case and pinion shaft. Replace if
worn or damaged.
Fig. 73 Clutch Discs & Lower Side Gear Installation
1 – DIFFERENTIAL CASE
2 – LOWER SIDE GEAR AND CLUTCH DISC PACK
Fig. 74 Upper Side Gear & Clutch Disc Pack
Installation
1 – UPPER SIDE GEAR AND CLUTCH DISC PACK
2 – DIFFERENTIAL CASE
3 – SPECIAL TOOL C-4487–1
3 - 126
226 RBA AXLE
WJ
DISASSEMBLY AND ASSEMBLY (Continued)