Jaguar XJ (X350). Manual - part 155
Always use fluid from a sealed container and dispose of used fluid safely.
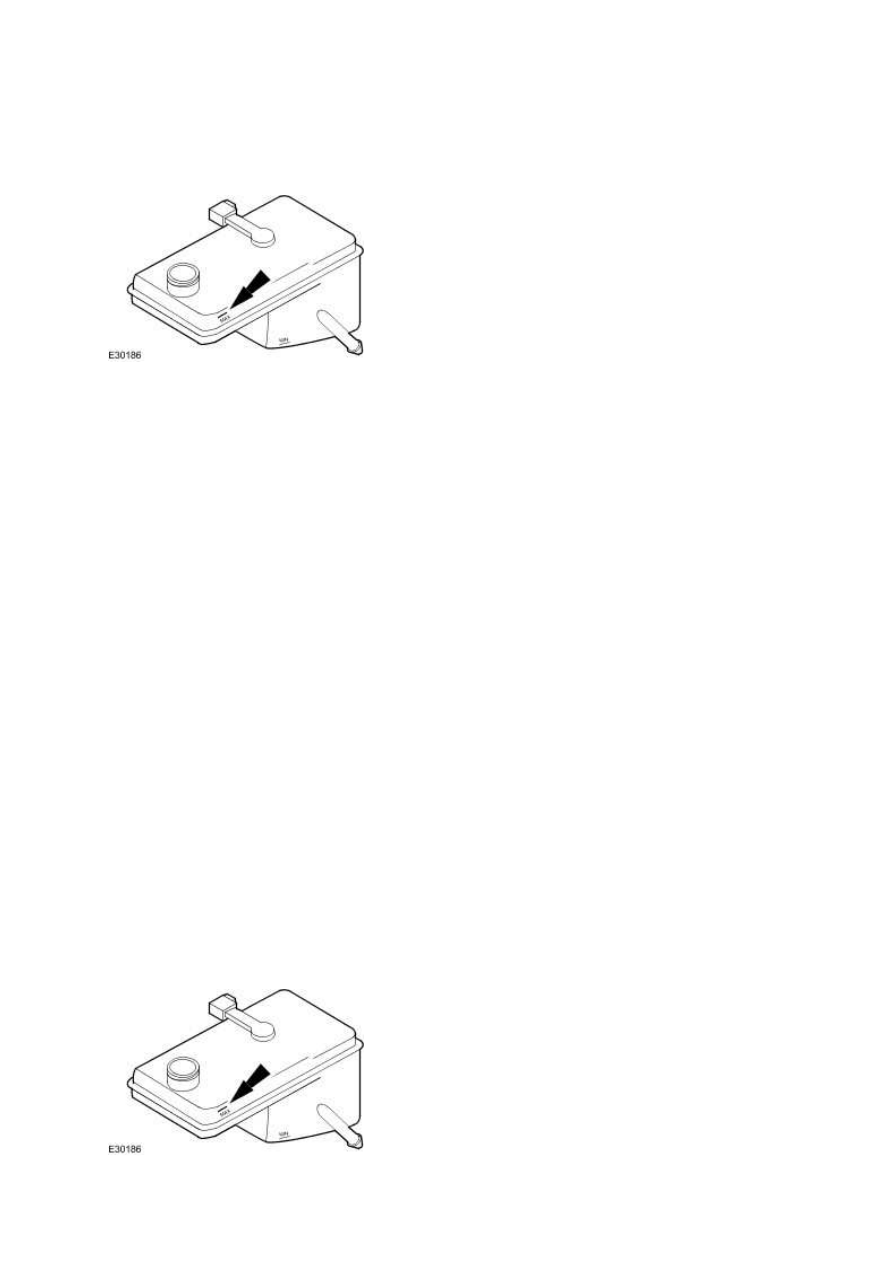
Fill up the brake master cylinder reservoir to the MAX mark as necessary.
3. Install a bleed tube to the rear right-hand brake caliper bleed nipple.
4. Bleed the circuit.
•
Make sure the bleed tube is firmly attached to the bleed nipple.
•
Submerge the end of the bleed tube in a bleed jar containing a small quantity of
approved brake fluid.
•
Position the bleed jar base at least 300 mm (12 in) above the bleed nipple to maintain
fluid pressure and prevent air leaking past the bleed nipple threads.
•
Open the bleed nipple half a turn.
•
Slowly apply the brake pedal to its maximum travel (this forces brake fluid into the
bleed jar).
•
Close the bleed nipple.
•
Return the brake pedal to the rest position.
•
Wait 2 seconds to allow the brake fluid to replenish the system.
•
Fill up the brake master cylinder reservoir to the MAX mark as necessary.
•
Continue to bleed the circuit until air-free brake fluid is pumped into the jar.
•
Fully tighten the bleed nipple.
5. Repeat the procedure for the rear left, front right and front left-hand brake circuits.
6. Fill up the brake master cylinder reservoir to the MAX mark.
2. NOTE: