Jaguar XJ (X350). Manual - part 67


  Index      Jaguar     Jaguar XJ (X350) - service repair manual 2003-2009 year


Search            


Content   ..  65  66  67  68   ..


Jaguar XJ (X350). Manual - part 67


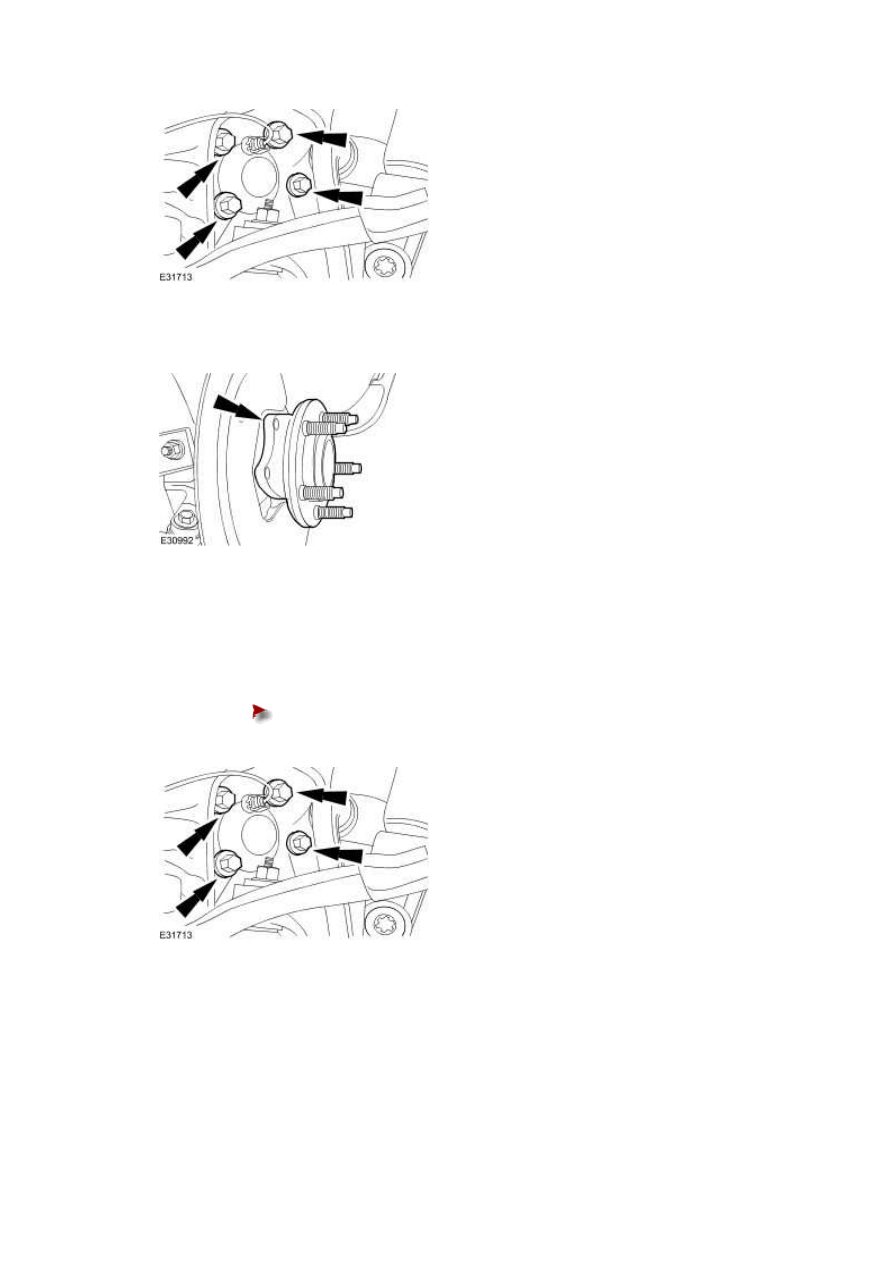
5 . Remove the wheel bearing and wheel hub. 


Installation  


1 . To install, reverse the removal procedure. 


Tighten to 90 Nm.


Wheel Knuckle (60.25.23)   

Special Service Tools  


Ball Joint Splitter  

204-327  

Removal  


Remove the brake disc shield.  

For additional information, refer to 

Brake Disc Shield - Vehicles With: Standard Brakes 

(70.10.18) 


For additional information, refer to 

Brake Disc Shield - Vehicles With: High Performance 

Brakes (70.10.18) 


2 . Remove the stabilizer bar link retaining nut. 


3 . Remove the stabilizer bar link.  


www.


  CAUTION: Prevent the tie-rod end ball joint ball pin hexagon from rotating. Failure 

to do so may result in damage to the tie-rod end ball joint boot. 


Detach the tie-rod end.  


  CAUTION: Prevent the upper ball joint ball pin hexagon from rotating. Failure to do 

so may result in damage to the upper ball joint boot. 


  CAUTION: Make sure the wheel knuckle is supported. Failure to follow these 

instructions may result in damage to the component. 


Detach the upper arm.  


  CAUTION: Prevent the rear lower arm ball joint ball pin hexagon from rotating. 

Failure to follow this instruction may result in damage to the lower ball joint boot. 


Loosen the rear lower arm ball joint retaining nut.  


  CAUTION: Prevent the rear lower arm ball joint ball pin hexagon from rotating. 

Failure to follow this instruction may result in damage to the lower ball joint boot. 


Adjust the rear lower arm ball joint retaining nut until the ball joint thread cannot be seen.  


  WARNING: Make sure the special tool is supported while carrying out the operation. 

Failure to follow this instruction may result in personal injury. 


  CAUTION: Make sure the special tool is supported while carrying out the operation. 

Failure to follow this instruction may result in damage to the special tool. 


  CAUTION: Make sure the special tool is correctly located and the lower ball joint 

boot is not damaged while carrying out the operation. Failure to follow this instruction may 

result in damage to the component. 


Using the special tool, release the rear lower arm ball joint from the wheel knuckle lower 

www.


Content   ..  65  66  67  68   ..