Iveco Daily Euro 4. Manual - part 205
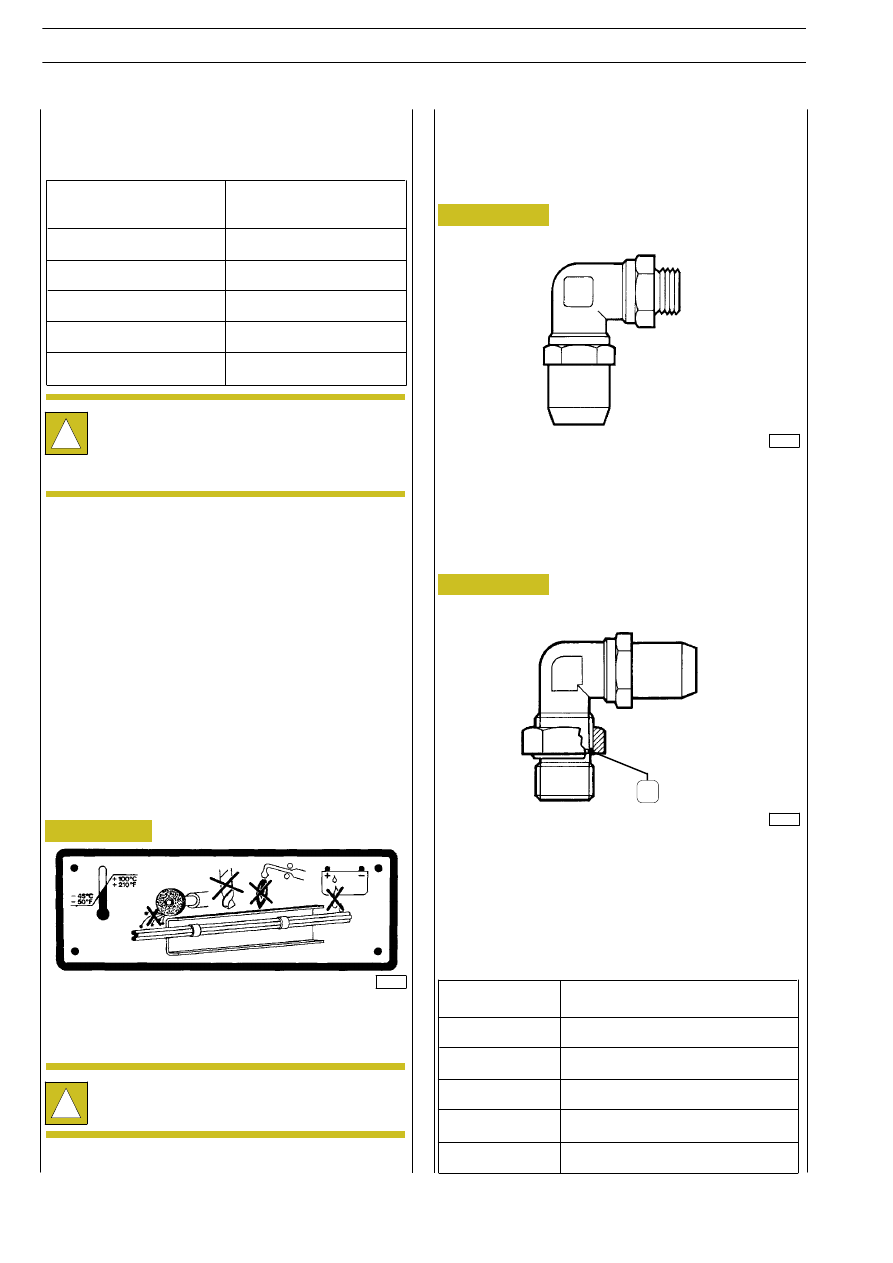
- When hoses run through chassis members or metal parts,
make sure that the holes through which they pass are
fitted with rubber grommets, and that these are in good
condition;
- Avoid sliding the hose along sharp edges which might
cause cuts;
- When the hose has to be attached to existing pipe work,
take into account of the additional heat to which it may
be subjected (power steering pipe work). In this case the
hose must be protected with shields;
- When the hose has been connected, check that it is not
under tension between the attachment points, instead
leaving it slightly slack to take up the more substantial
variations in temperature, especially for short lengths;
- Before fitting, thoroughly clean the hoses by blowing
compressed air through them to safeguard operation of
the system.
- Protect the hoses if grinding or welding operations are
carried out on the vehicle. A notice is fitted in the cabin
indicating the precautions to be observed to avoid
damage.
Figure 15
Replacing flexible hoses with quick release
couplings
When fitting is finished, check that all seals (unions, couplings,
etc.) are completely free from leaks.
When fitting the hose to the vehicle, some important points
should be borne in mind:
- Bends must comply with minimum radii, so as to avoid
constrictions
Minimum radius of curvature
mm
Diameter of pipe
mm
13132
6 x 1
8 x 1
10 x 1,5
12 x 1,6
16 x 2,34
~ 40
~ 50
~ 60
~ 75
~ 100
Screw the coupling into the threaded seating provided on the
air valve, and tighten it to the driving torque indicated in the
table.
- Check that the seal ring (1) is in its seal;
- Tighten the coupling until the seal gasket is in contact with
the valve;
- Direct the valve correctly and, by keeping the moveable
part still, lock the hexagonal nut to the driving torque
indicated in the table.
39307
Figure 16
Figure 17
39306
Swivel couplings:
Banjo couplings:
Swivel and banjo couplings
COUPLING
DRIVING TORQUE (Nm + 10%)
THREAD
M 10 x 1,0 mm
M 12 x 1,5 mm
M 14 x 1,5 mm
M 16 x 1,5 mm
M 22 x 1,5 mm
22
24
28
35
40
!
Make sure that the hoses are not in contact with sharp
edges or with sharp metal parts or sources of heat,
but are at a minimum safe distance of 15mm from
these.
!
For greater safety and convenience in working, it is
advisable to remove the hoses during these
operations.
1
22
HYDRO-PNEUMATIC SYSTEM - BRAKES
D
AILY
E
URO
4