Isuzu N-Series. Manual - part 68


  Index      Isuzu     Isuzu N-Series - service repair manual


Search            


Content   ..  66  67  68  69   ..


Isuzu N-Series. Manual - part 68


1D1-4 COMPRESSOR OVERHAUL EXCEPT TAIWAN

Checking and Adjusting for Compressor Replace-
ment
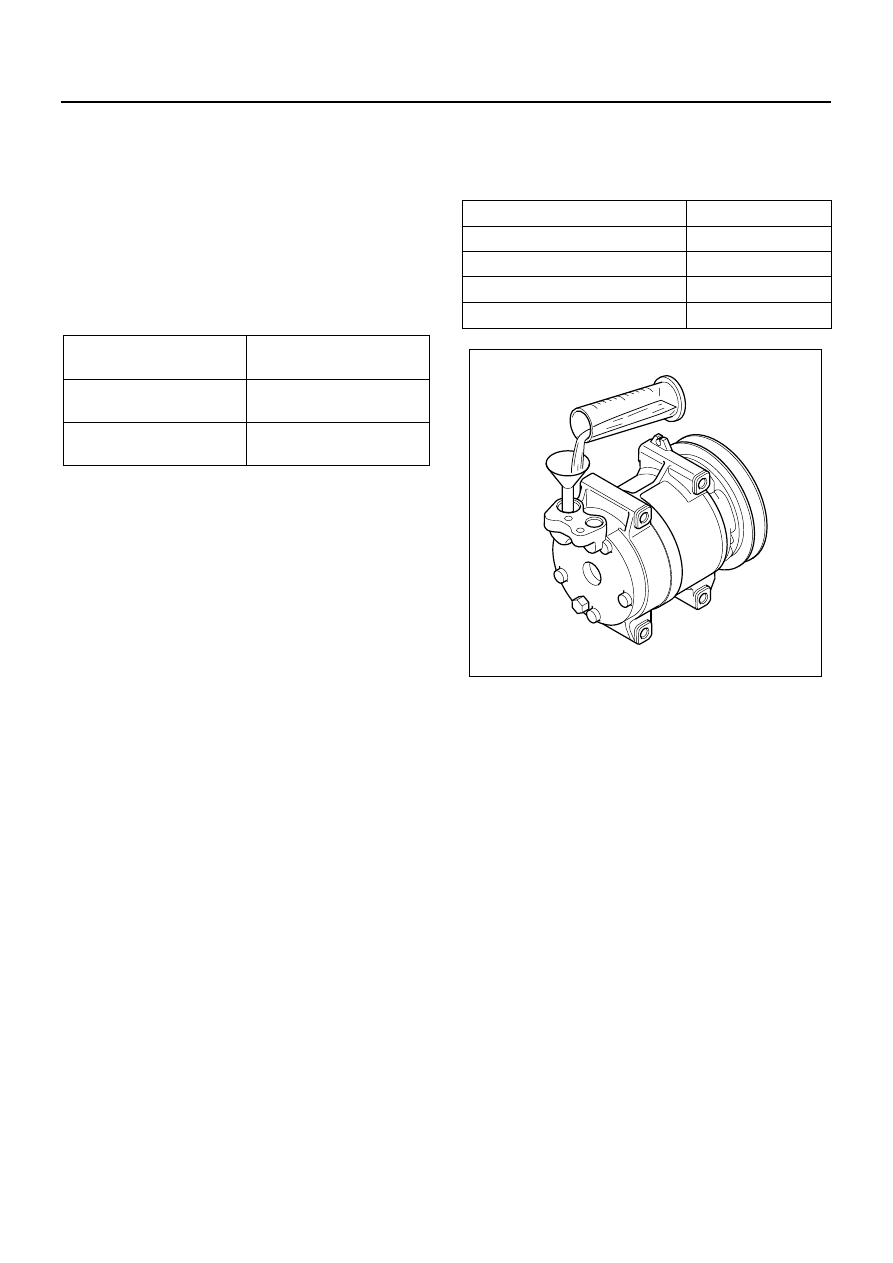
180 cc (5.0 lmp fl oz) of oil is charged in compressor
(service parts). So it is necessary to drain the proper
amount of oil from the new compressor.

1. Perform oil return operation.
2. Discharge refrigerant and remove the compressor.
3. Drain the compressor oil and measure the extract-

ed oil.

4. Check the compressor oil for contamination.
5. Adjust oil level as required.

6. Evacuate, charge and perform oil return operation.
7. Check system operation.

Contamination of compressor oil

Unlike engine oil, no cleaning agent is added to the com-
pressor oil. Even if the compressor runs for a long period
of time (approximately 1 season), the oil never becomes
contaminated as long as there is nothing wrong with the
compressor or its method of use.
Inspect the extracted oil for any of the following
conditions:

• The capacity of the oil has increased.
• The oil has changed color to red.
• Foreign substances, metal powder, etc., are

present in the oil.

If any of these conditions exists, compressor oil is
contaminated. Whenever contaminated compressor
oil is discovered, the receiver/drier must be re-
placed.

Oil return operation

There is close affinity between the oil and the refriger-
ant. During normal operation, part of the oil recirculates
with the refrigerant in the system.
When checking the amount of oil in the system, or re-
placing any component of the system, the compressor
must be run in advance for oil return operation. The pro-
cedure is as follows:

1. Open the all doors and engine hood.
2. Start the engine and A/C switch is “ON”. Set the fan

control knob at its highest position.

3. Run the compressor for more than 20 minutes be-

tween 800 and 1,000 rpm in order to operate the
system.

4. Stop the engine.

Replacement of component parts

When replacing system component parts, supply the fol-
lowing amount of oil to the component parts to be in-
stalled.

Amount of oil drained
from used compressor

Draining amount of oil
from new compressor

less than 180 cc

(3.4 Imp fl oz) 

Same as drained amount

more than 180 cc

(3.4 Imp fl oz)

180 cc (3.4 lmp fl oz)

Component parts to be installed

Amount of oil

Evaporator

50 cc (1.4 lmp fl oz)

Condenser

30 cc (0.8 Imp fl oz)

Receiver/drier

30 cc (0.8 Imp fl oz)

Refrigerant line (One piece) 

10 cc (0.3 Imp fl oz)

N1A0141E

COMPRESSOR OVERHAUL EXCEPT TAIWAN 1D1-5

SERVICE PROCEDURES

Compressor Overhaul

Legend

1. Drive plate bolt

5. Pulley assembly

2. Drive plate

6. Lead wire connector

3. Shim(s)

7. Field coil

4. Snap ring

7

1

2

3

4

5

6

N1A0142E

1D1-6 COMPRESSOR OVERHAUL EXCEPT TAIWAN

Disassembly

1. Drive Plate Bolt

Using drive plate holder to prevent the drive plate
from rotating, then remove the bolt. 
Drive Plate Holder: 5-8840-0117-0 (J-33939)

2. Drive Plate

Using drive plate puller and forcing screw to re-
move the drive plate. 
Drive Plate Puller: 5-8840-0122-0 (J-33944-A) 
Forcing Screw: 5-8840-0621-0 (J-33944-4) 
If the frictional surface shows signs of damage due
to excessive heat, the drive plate and pulley should
be replaced.

3. Shim(s)
4. Snap Ring
5. Cover (If so equipped)

Using snap ring pliers to remove the snap ring.

6. Pulley Assembly

Using pulley puller pilot and pulley puller to remove
the pulley assembly. 
Pulley Puller Pilot: 5-8840-0121-0 (J-33943)
Pulley Puller: 5-8840-0111-0 (J-8433)
Check the appearance of the pulley assembly. If
the frictional surface of the pulley shows signs of
excessive grooving due to slippage, both the pulley
and drive plate should be replaced. The frictional
surfaces of the pulley assembly should be cleaned
with a suitable solvent before reinstallation.

7. Lead Wire Connector

Remove the lead wire from lead wire fixing bush.

8. Field Coil

Loosen three screws and remove the field coil with
lead wire.
Check coil for loose connector or cracked insula-
tion.

5-8840-0117-0

N1A0143E

5-8840-0122-0

5-8840-0621-0

N1A0144E

N1A0145E

5-8840-0121-0

5-8840-0111-0

N1A0146E

COMPRESSOR OVERHAUL EXCEPT TAIWAN 1D1-7

Reassembly

1. Field Coil
2. Lead Wire Connector

Install the field coil to the compressor.
Lead wire must be facing up.
Tighten the field coil fixing screws to the specified
torque.

Tighten:

Field coil screw to 5 N

⋅m (0.5 kg⋅m / 44 lb⋅ft)

3. Pulley Assembly

Using pulley installer and drive handle to install the
pulley assembly.
Pulley Installer: 5-8840-0118-0 (J-33940)
Drive Handle: 5-8840-0007-0 (J-8092)

4. Cover (If so equipped)
5. Snap Ring

Install the snap ring with the inside indented portion
facing out.

6. Shim(s)
7. Drive Plate

Install the drive plate to the compressor drive shaft
together with the original shim(s).
Press the drive plate by hand.

N1A0147E

N1A0148E

5-8840-0118-0

5-8840-0007-0

N1A0149E

N1A0119E


Content   ..  66  67  68  69   ..