Isuzu Rodeo UE. Manual - part 618
8F–45
BODY STRUCTURE
Adjustment
f
Hatchgate alignment is obtained by moving
hatchgate hinges.
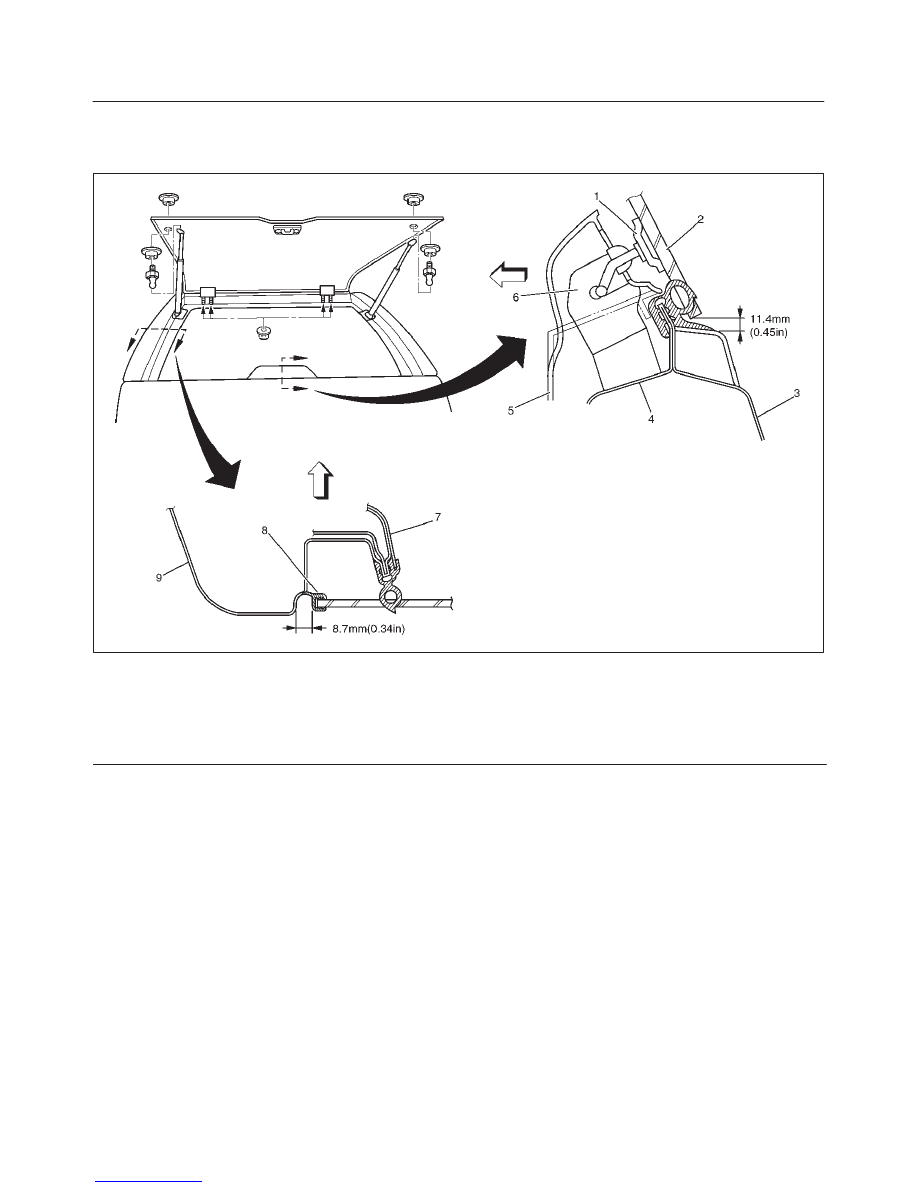
682RW004
Legend
(1) Hatchgate Striker
(2) Hatchgate Glass
(3) Tailgate Outer Panel
(4) Tailgate Inner Panel
(5) Trim Cover
(6) Hatchgate Lock Assembly
(7) Quarter Trim
(8) Hatchgate Glass Seal
(9) Quarter Outer Panel