Hyundai Tiburon (2003 year). Manual - part 38


  Index      Hyundai     Hyundai Tiburon - service repair manual 2003 year


Search            


Content   ..  36  37  38  39   ..


Hyundai Tiburon (2003 year). Manual - part 38


Relief Plunger and Spring

1. Check the relief plunger for smooth operation. 

2. Check the relief spring for deformation or breaks. 

Oil Filter Bracket

1. Make sure that there is no damage on the surface that mates with the oil filter. 

2. Check the oil filter bracket for oil leaks or cracks. 
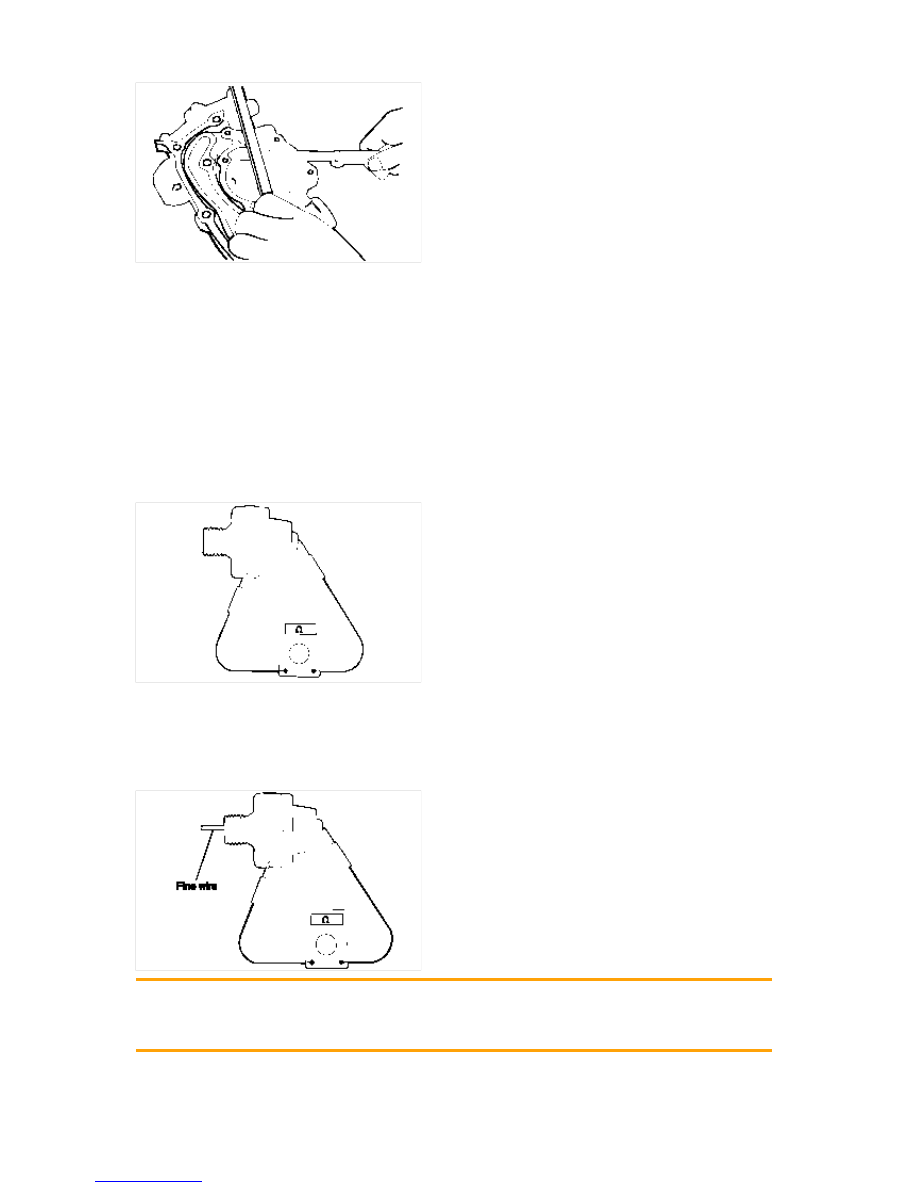
Oil pressure Switch

1. Check the continuity between the terminal and the body with an ohmmeter. 

If there is no continuity, replace the oil pressure switch. 


2. Check the continuity between the terminal and the body when the fine wire is pushed. If there is continuity 

even when the fine wire is pushed,replace the switch. 

3. If there is no continuity when a 50 kpa (7 psi) vacuum is applied through the oil hole, the switch is operating 

properly. 
Check for air leakage. If air leaks, the diaphragm is broken replace it. 


Operation Pressure 
Oil pressure switch : 
20 ~ 40kpa (0.2 ~ 0.4kg/cm². 2.9 ~ 5.8 psi) 

REASSEMBLY

1. Install the oil pump case with the gasket. 


Tightening torque 
Oil pump case bolt : 
12 ~ 15Nm (120 ~ 150kg.cm, 9 ~ 11lb.ft) 
Oil pump cover screw : 
8 ~ 12Nm (80 ~ 120kg.cm, 6 ~ 9lb.ft) 

2. Install the oil seal into the oil pump case as tightly as possible, using the special tool (09214-33000). 


3. Install the relief plunger and spring, and tighten the oil relief valve plug to the specified torque. 


Tightening torque 
Oil relief valve plug : 
40 ~ 50Nm (400 ~ 500kg.cm, 29 ~ 36lb.ft) 

4. Install the oil screen and a new gasket. 

Tightening torque 
Oil screen bolt : 
15 ~ 22Nm (150 ~ 220kg.cm, 11 ~ 15lb.ft) 

5. Clean the gasket surfaces of the cylinder block and the oil pan. 

6. Apply sealant to the groove of the oil pan flange. 

1. Make the first cut approx. 4 mm from the end of the nozzle furnished with the sealant. After 

application of the sealant, do not exceed 15 minutesbefore installing the oil pan. 

2. Make sure that the sealant doesn't enter the inside of the oil pan. 

7. Install the oil pan and tighten the bolts to the specified torque. 


Tightening torque 
Oil pan bolt 
* : 19 ~ 28Nm (190 ~ 280kg.cm, 14 ~ 20lb.ft) 
** : 5 ~ 7Nm (50 ~ 70kg.cm, 4 ~ 5lb.ft 
*** : 30 ~ 42Nm (300 ~ 420kg.cm, 22 ~ 30lb.ft) 

8. Tighten the oil pan bolts as shown in the illustration. 


9. Using a 24 mm deep socket, install the oil pressure switch after applying sealant to the threaded area. 

Sealant 
Three bond No.1141E or 3M ATD No. 8660 or equivalent 

Do not torque the oil pressure switch too much. 

Tightening torque 
Oil pressure switch 
15 ~ 22Nm (150 ~ 220kg.cm, 11 ~ 16lb.ft) 


Sealant 
Three bond No.1141E or 3M ATD No. 8660 or equivalent 

10. Tighten the lower oil pan bolts as shown in figure. 


Content   ..  36  37  38  39   ..