Hummer H1 (2006+). Manual - part 329
11-50 Heating/Ventilation/Air Conditioning (HVAC)
______________________
Installation
1.
Attach one hose end to the auxiliary unit heater core port and secure with the clamp (Figure 11-47).
2.
Route the hose through the grommet to the engine area.
3.
Connect the hose to the hose splice and secure with the clamp.
4.
Install the two P-clamps to the underbody securing the installed hose to the existing hoses.
5.
Fill the cooling system (Refer to section 4).
6.
Install the air cleaner induction tube (Refer to section 3).
7.
Pressure test the cooling system and check for leaks.
8.
Install the center console.
9.
Start the engine and run until the engine warms up.
10. Check the heating units for proper operation.
AUXILIARY A/C DRAIN TUBE(S) REPLACEMENT
Removal
1.
Remove the center console.
2.
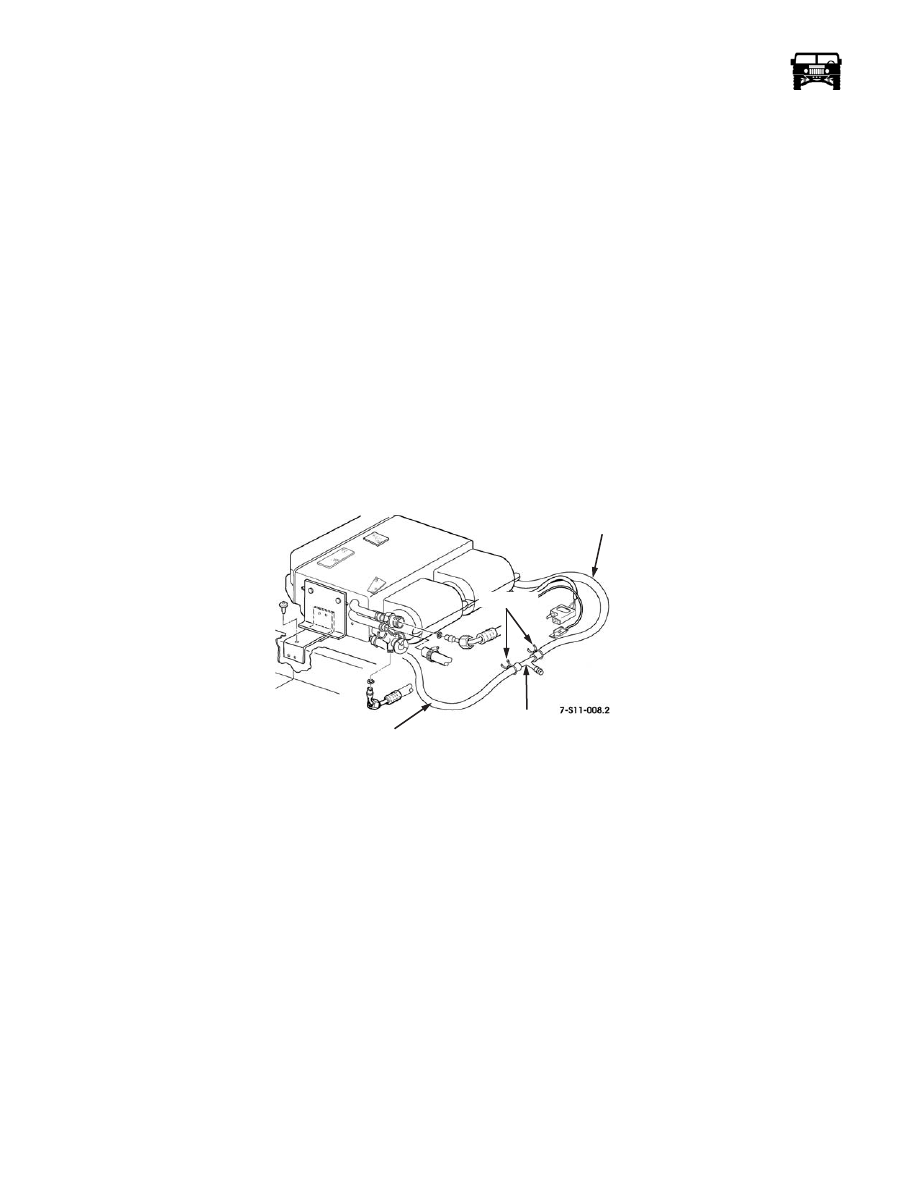
Remove the clamps from the drain tube section being replaced (Figure 11-49).
3.
Remove the drain tube.
Figure 11-49: Auxiliary A/C Drain Tube Replacement
Installation
1.
Install the drain tube section and secure with the clamps (Figure 11-49).
2.
Install the center console.
REFRIGERANT SOLENOID REPLACEMENT
Removal
1.
Discharge the air conditioning system.
2.
Remove the center console.
3.
Using two wrenches for equalized support, remove the auxiliary high pressure hose from the refrigerant solenoid. Remove and
discard the O-ring.
4.
Using two wrenches for equalized support, remove the refrigerant solenoid from the high pressure line to the auxiliary
expansion valve. Remove and discard the O-ring.
Installation
1.
Using two wrenches for equalized support, install the refrigerant solenoid to the high pressure line from the auxiliary expan-
sion valve, tighten to 11-13 lb-ft. (15-18 N•m).
DRAIN
TEE
DRAIN TUBE
TUBE
CLAMPS